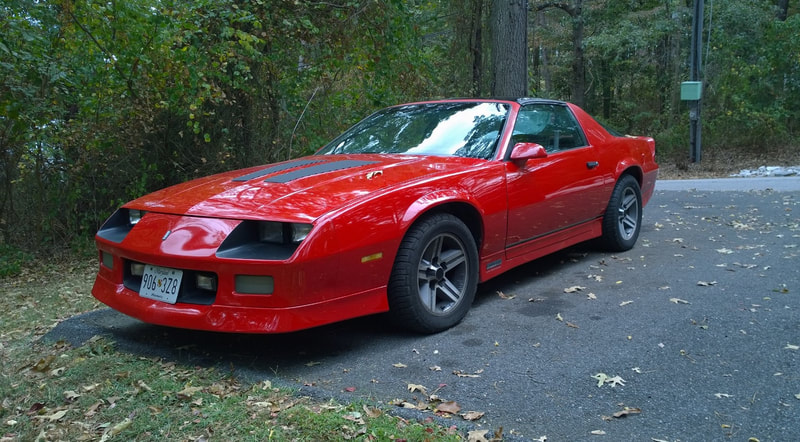
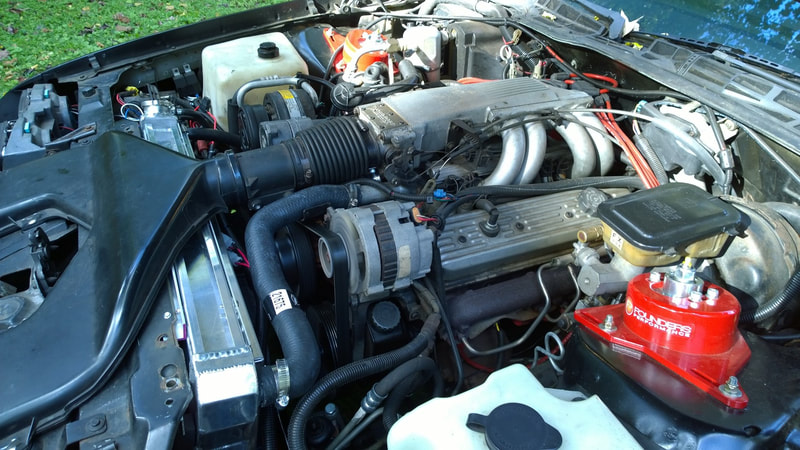
'89 IROC Z GEN 3 CAMARO PROJECT
OCTOBER 2023 UPDATE
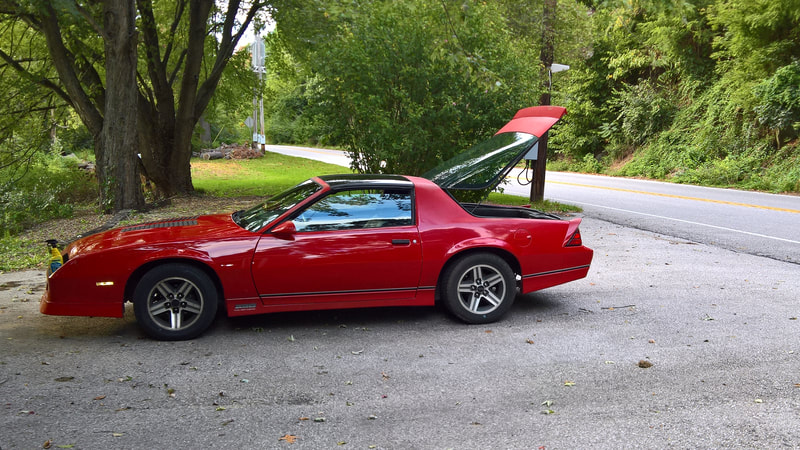
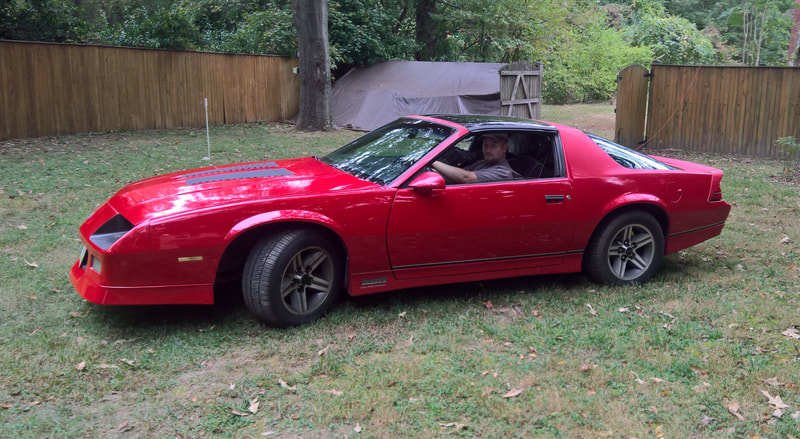
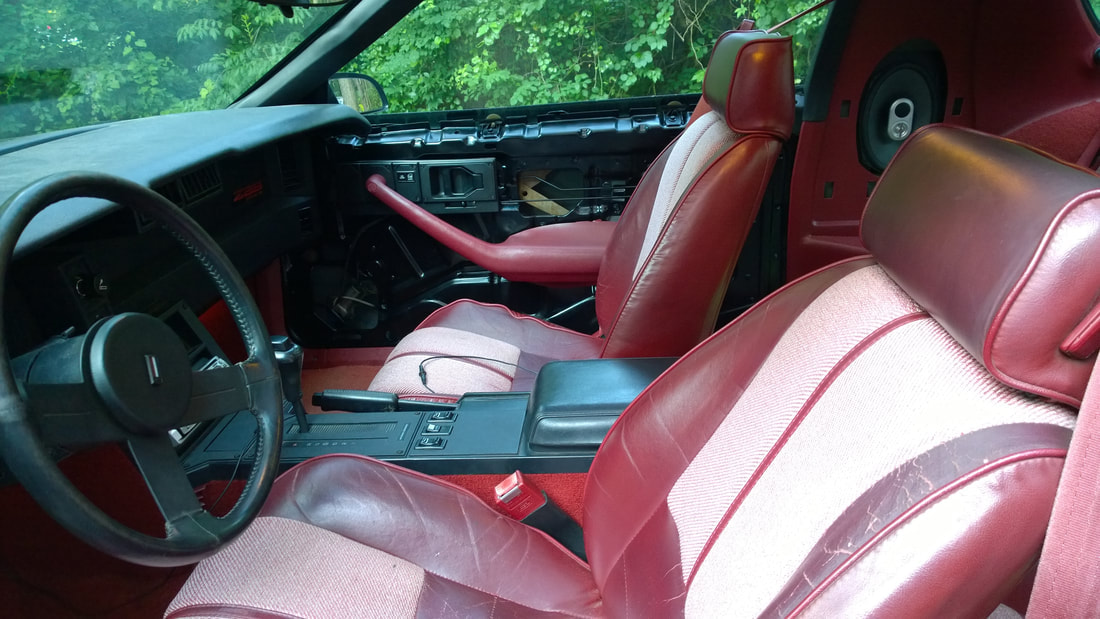
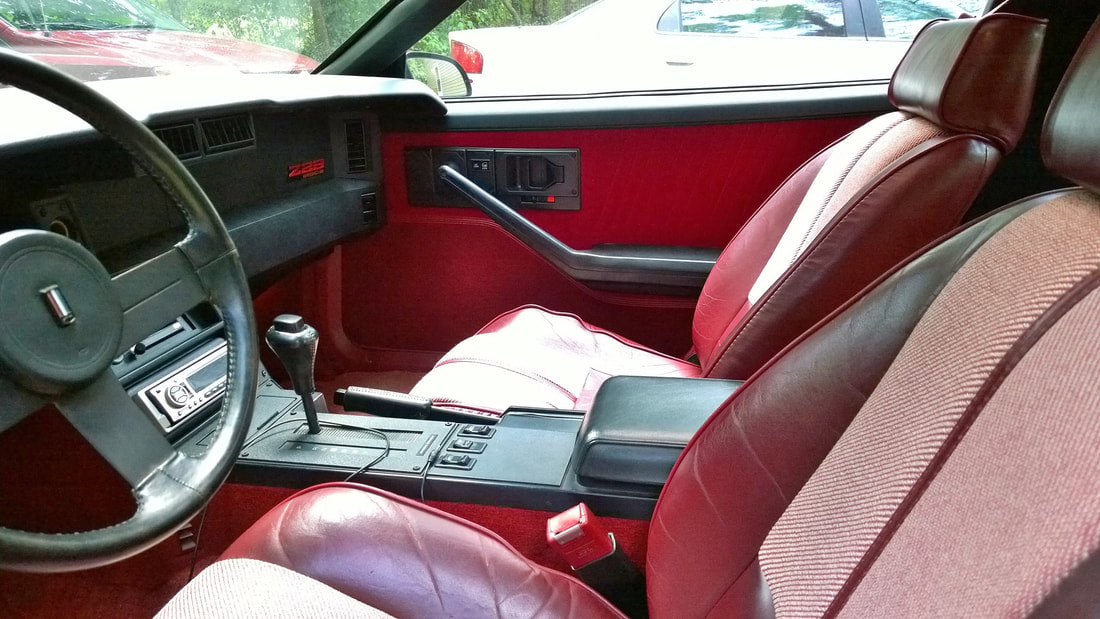
a snazzy red iroc
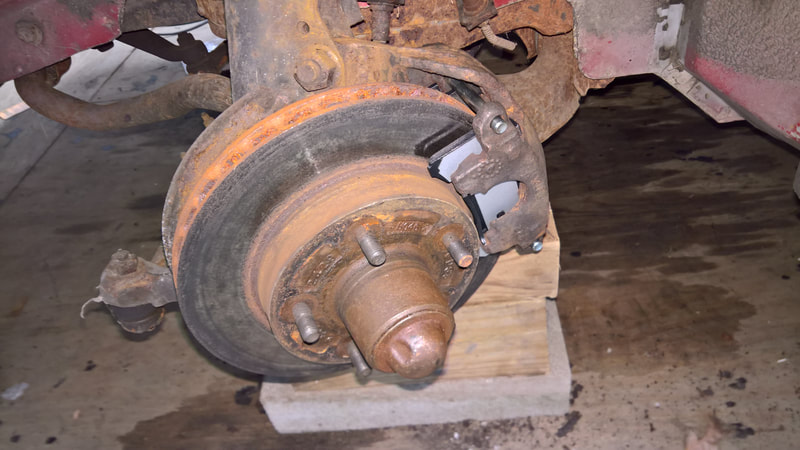
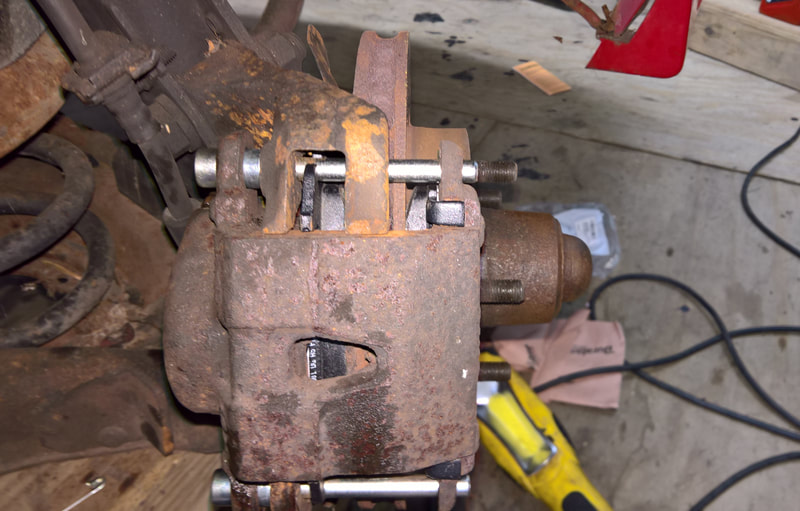
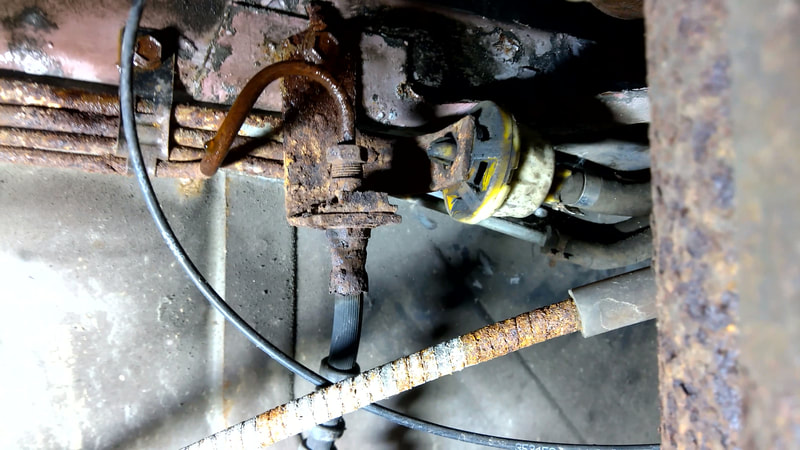
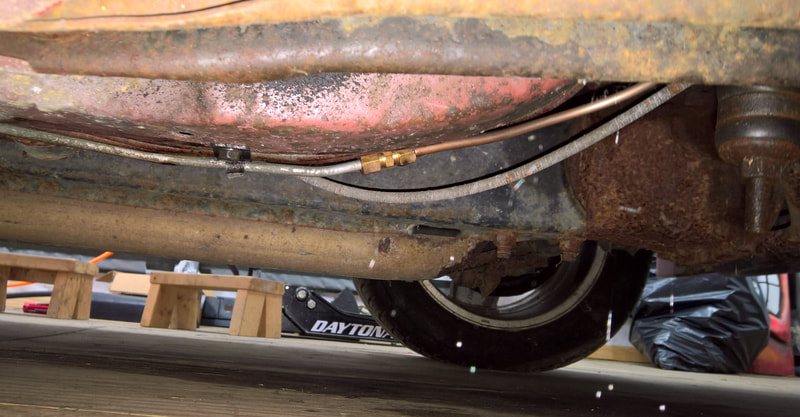
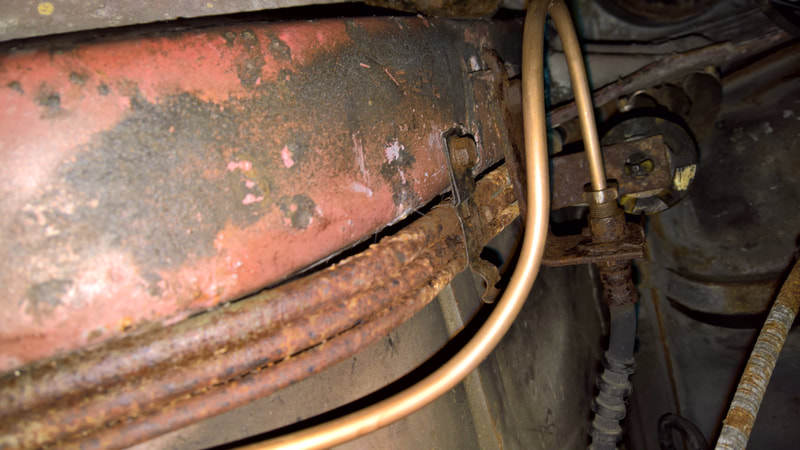
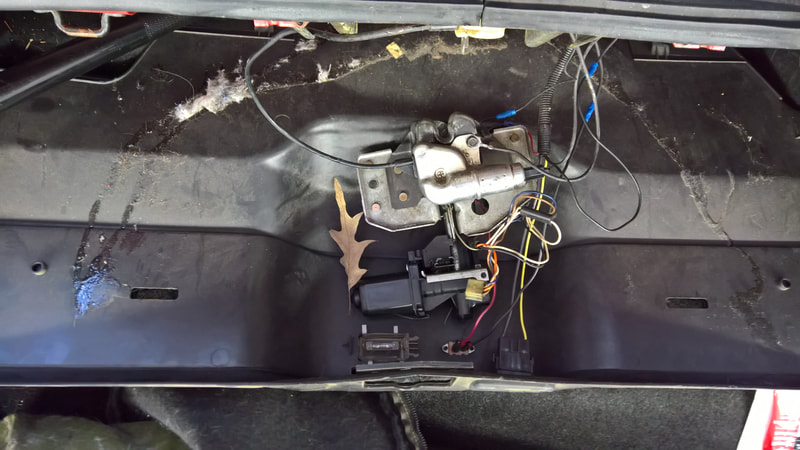
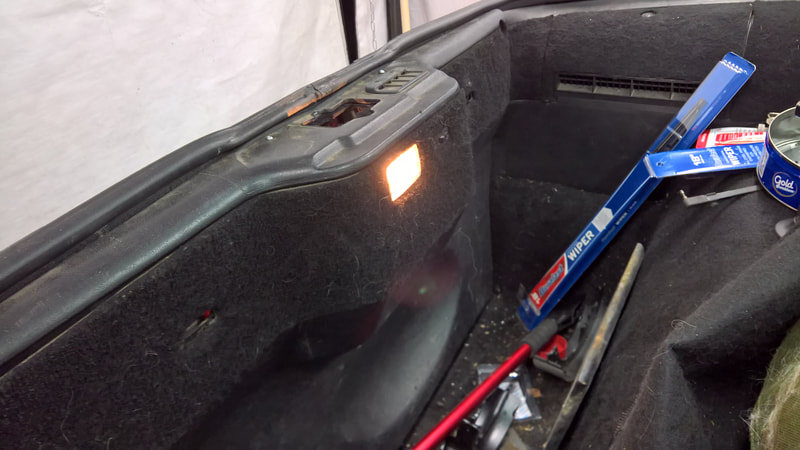
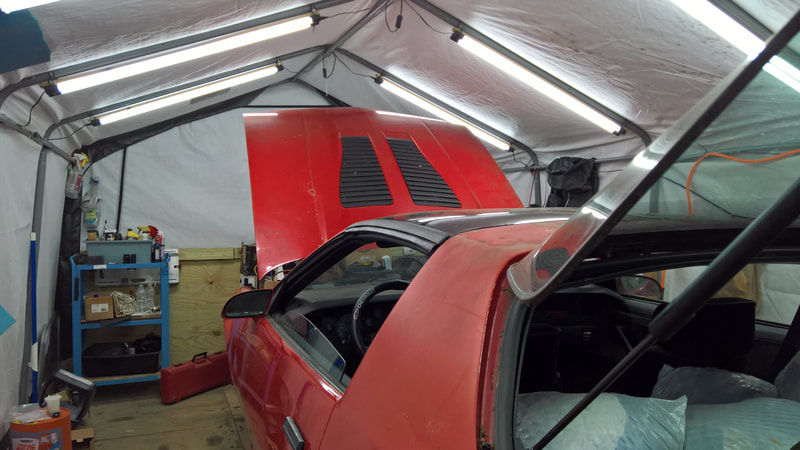
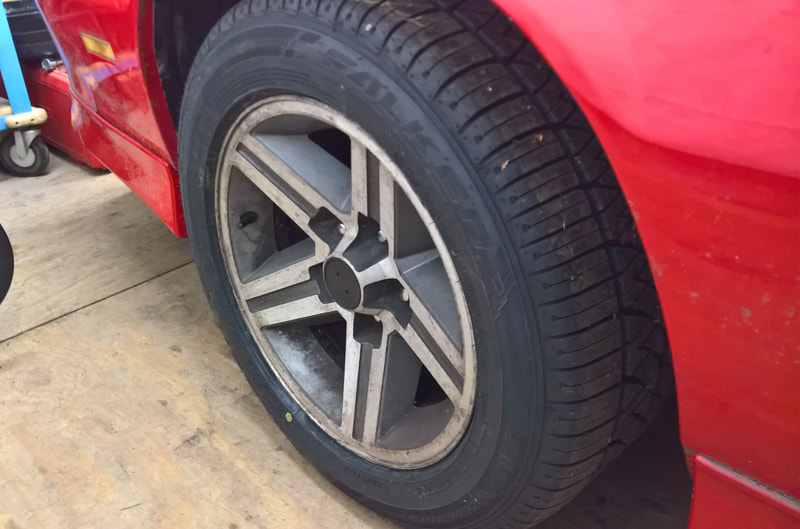
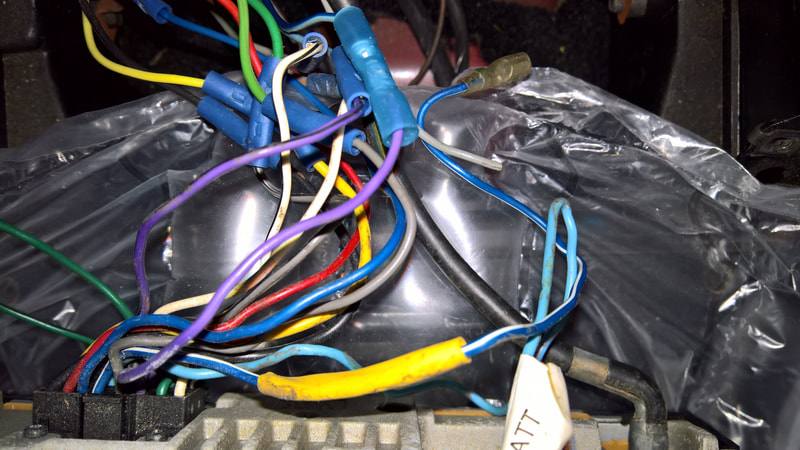
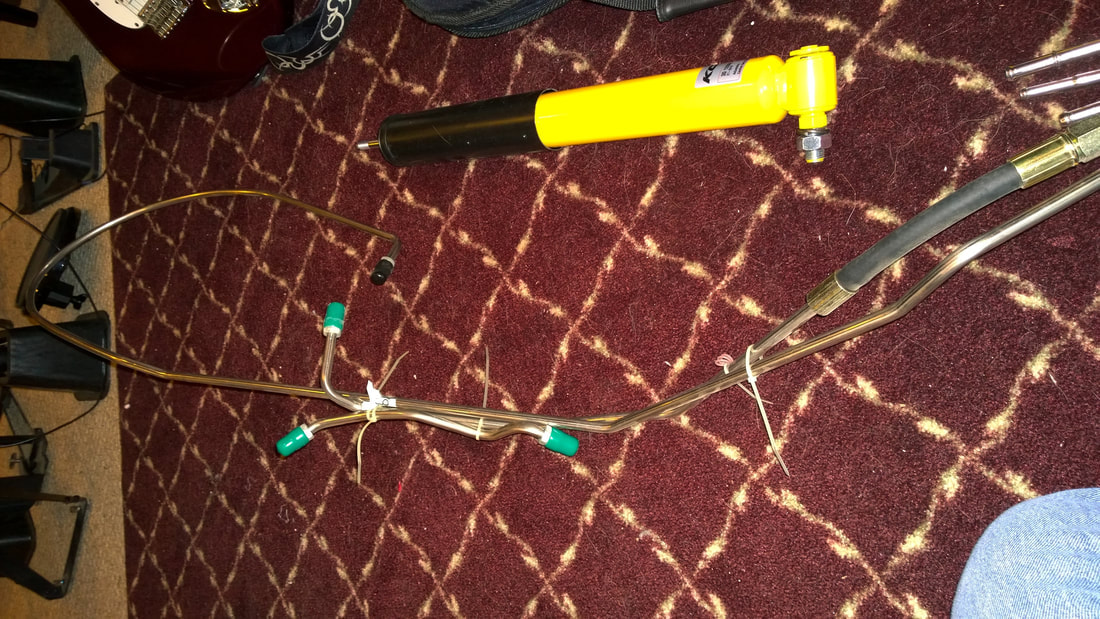
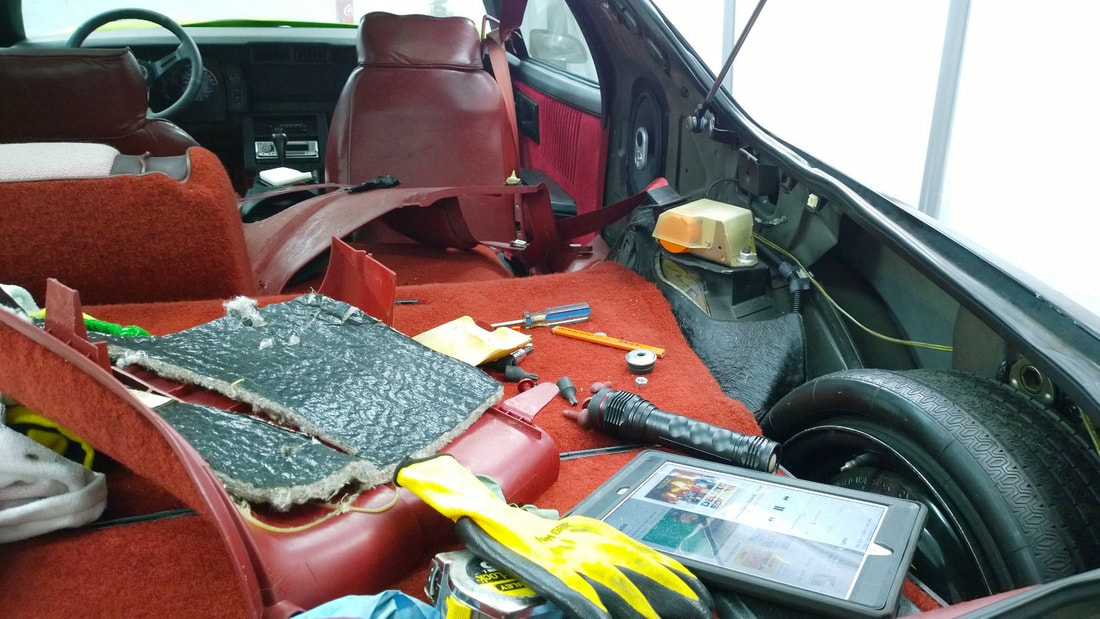
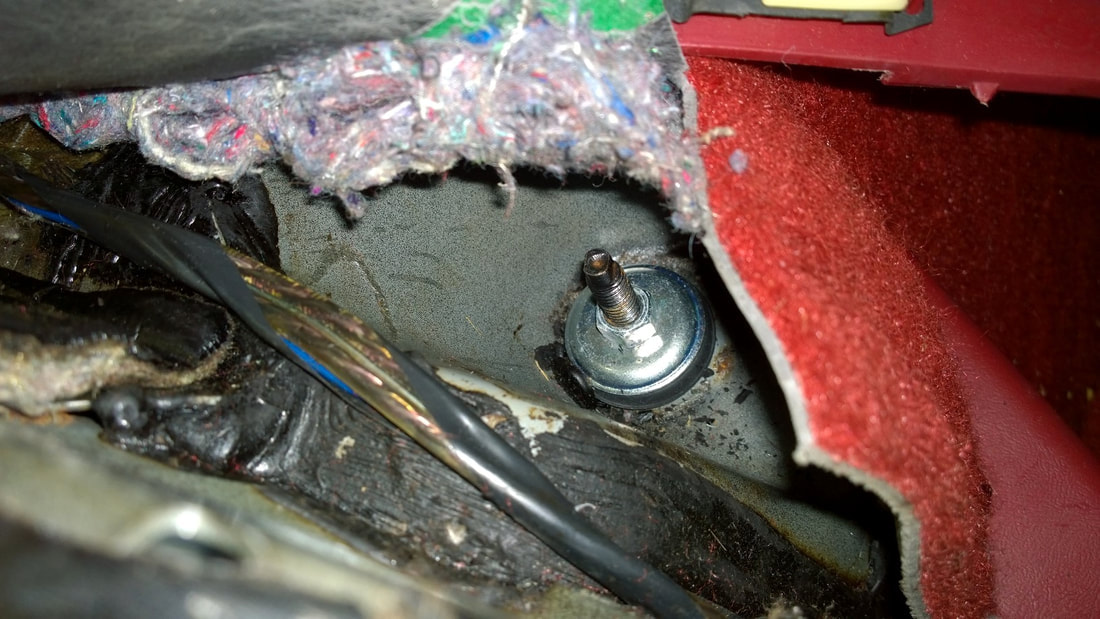
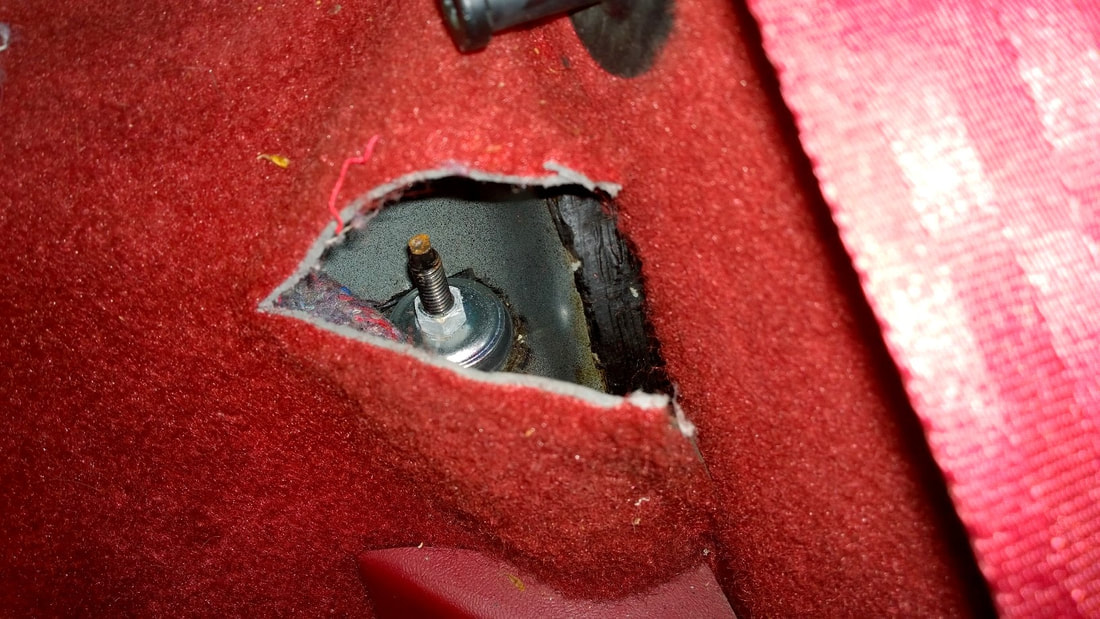
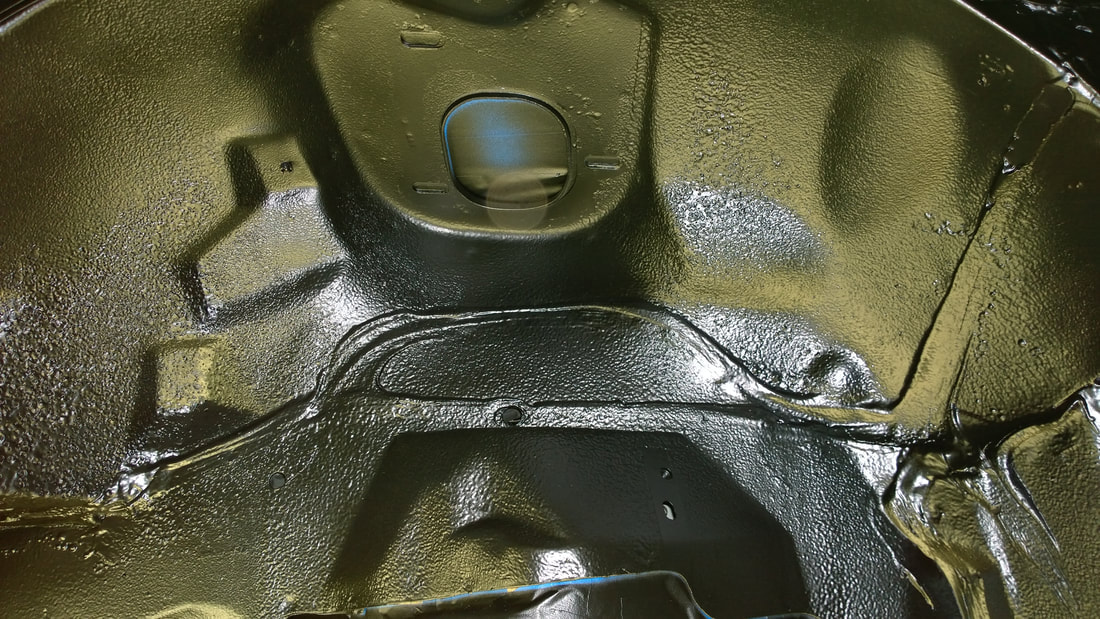
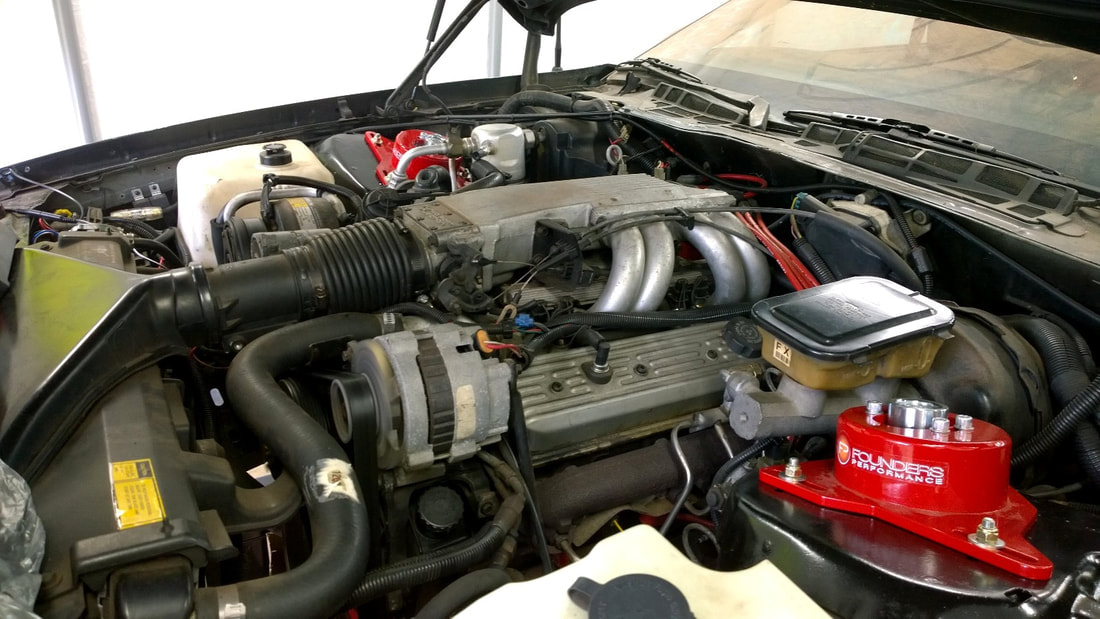
This time it was an 87 Iroc that belongs to one of Matt's friends. He wanted to drive it 1000 miles from Maryland to Iowa, but it needed a LOT of work before it could make that trip. We've both been working on it. The rear brake line was so rusty that it blew a hole near the rear axle. So far we've fixed the brakes, replaced all of the O-Rings in the air conditioning, and vacuumed and recharged it, fixed the trunk latch motor, the engine fans, and a bunch of small but annoying stuff (door handles, speakers, window regulator, lots of things). Neither of the fans came on regardless of the temperature so when the car was stuck in traffic the temperature hit 250 degrees. The fan relay was toast and possibly the temp switch. I wired the main fan to come on the moment the ignition was switched on. Some pictures are below. He made the 1000-mile drive without an incident.
old news...
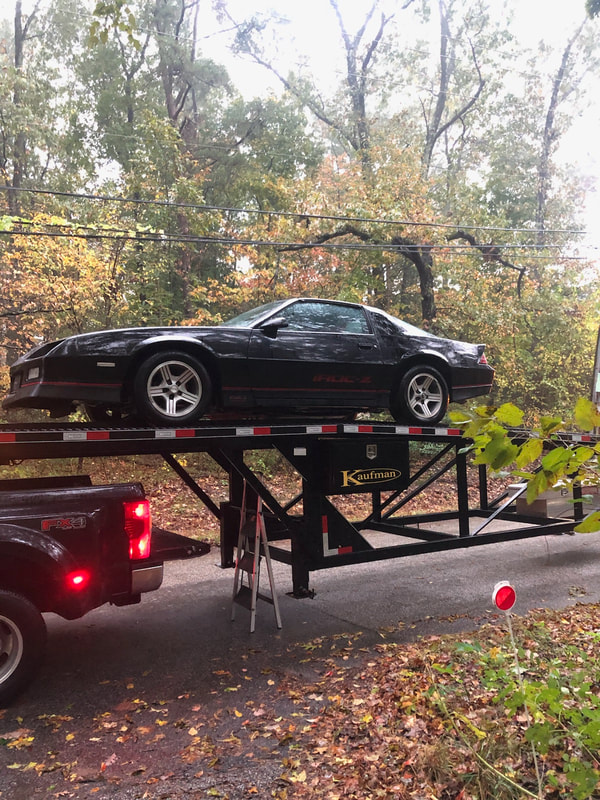
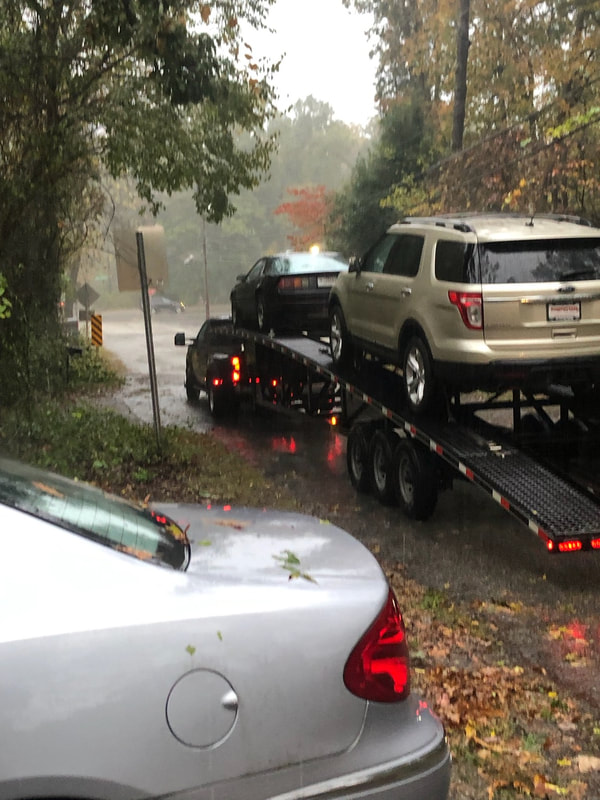
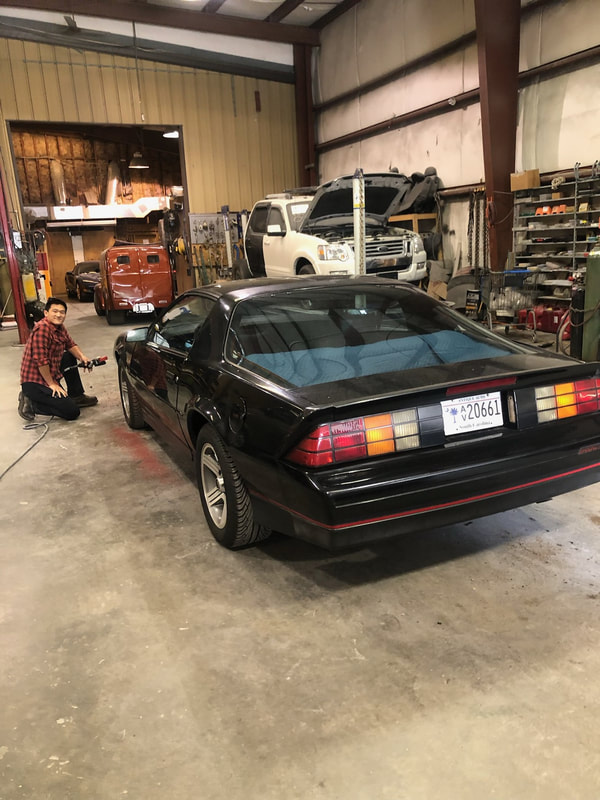
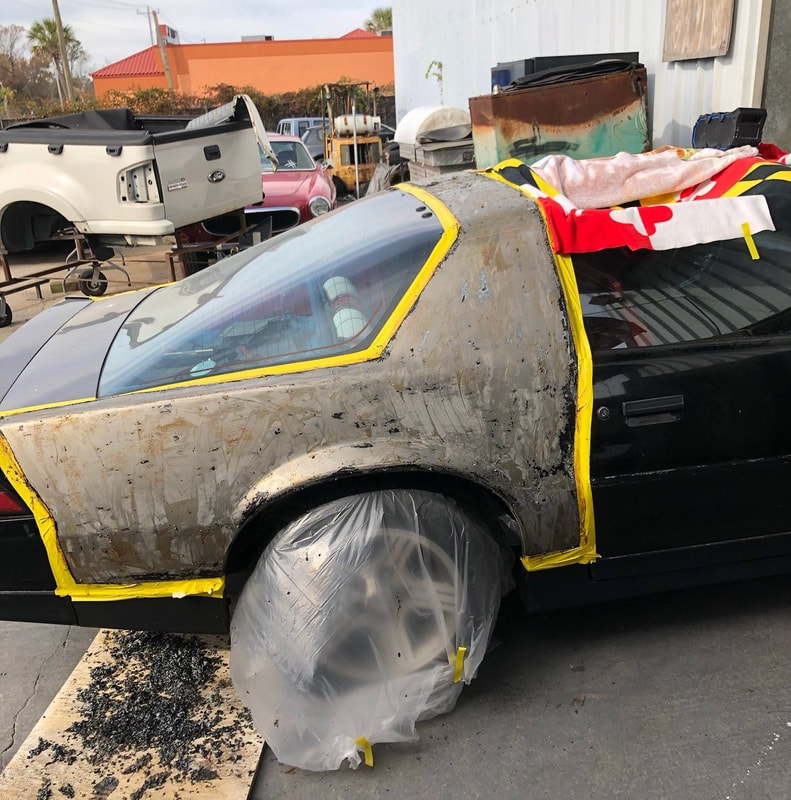
As a result of my COVID attack, Matt's car was transported down to a pro car shop near Little River SC. Unfortunately, that deal fell through. Covid damaged the shop's business to the point where they had to close, so his Camaro was transported back here. These are some pictures that he took while his GEN 3 was down there.
AND NOW (DRUMROLL, PLEASE!)
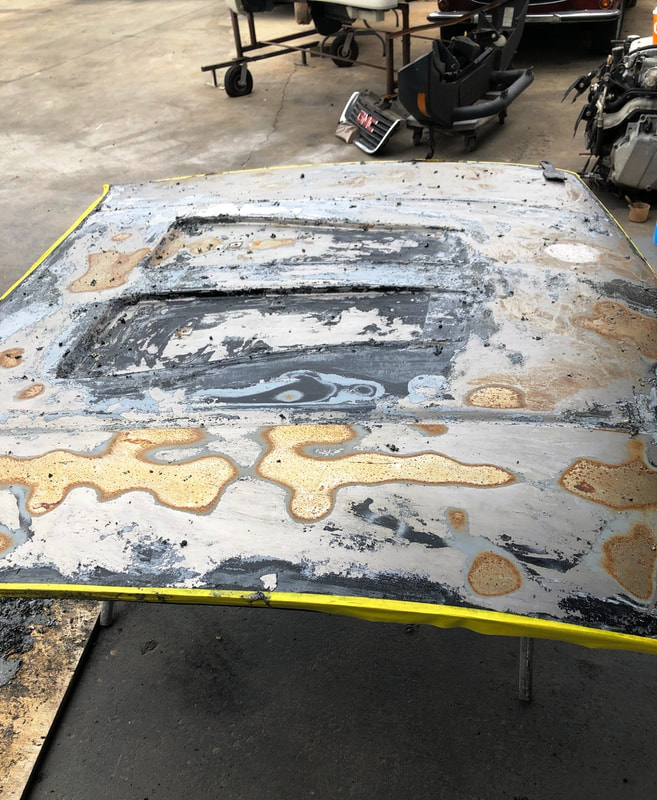
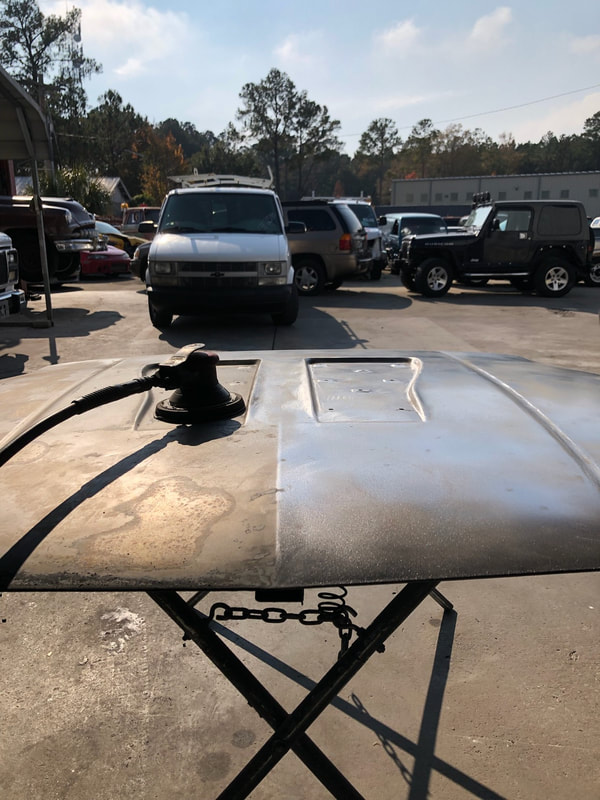
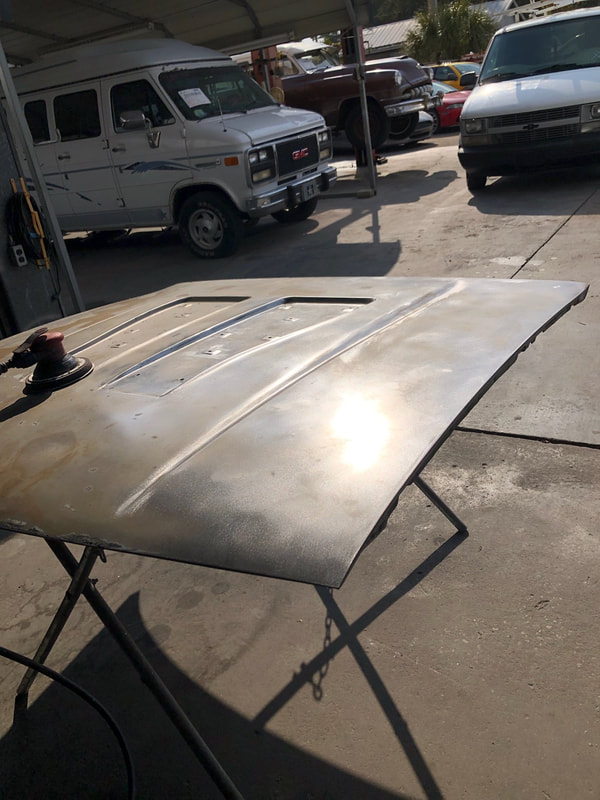
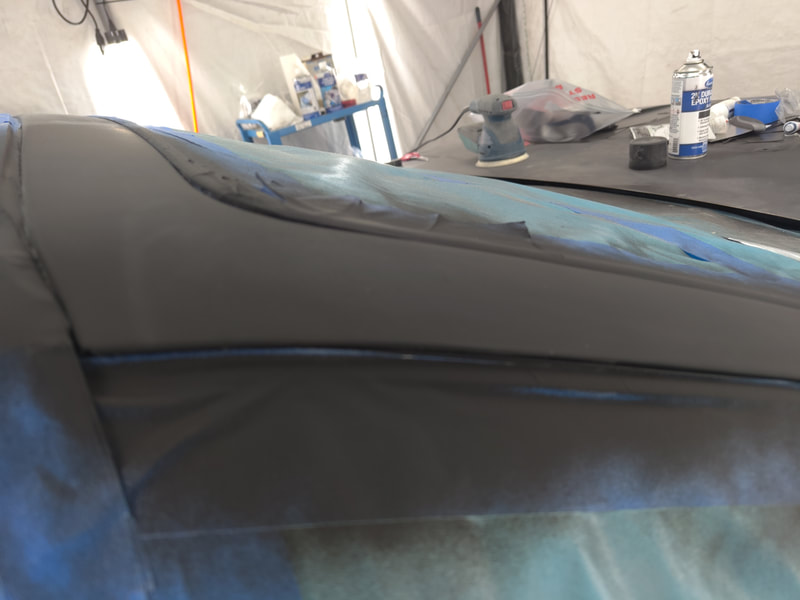
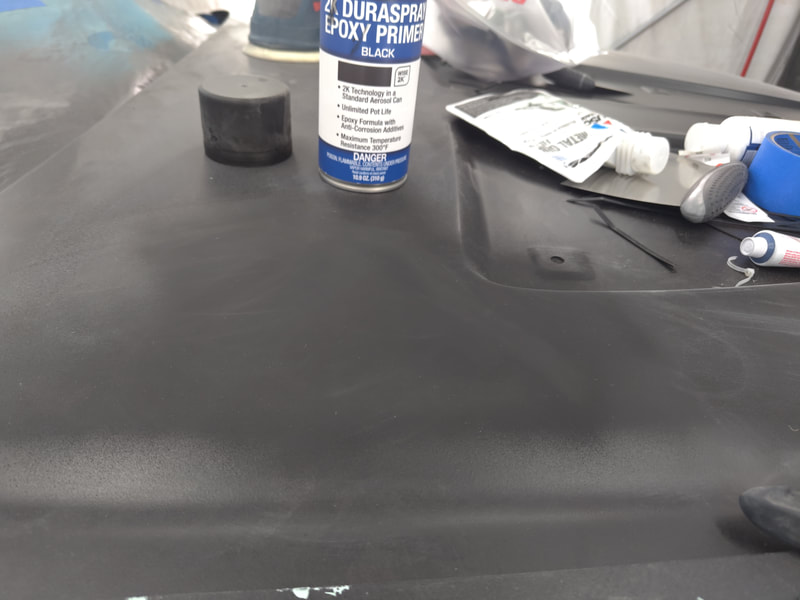
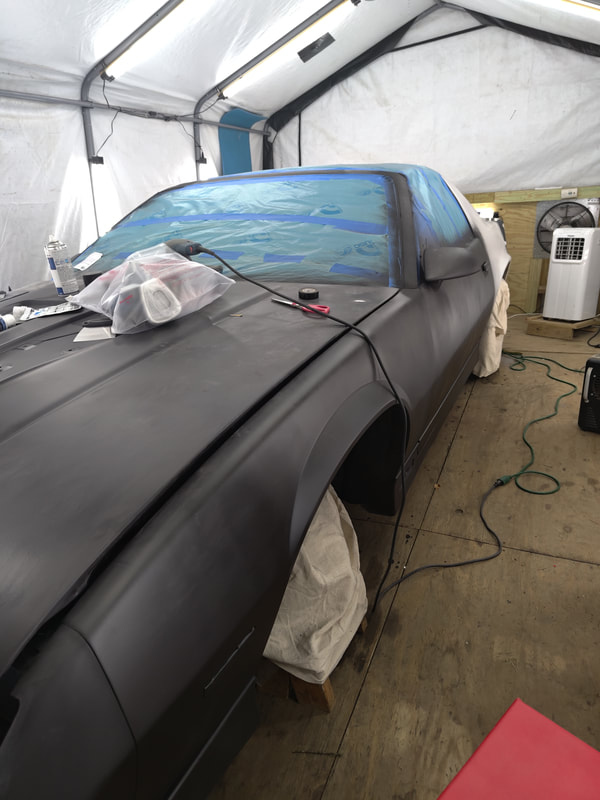
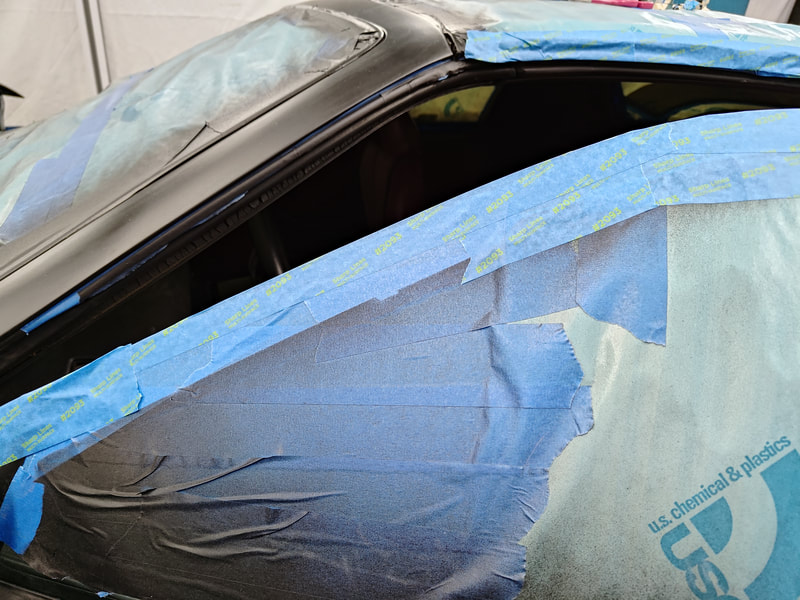
REMEMBER WHEN I SAID IN A PREVIOUS POST THAT I WAS THROUGH PAINTING CARS? I LIED!
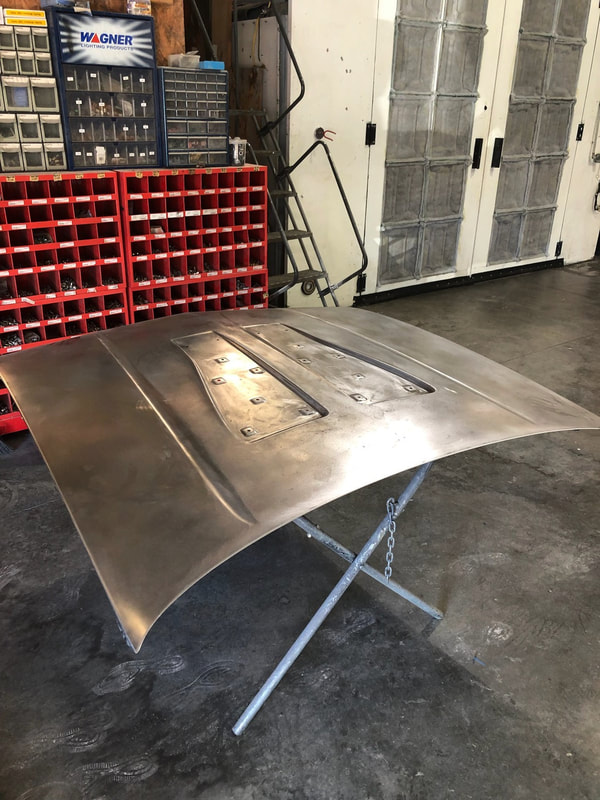
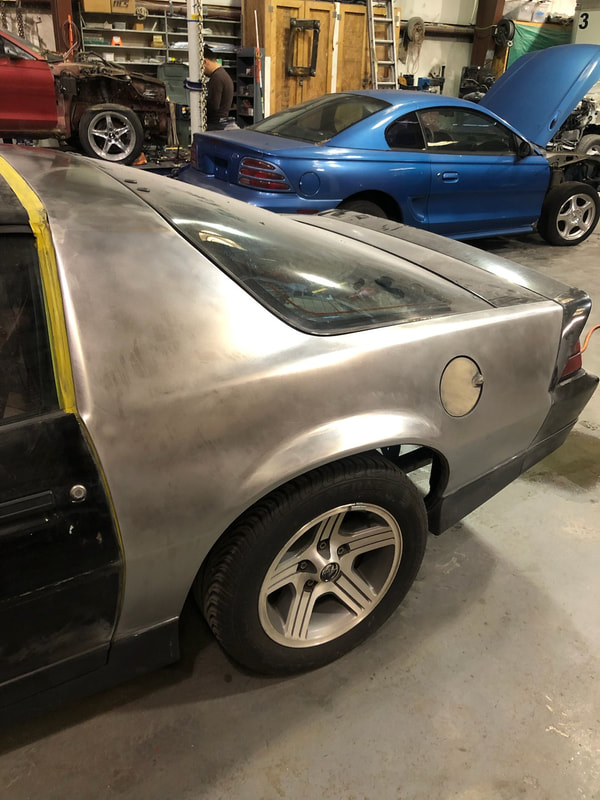
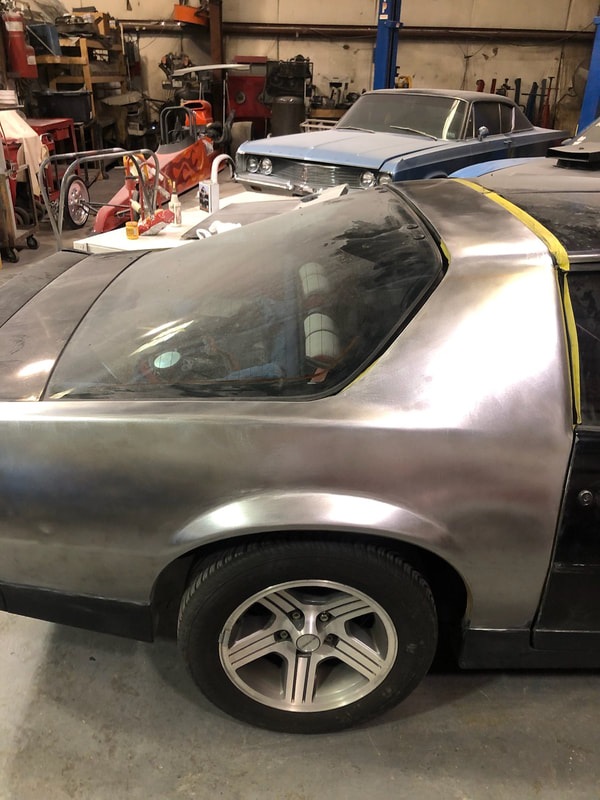
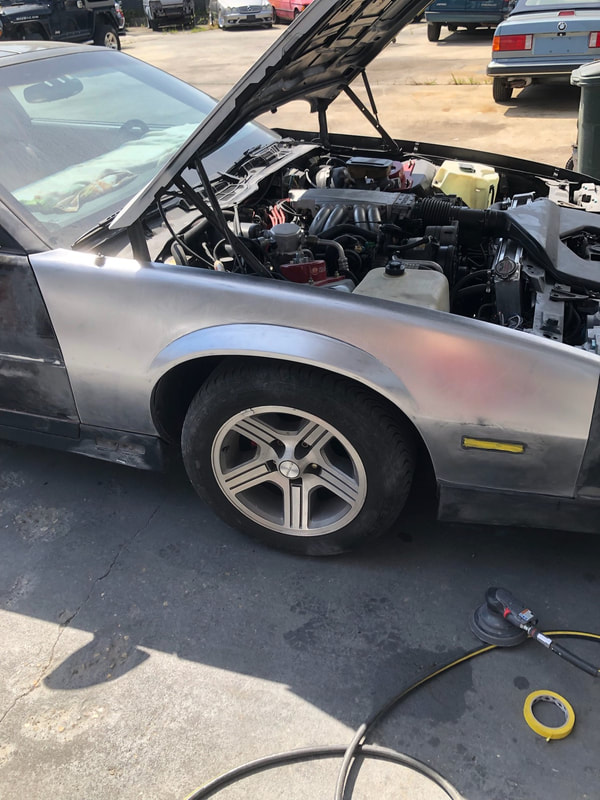
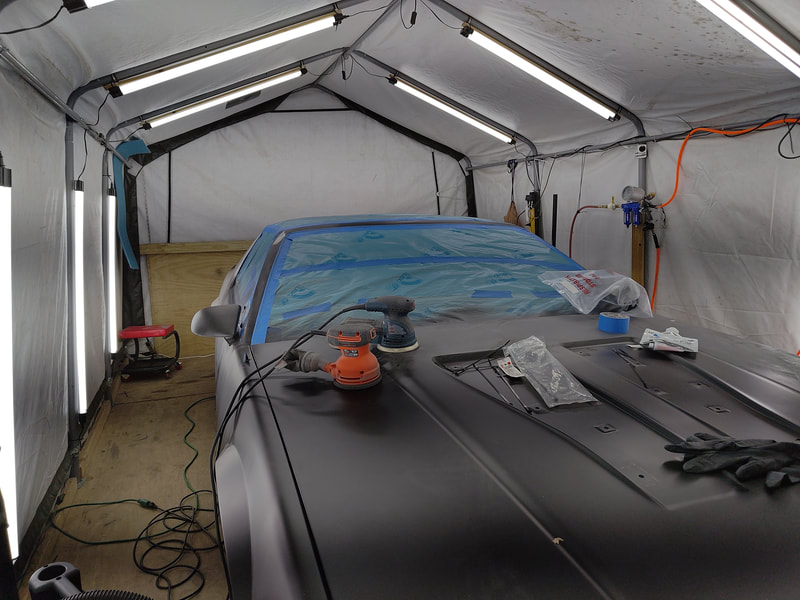
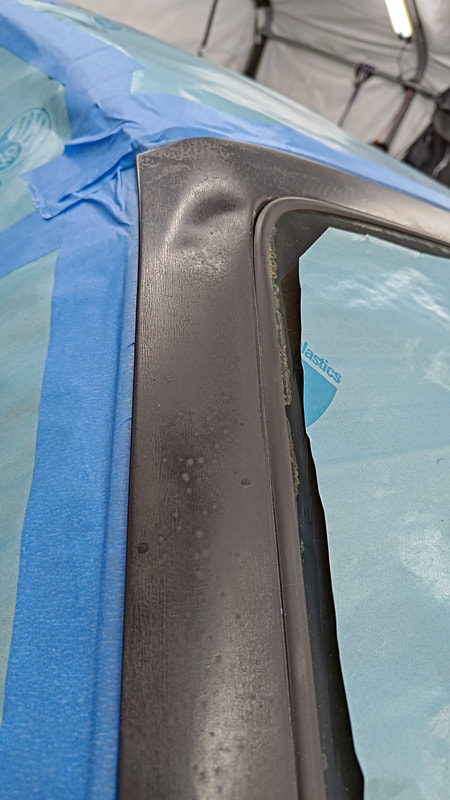
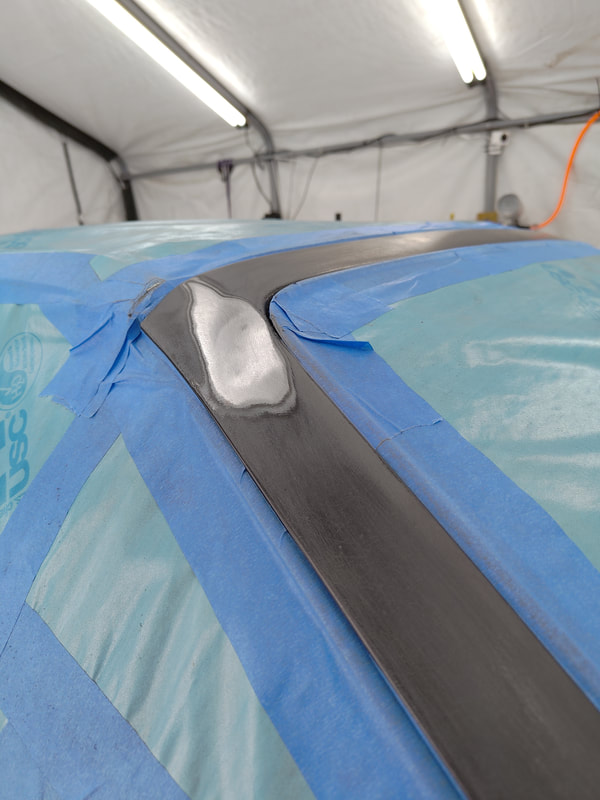
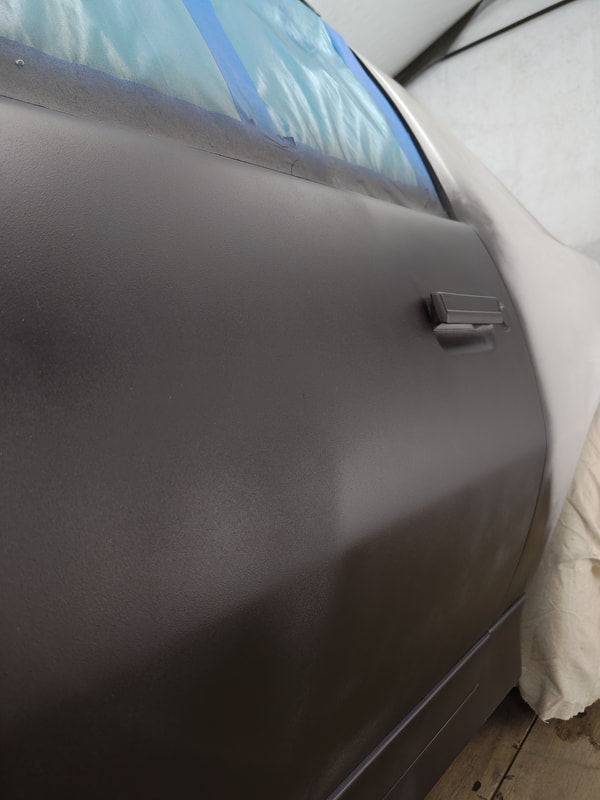
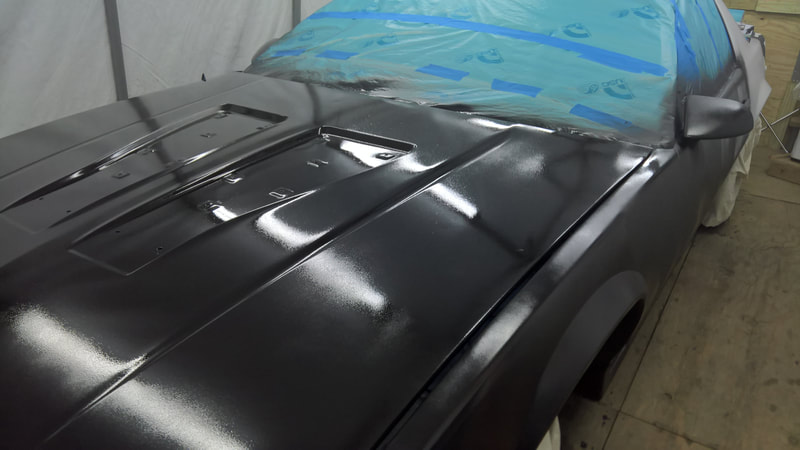
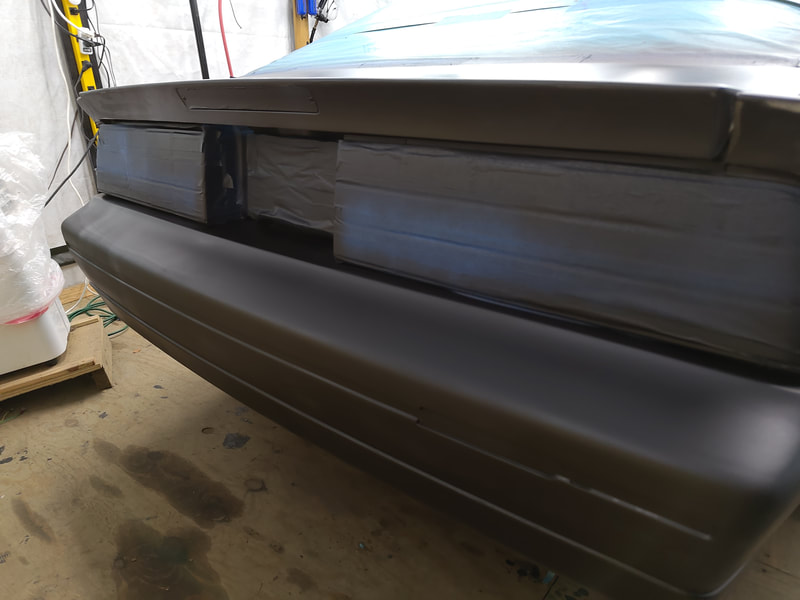
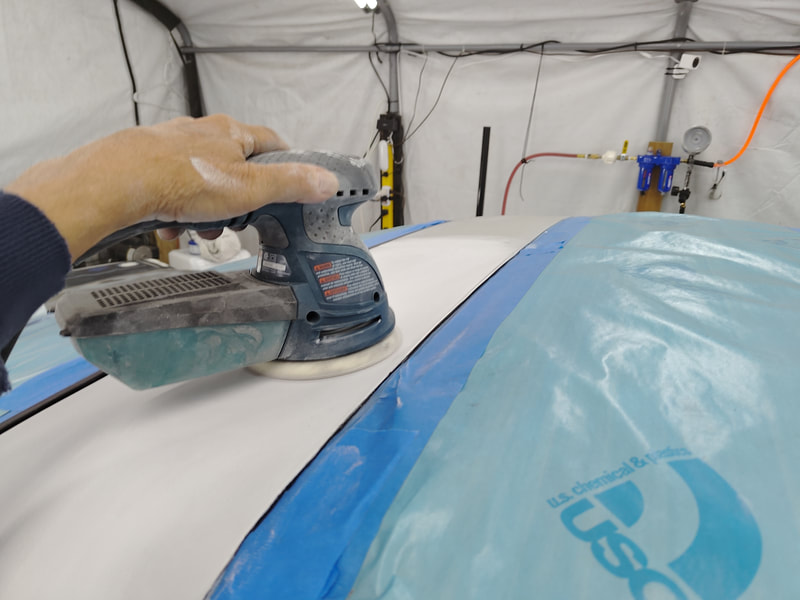
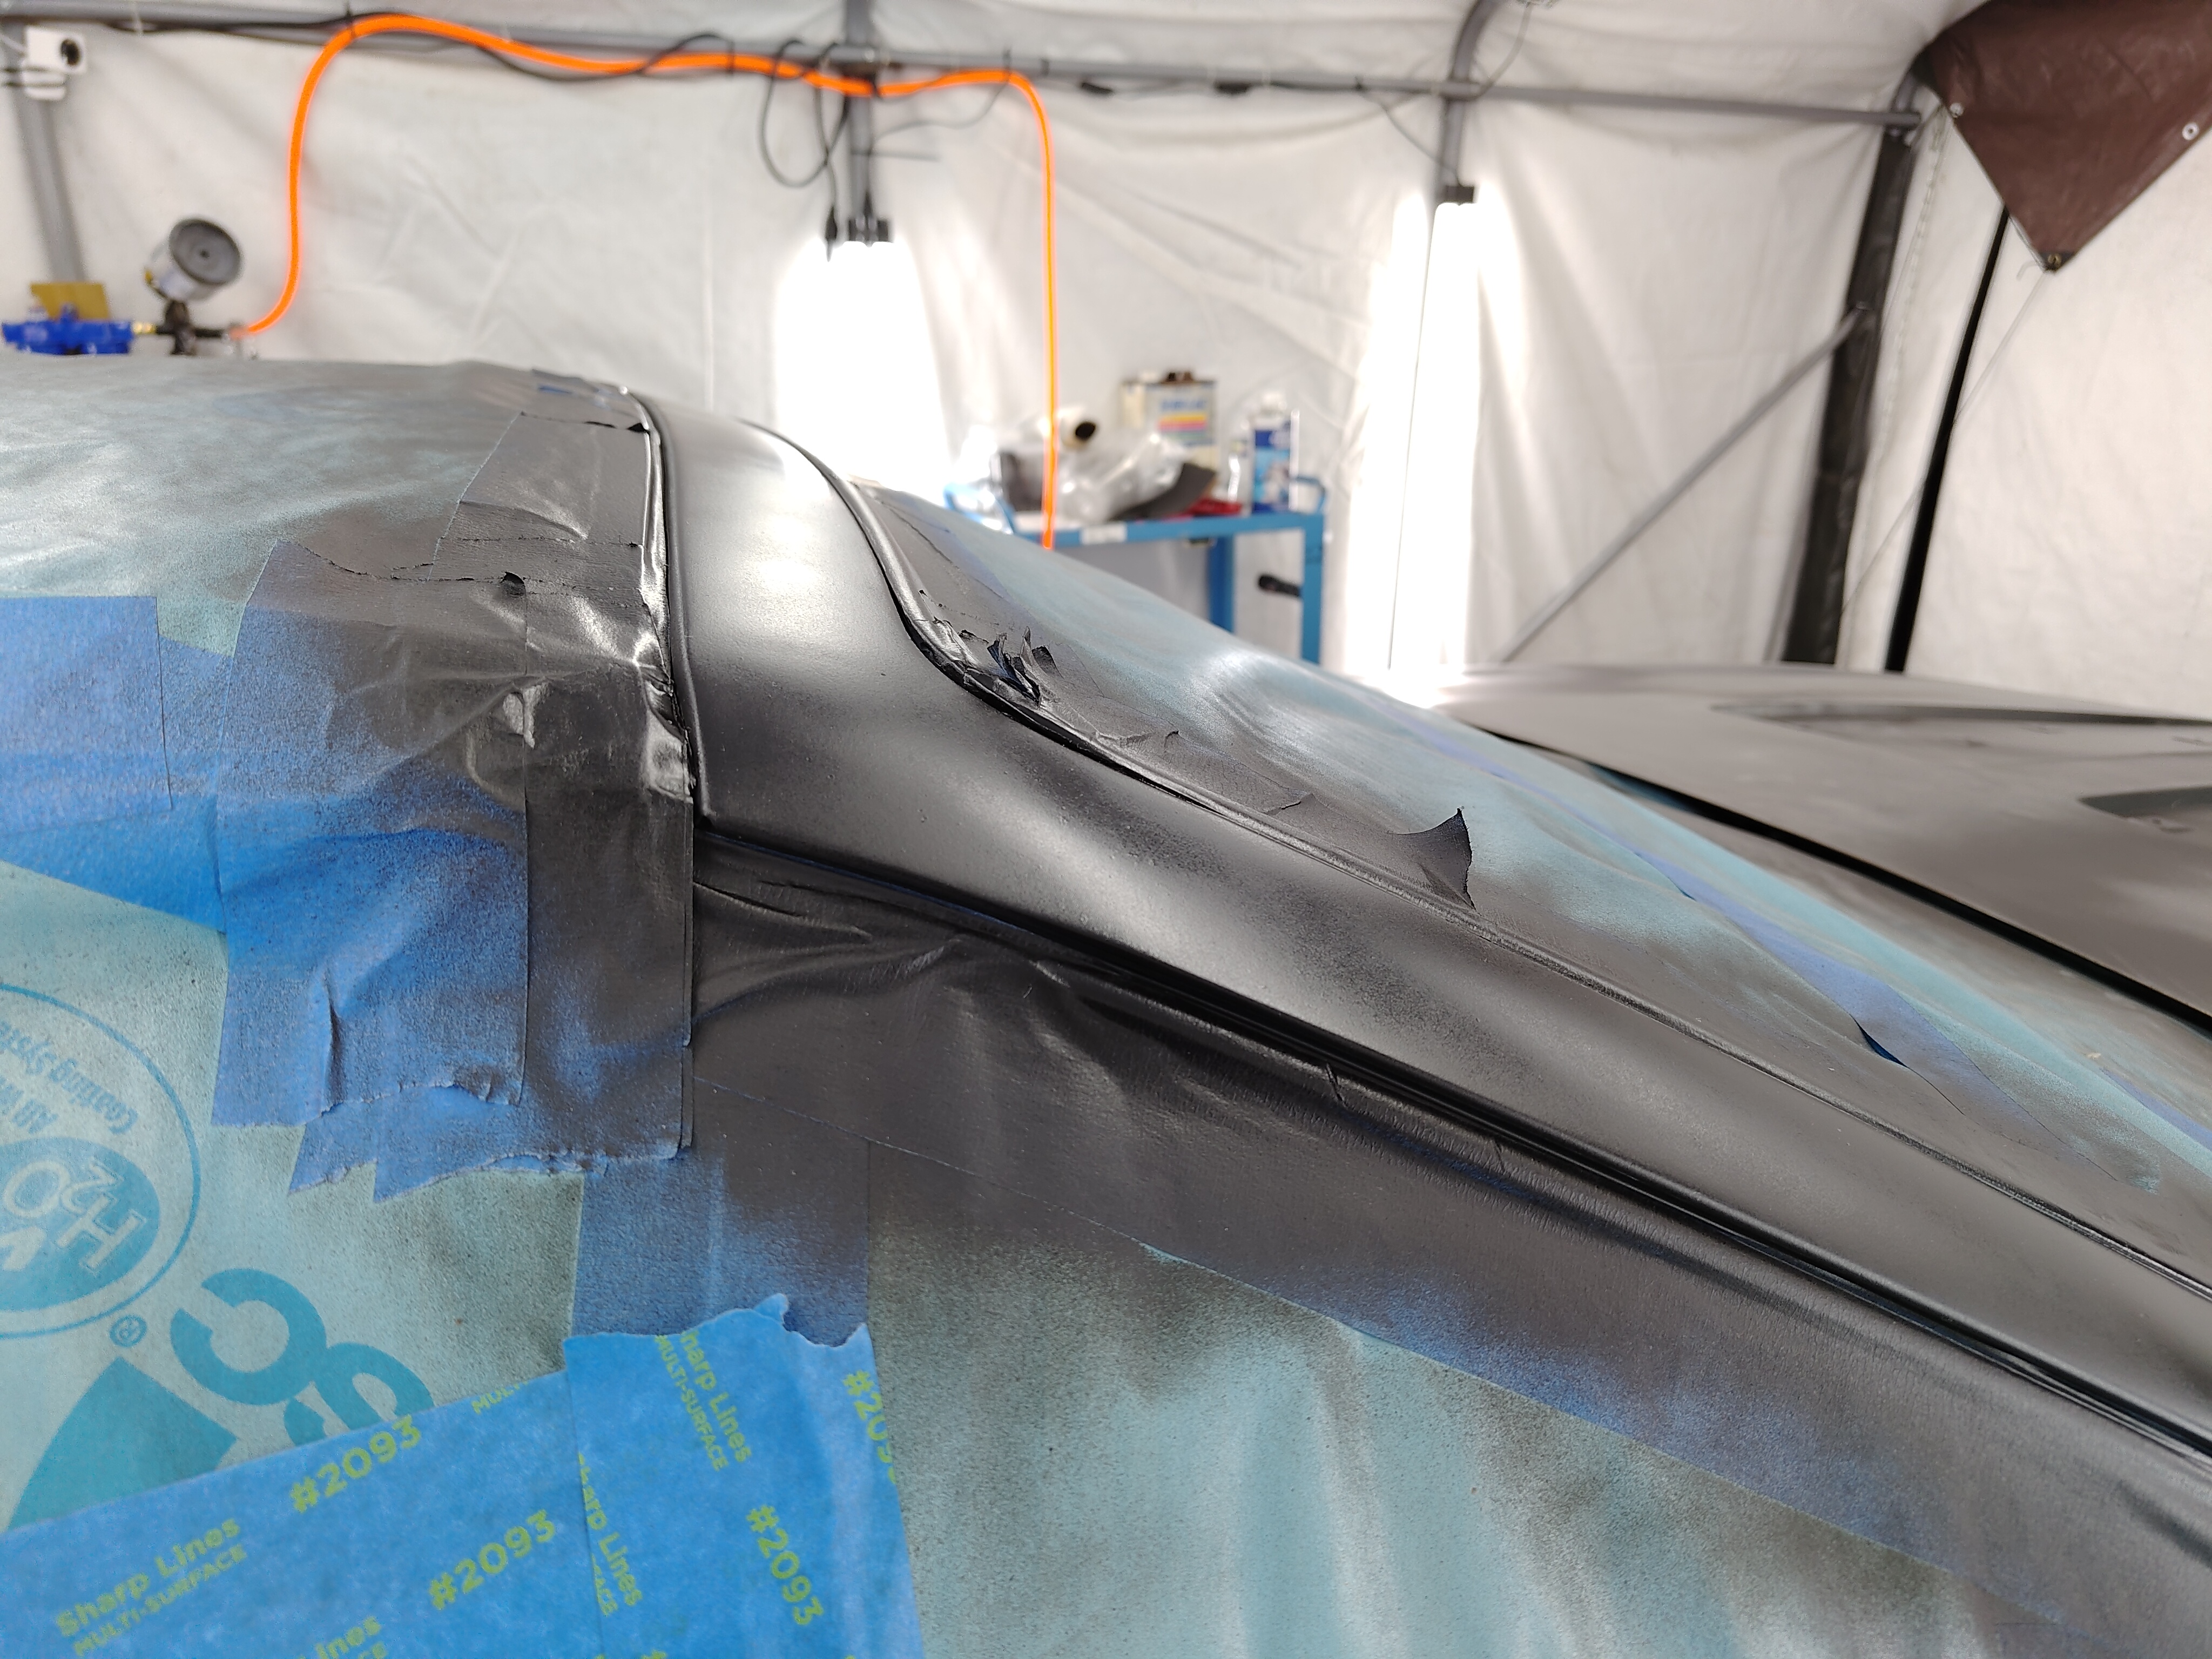
As the healing process from my COVID Pneumonia attack proceeded and I gained back strength enough to wear a respirator, I was back in the shelter. I bought a nice 3M model and a set of goggles, and got back into it.
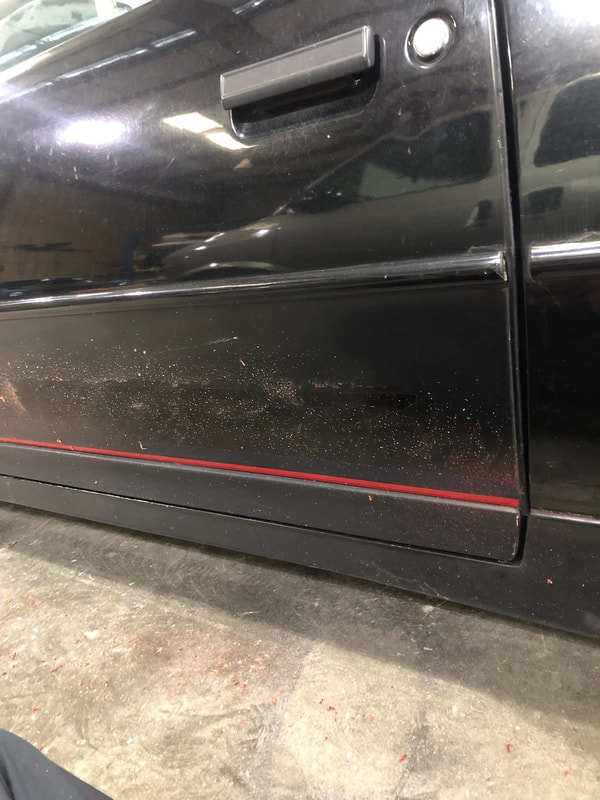
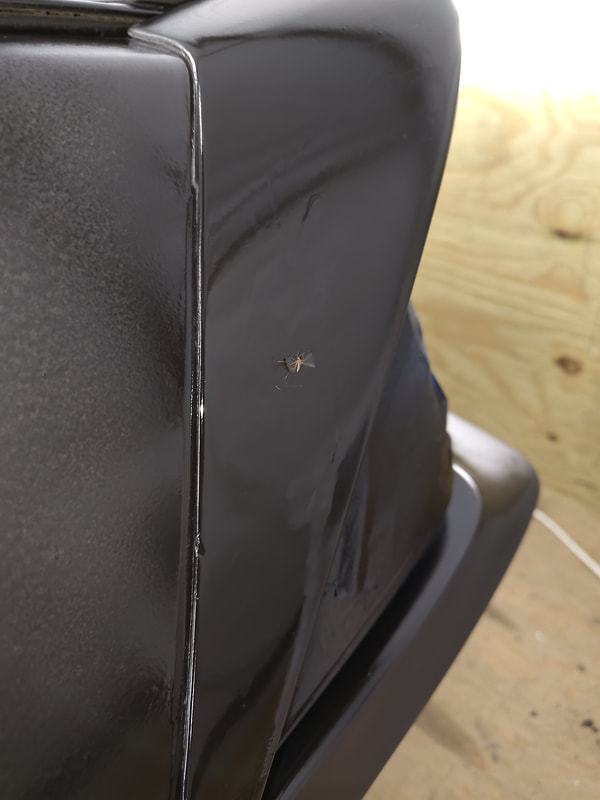
An interesting point about the new HVLP gravity feed paint guns and paints, compared to the old suction feed lacquer system is that the new HVLP method produces almost NO overspray and the odors are very low. Even my jeans didn't smell like paint. With laquer, paint overspray went everywhere, including the shop walls and my ear canals. Not so with HVLP. In one of the pictures below, you'll see a mosquito, beating his wings furiously to get to me except his feet are stuck in the epoxy primer. Old lacquer painters should be chuckling right now - in the "old" days, that bug wouldn't have lived long enough to reach the car. In fact, 50 years ago I would set my spray pattern on a piece of cardboard that I taped to the block wall. As soon as I did that, every flying insect in my "shop" fell to the floor, dead.
I taunted that mosquito until he died. He deserved it. We live near Chesapeake Bay, and the mosquitos are brutal.
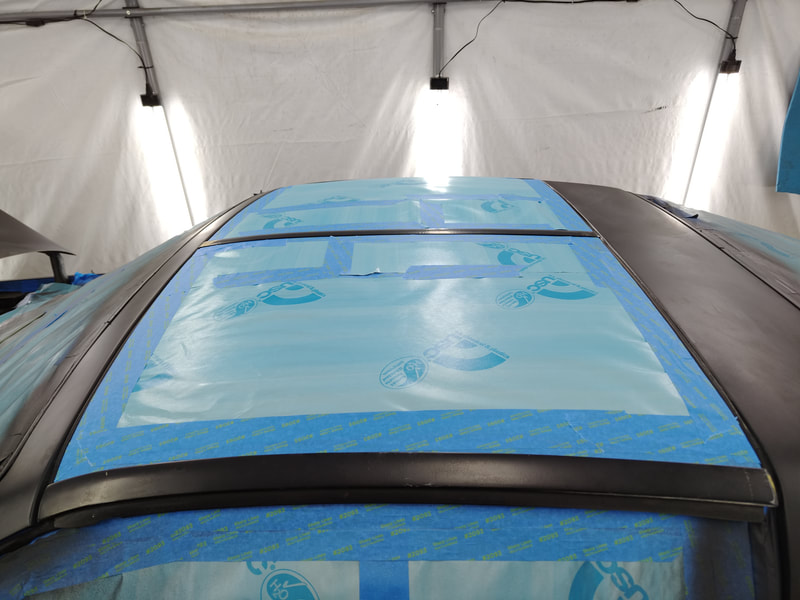
So let's get right down to some pictures. This whole section will be under construction for a few weeks
A/C REPAIR
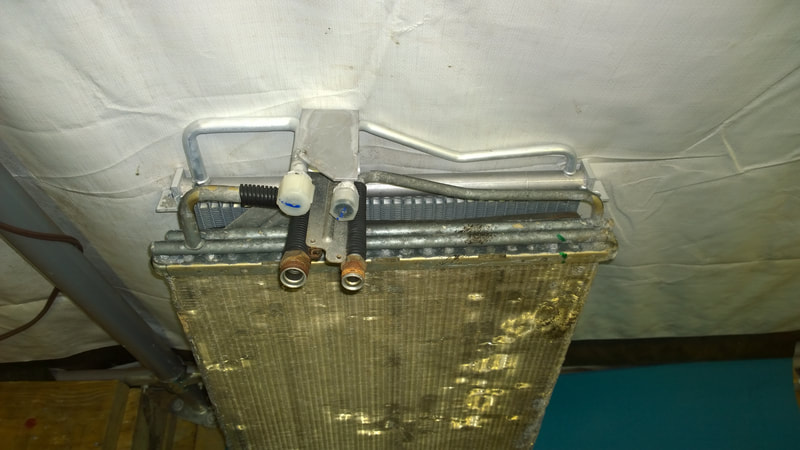
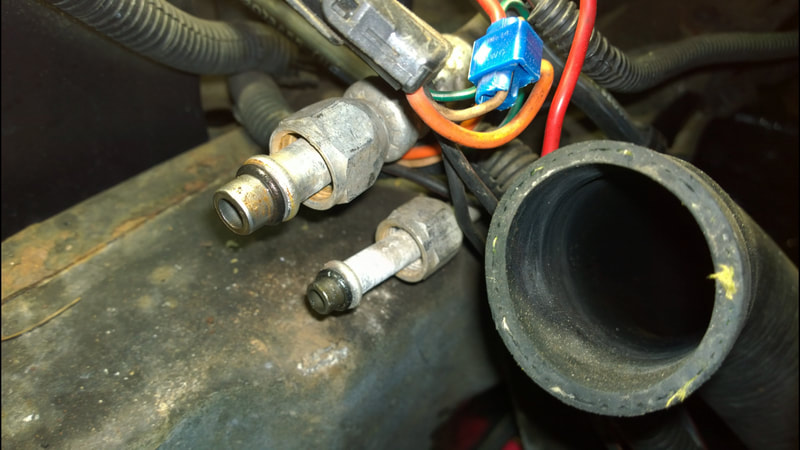
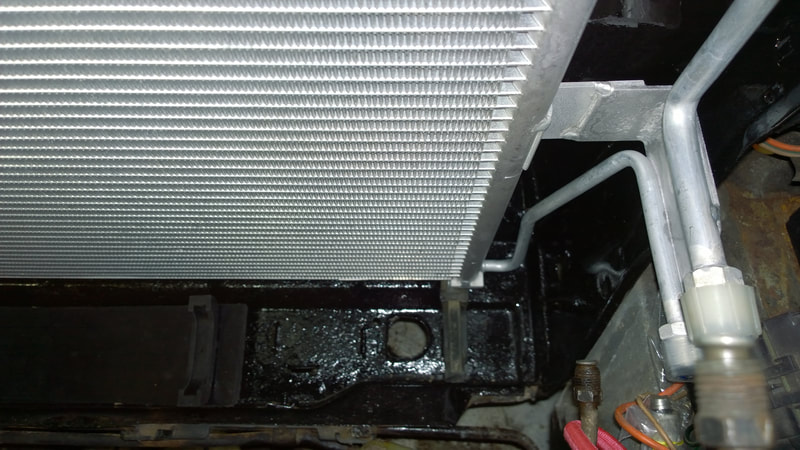
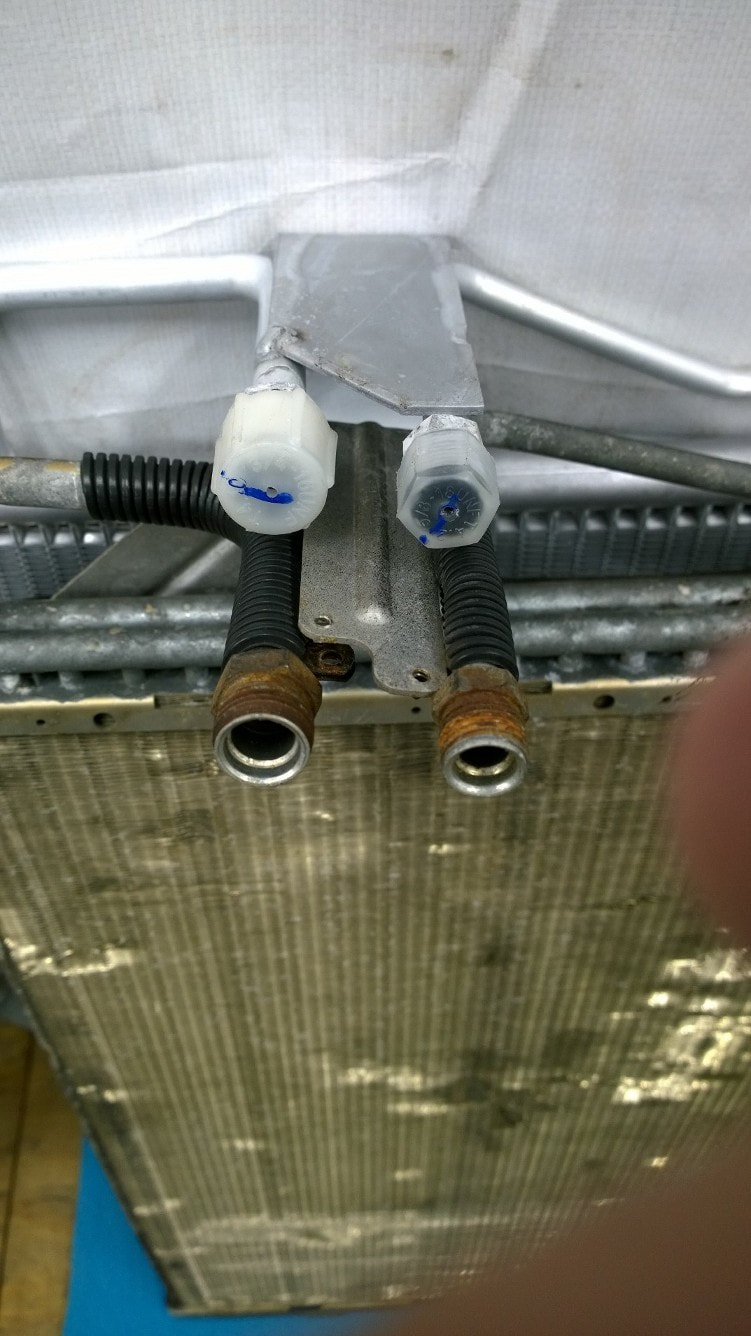
When we replaced the radiator, we also replaced the AC condenser, since it was a rusty mess. It worked, and the AC was cold, but there was no point leaving the old one in, so we replaced it with a heavy-duty aluminum one from Spectra. I didn't want to do this, based on the problems we had with their gas tank, but they were the only game in town. The other brands were either sold out, cheaply made, or they required adapters for the lines. The Spectra did not. The lines connected to the Spectra condenser just like the original unit. So score one point of redemption for Spectra.
I installed everything and pressure-tested the system with 42 psi of R-134A. No leaks! After 24 hours, the system was still showing 42 psi.
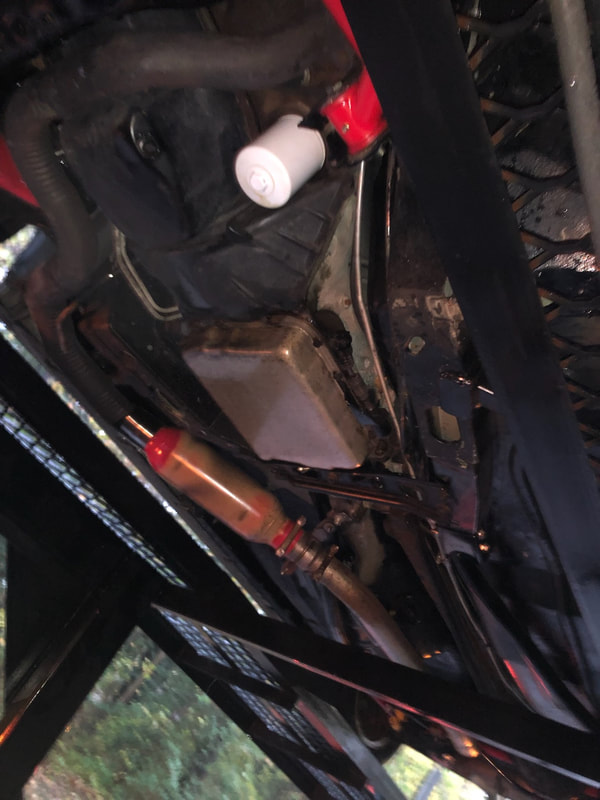
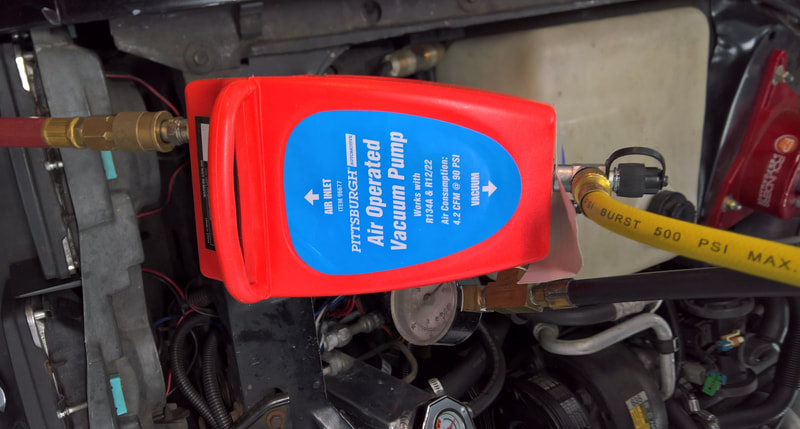
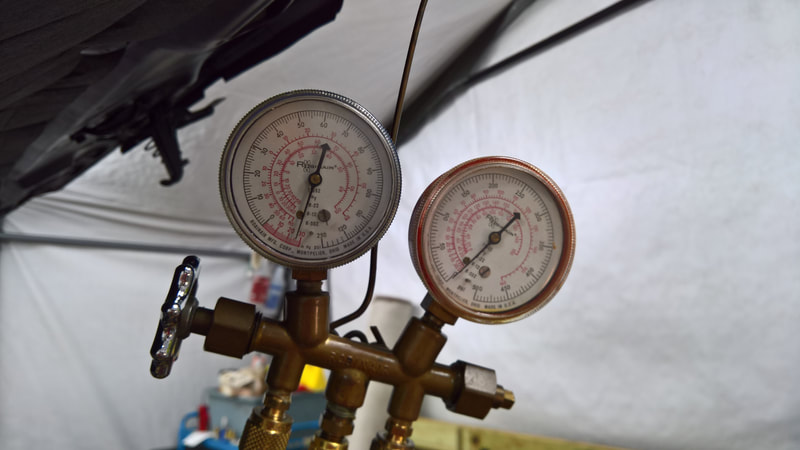
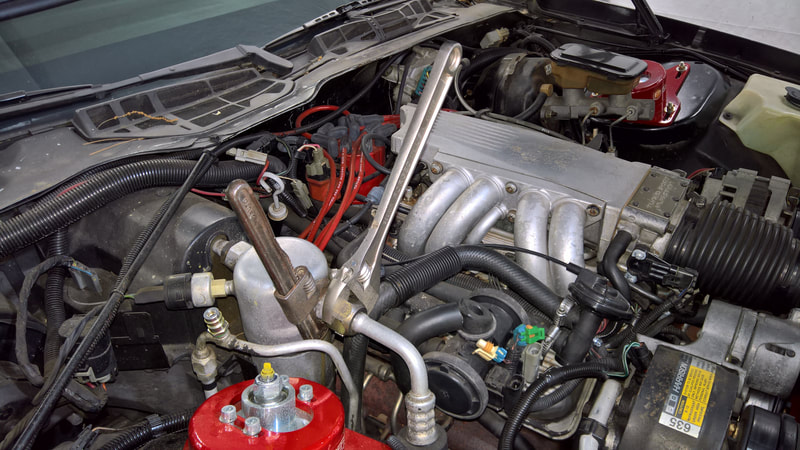
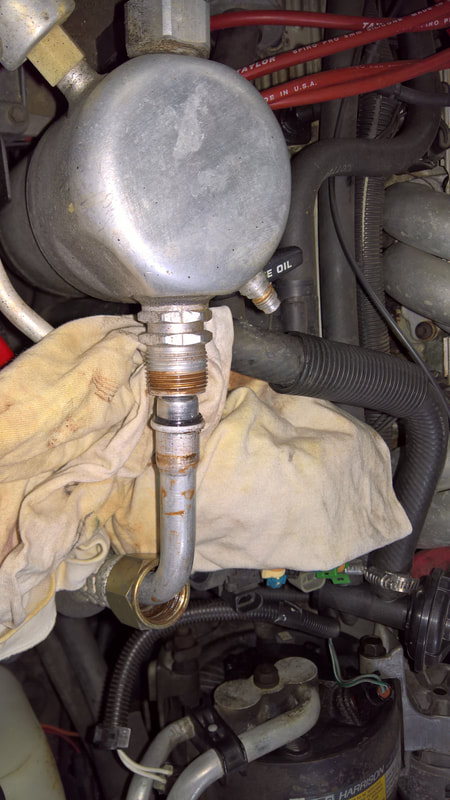
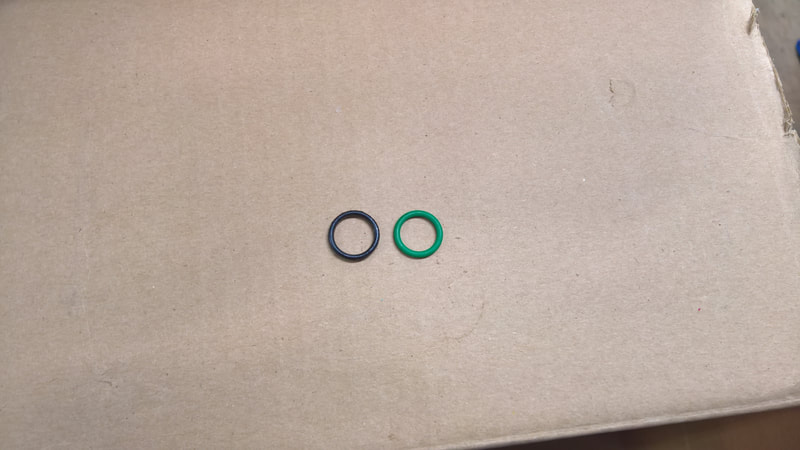
While i was at it, I also bought a NOS AC-Delco "made in the USA" accumulator/dryer, and a nitrile O-ring assortment. I replaced both the low and high-side O-rings when I replaced the old accumulator. To pull down the system, I decided to try an inexpensive toy from harbor Freight tools that uses air from your shop compressor. It requires a large amount of air volume - about 4.5 CFM at 90 PSI, at which volume it will draw down to -28.5 inches of Mercury (Hg). The photos tell the story. After 30 minutes of noise, it had our system down to -25 in. Hg, at which point I decided to see if the gadget did the job.
cherry bomb!
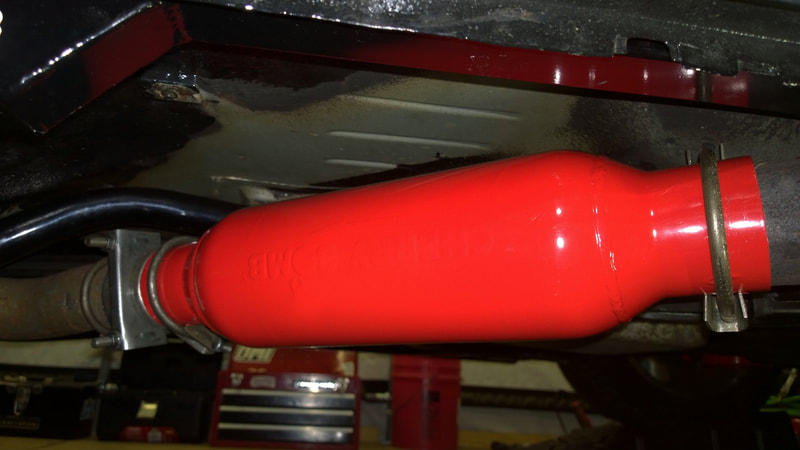
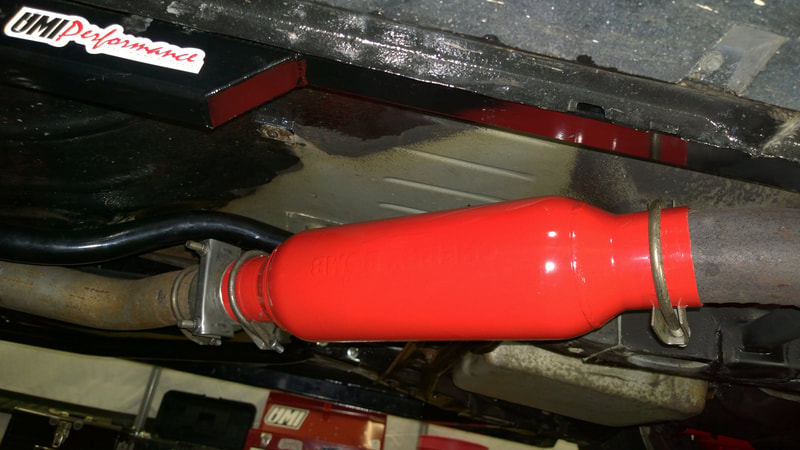
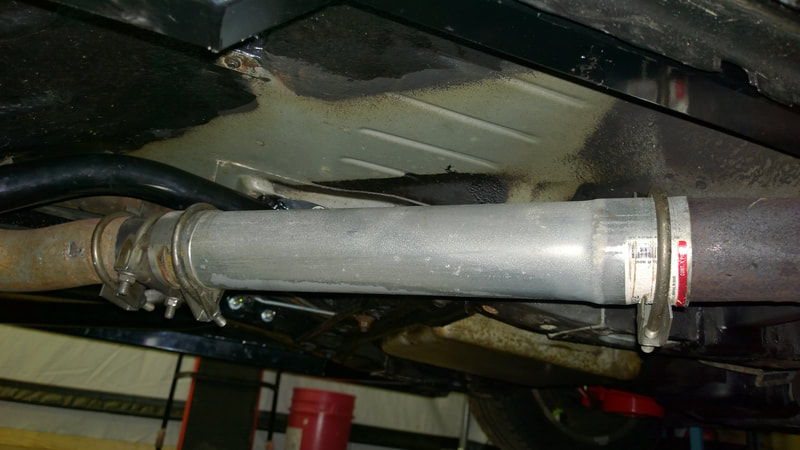
Are you running your original Flowmaster system, and the catalytic converter is falling apart? Do you have Historic plates? Why not slap a Cherry Bomb M-80 resonator in its place? "Disturbing the Peace since 1968". I actually remember when the Bomb came out - it was a direct competitor to the Thrush muffler. Well, neither of those were really a muffler. Check out the pictures and video below. The part # is M80300.
In retrospect, we probably should have bought the Bomb with 2 1/2" ID outlets instead of 3", and then adapted the upstream exhaust pipe from 3" OD down to 2 1/2" OD. The reason is that when we install headers, we might go with straight 2 1/2" pipes front to rear (if we can make them fit), with dual Cherry Bombs. OR, we might go with headers and a Y-pipe that will work with the Flowmaster system. If we switch to headers soon enough, we probably could have re-used a 2 1/2" Cherry Bomb.
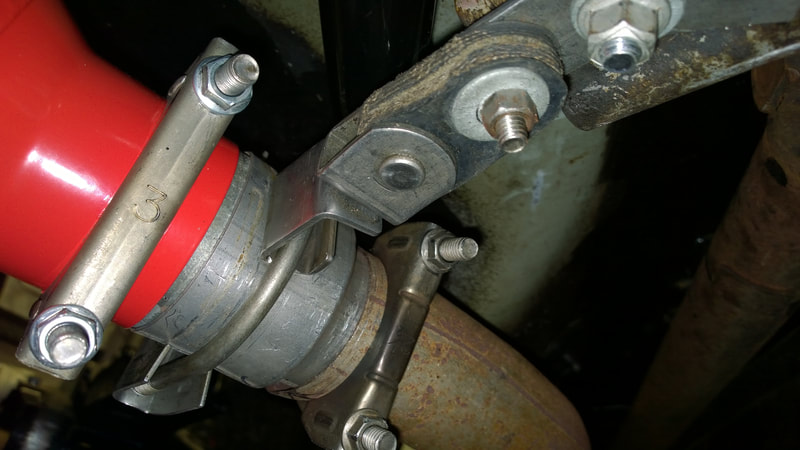
The "Bomb", at an overall length of 19 inches, is a direct fit where the converter once sat. You don't need to cut the bell end off the tailpipe, but we did. You will need some support at that point so we created a hanger from an existing Autozone product and part of the old converter bracket. Some drilling is required. The overall sound is pretty cool, so turn up the volume, connect a subwoofer, go to the link below, and listen to the sound of a Flowmaster, married to a Cherry Bomb!
The "Bomb", at an overall length of 19 inches, is a direct fit where the converter once sat. You don't need to cut the bell end off the tailpipe, but we did. You will need some support at that point so we created a hanger from an existing Autozone product and part of the old converter bracket. Some drilling is required. The overall sound is pretty cool, so turn up the volume, connect a subwoofer, go to the link below, and listen to the sound of a Flowmaster, married to a Cherry Bomb!
EASTWOOD HAS ARRIVED. Just about everyone who works on cars has heard of Eastwood. They have a wide array of auto tools, including everything you could ever want for painting your hot rod. They opened a store 2 miles from our house, and the store is well-stocked. The local paint stores have stopped selling to DIY'ers, whereas Eastwood caters to us, so this will make selecting a paint and style (single or 2-stage) easy when the time comes. But first we have some other stuff to do, like sub-frame connectors and headers.
SUBFRAME CONNECTORS
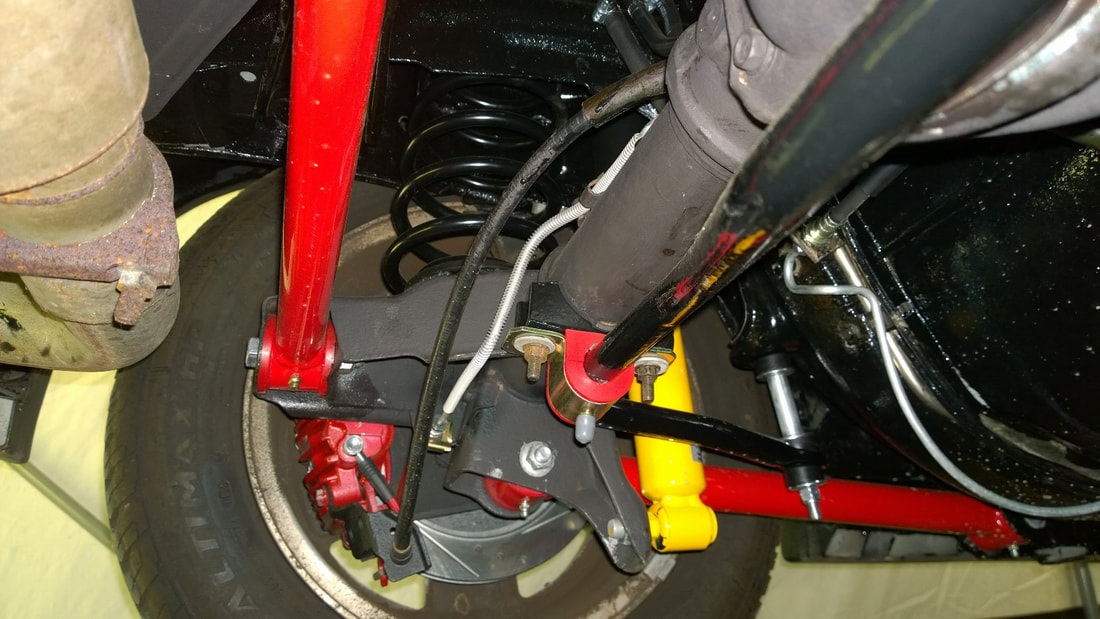
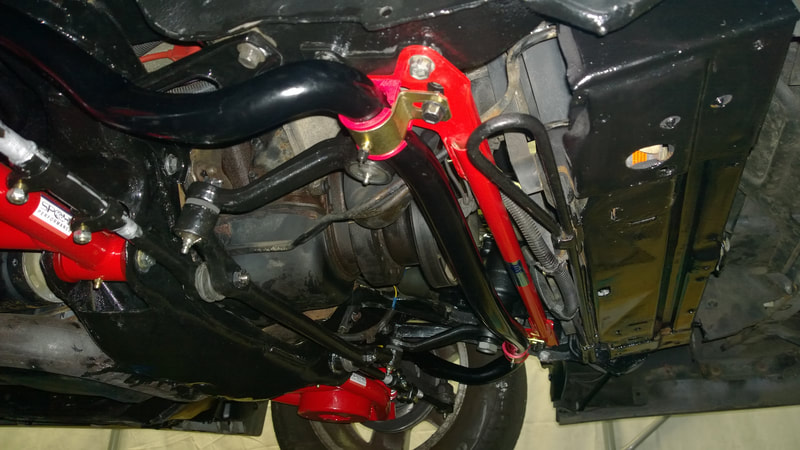
Matt bought a complete set of inner and outer subframe connectors, and they've been installed by a shop. Ironically, they chose not to weld the bolt-on ones, a tactic that as an engineer, I support. The outer ones were welded at the front. Pictures and driving impressions are coming soon.
ENGINE COOLING: THE 3-CORE CHAMPION RADIATOR WORKS!
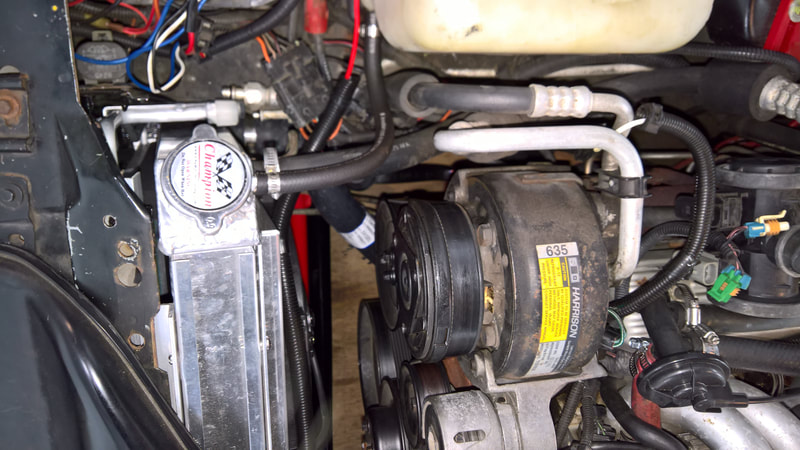
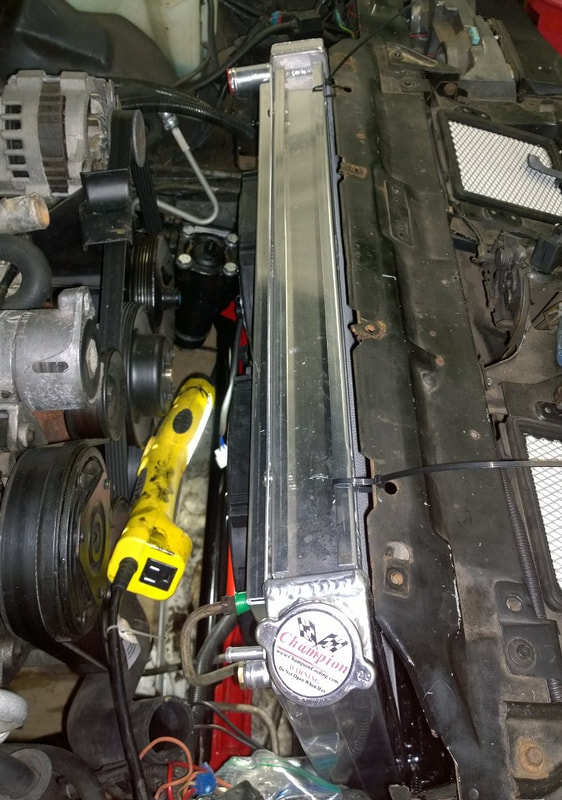
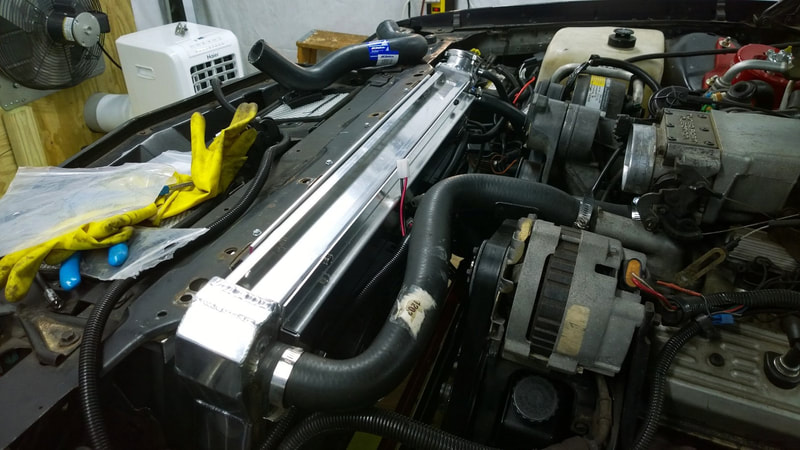
We've been running around in the car for six months now with the new 3-core Champion radiator, and our temperatures are about 30 degrees cooler than with the original plastic and aluminum single-core version. And it looks cool. Pictures are below.
ROAD TEST
May 30, 2020: We finally pulled the Iroc out of the shelter for a road test. It drives like a new Camaro! Naturally, we have a few bugs to work out, but at least nothing fell off.
BACKGROUND
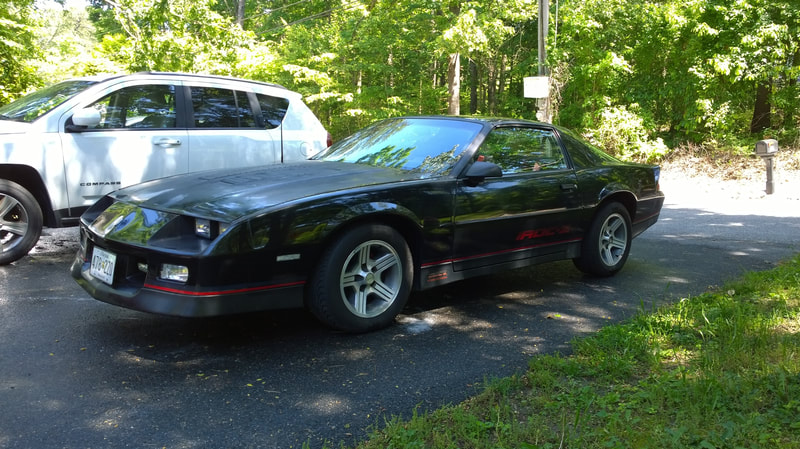
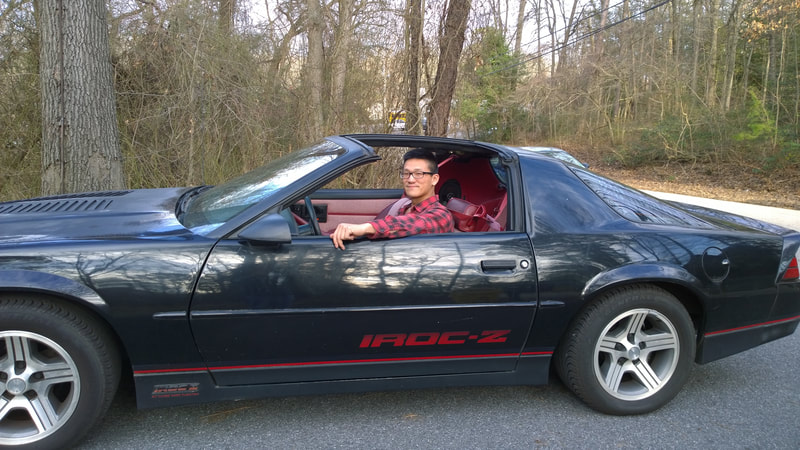
Background: Our son Matt brought home an '89 Iroc z 5.7L in the spring of 2018. It ran like a tiger but it needed some electrical work. The tachometer needle bounced all over the place. Some of the interior parts were missing or a mess. And the stock headlights were terrible, especially when pitted against new headlights from approaching cars.
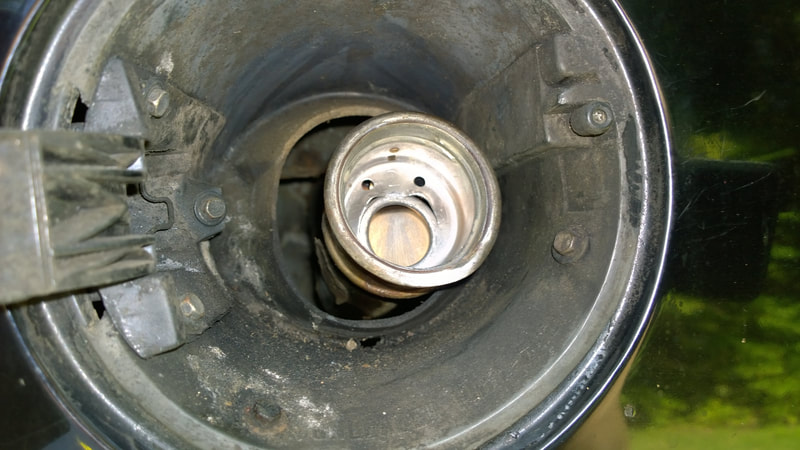
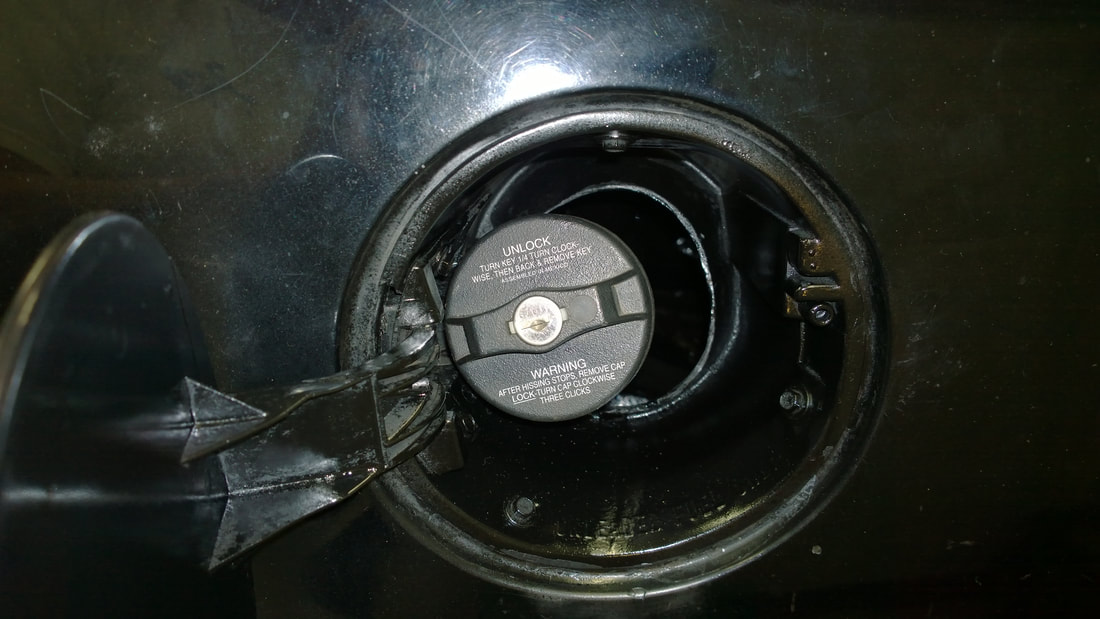
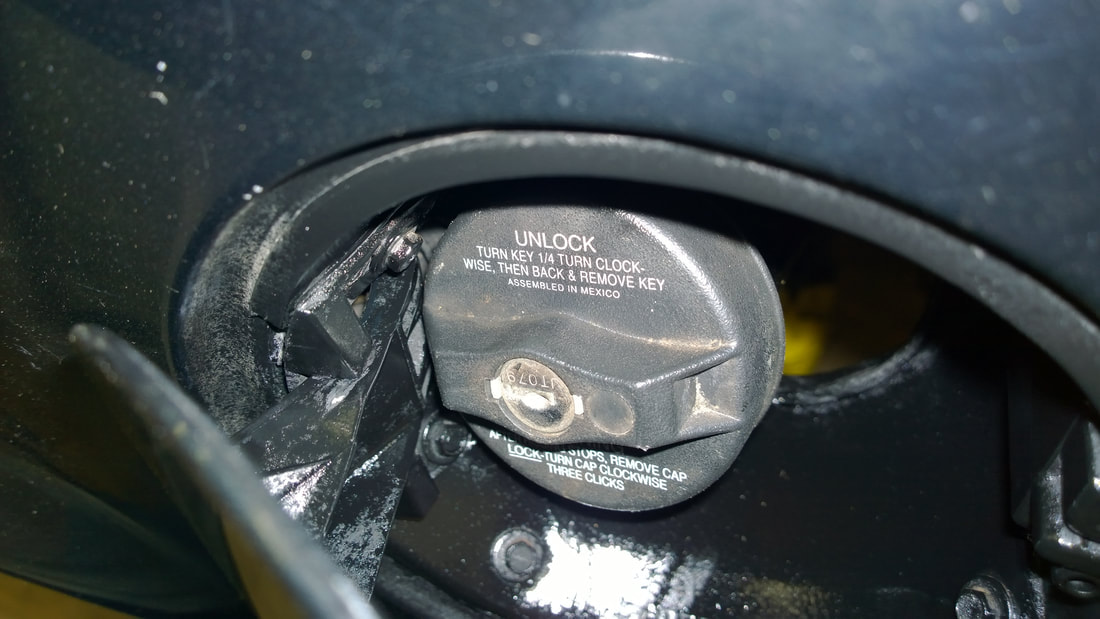
One other issue - the gas filler neck was bent due to what looked like a gas nozzle accident - someone started to drive away with the nozzle still in. I reshaped so it wouldn't leak when we went through turns using Devcon Aluminum putty, but replacing the tank was inevitable. We decided to do it once we had the rear end all apart.
On the PLUS side, the engine shows great cranking compression (150 psi) and the door and quarter panels were literally rust free. And it gets "rubber" going into 2nd gear with the TH700 automatic.
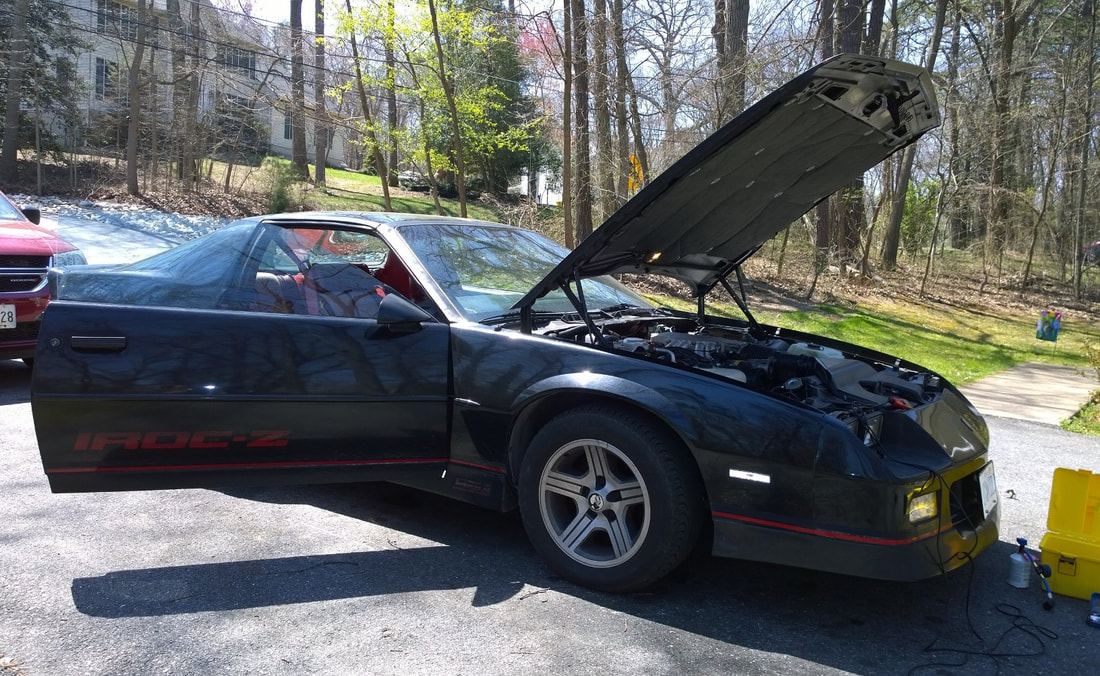
Here are some photos. Scroll down this page for more. We had already removed the inner door panels, treated the inside of the doors with Eastwood rust prevention, and painted the inside of the doors when the third pic was taken. In fact, we took the picture after we replaced the inner and outer window felts (seals) on both doors.
THE FUEL TANK IS FINISHED! A new section is below. Important information about Spectra Premium fuel tanks can be also found below.
THE STEERING GEAR IS FINISHED! A new section is below. We had to cut one of the mounting tabs off to make it work with the Gen 3 F-Body Camaro.
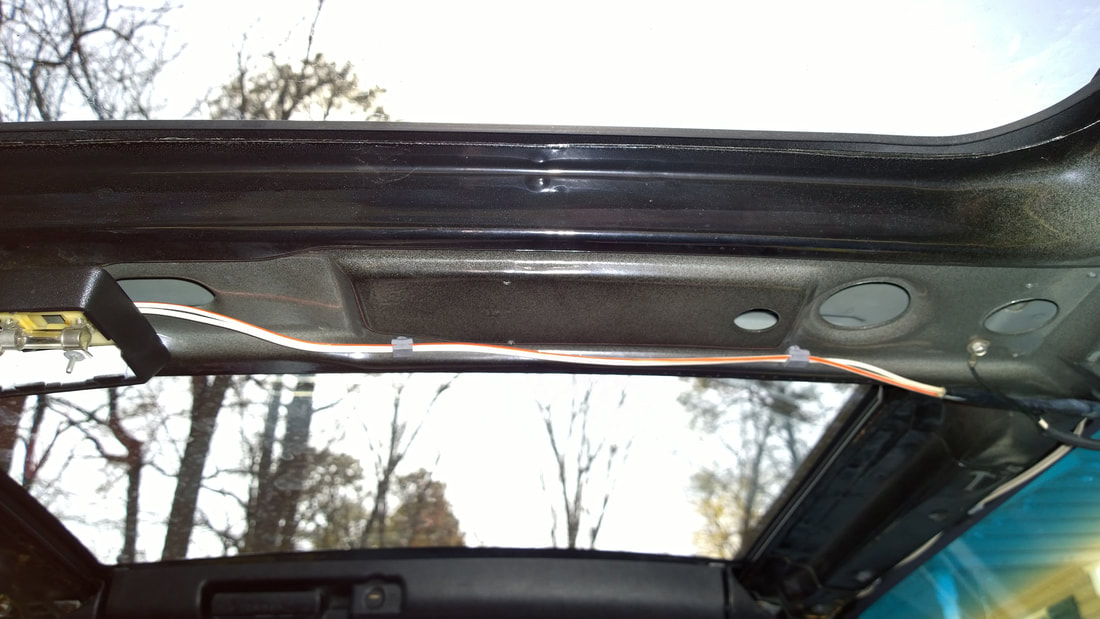
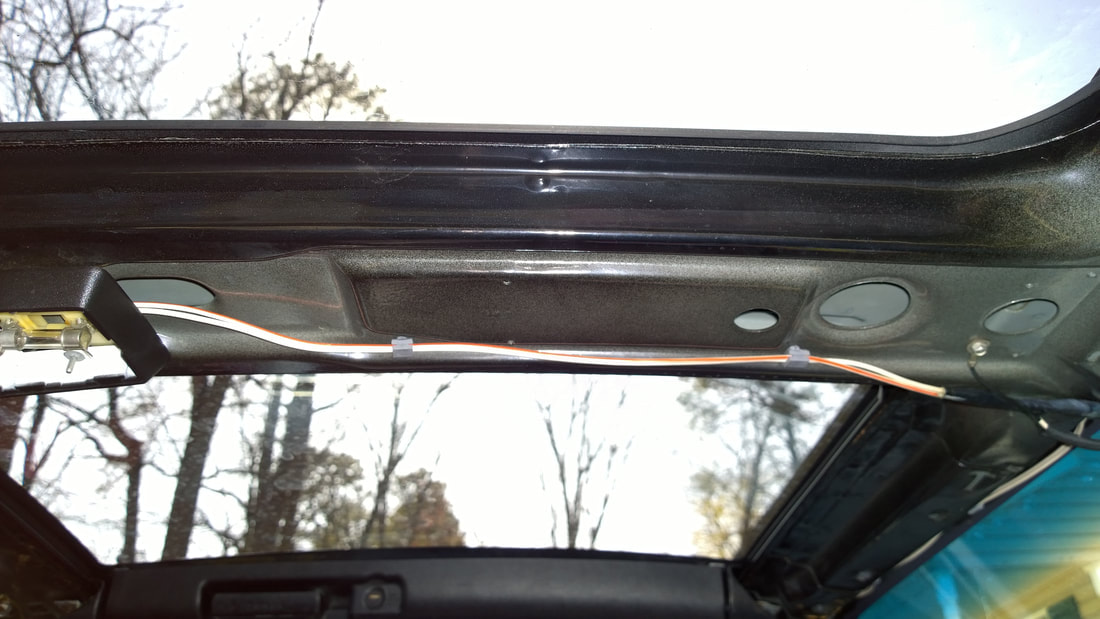
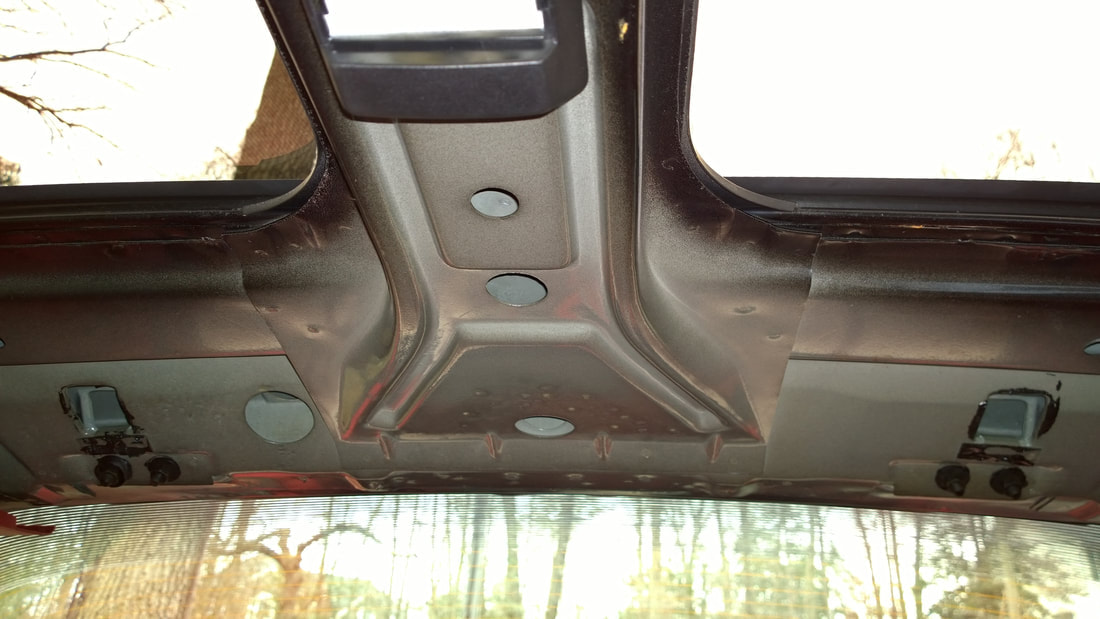
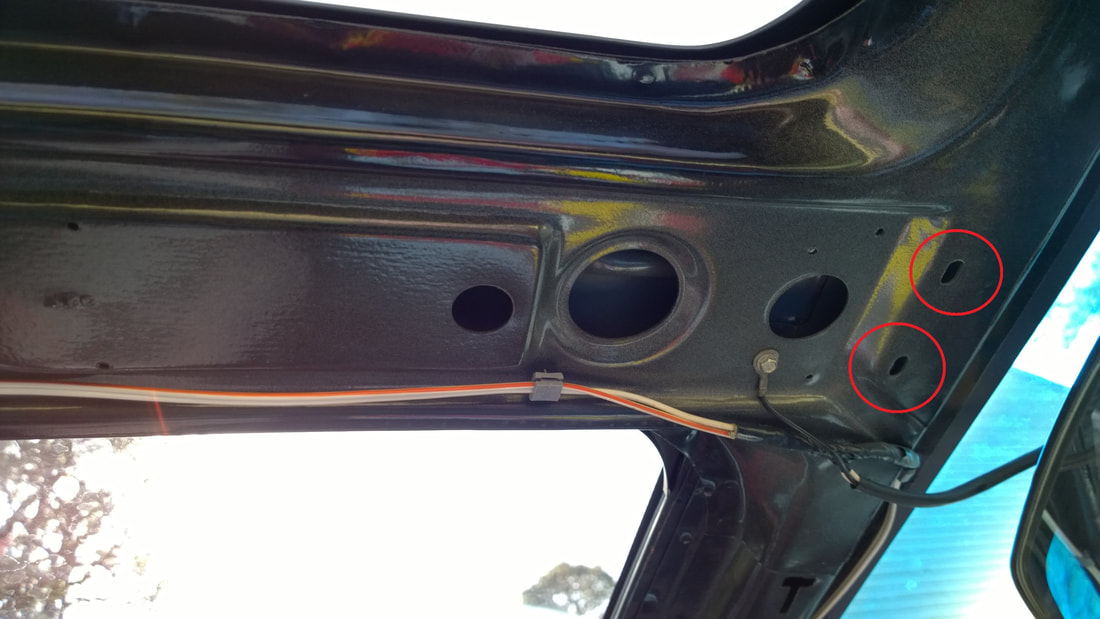
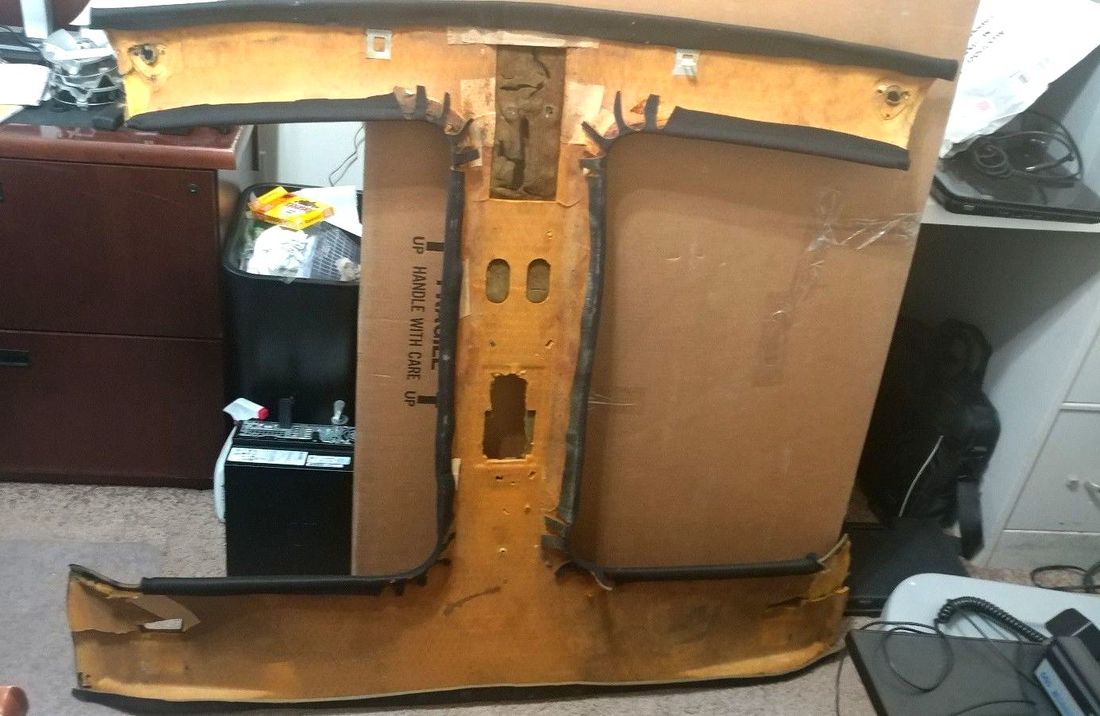
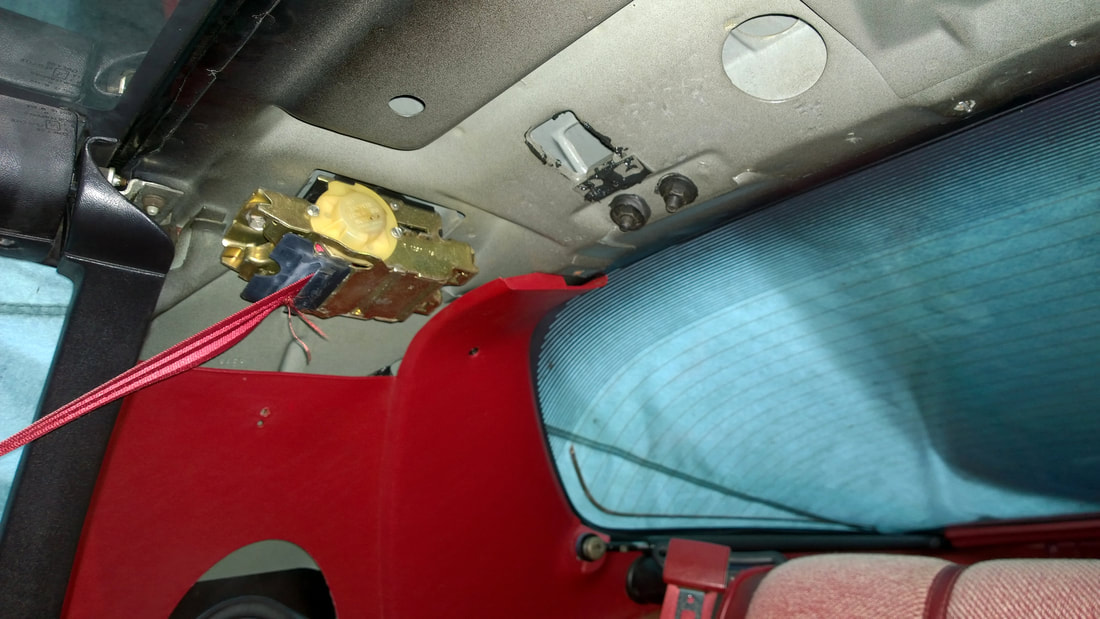
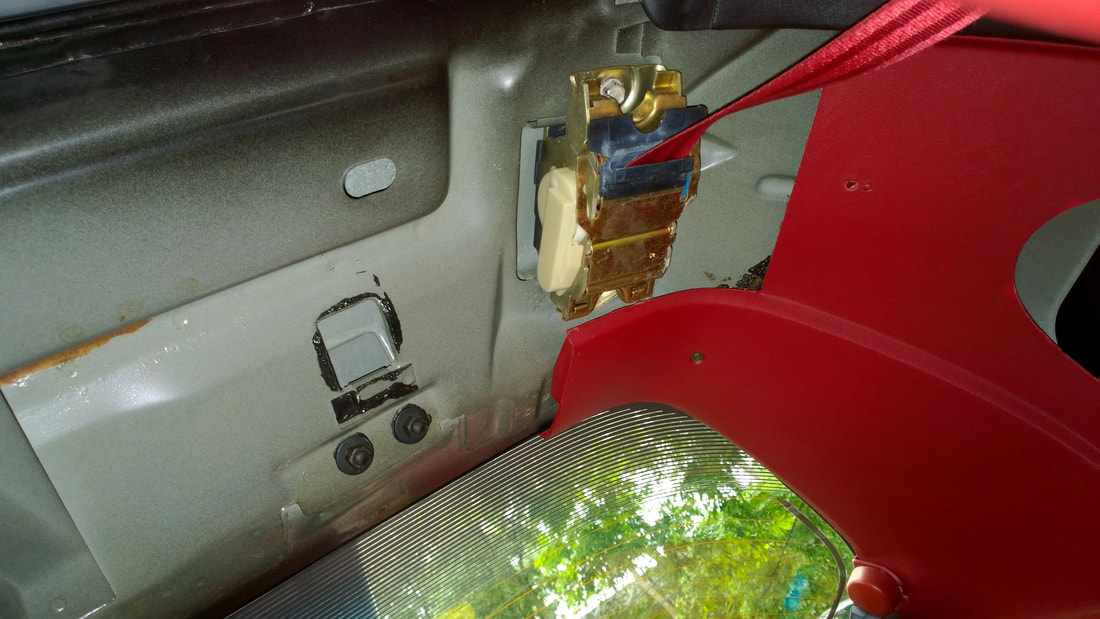
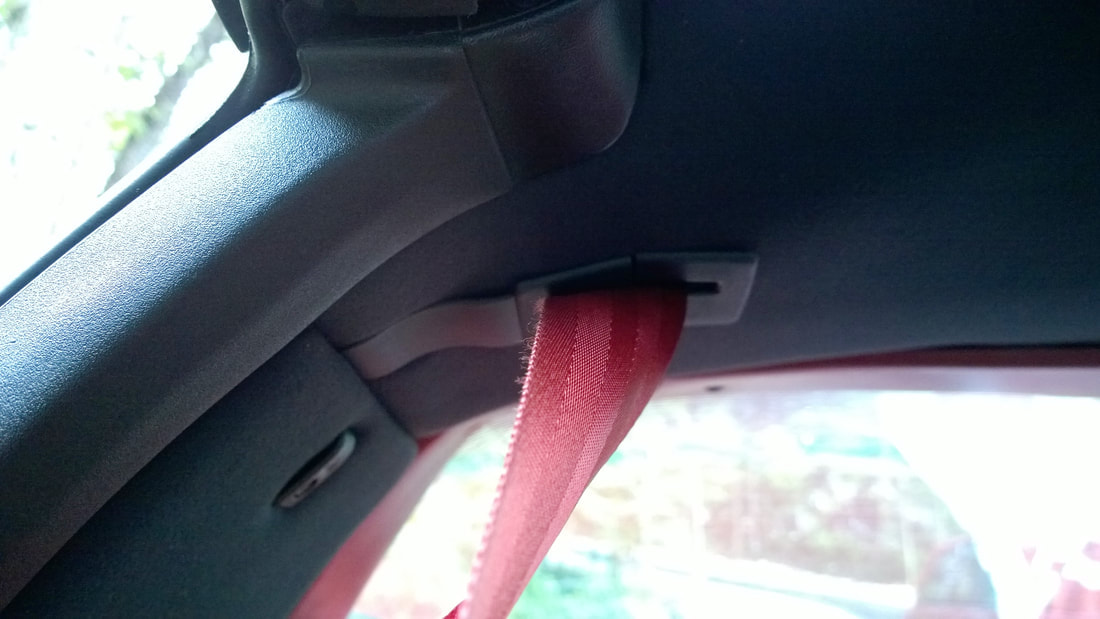
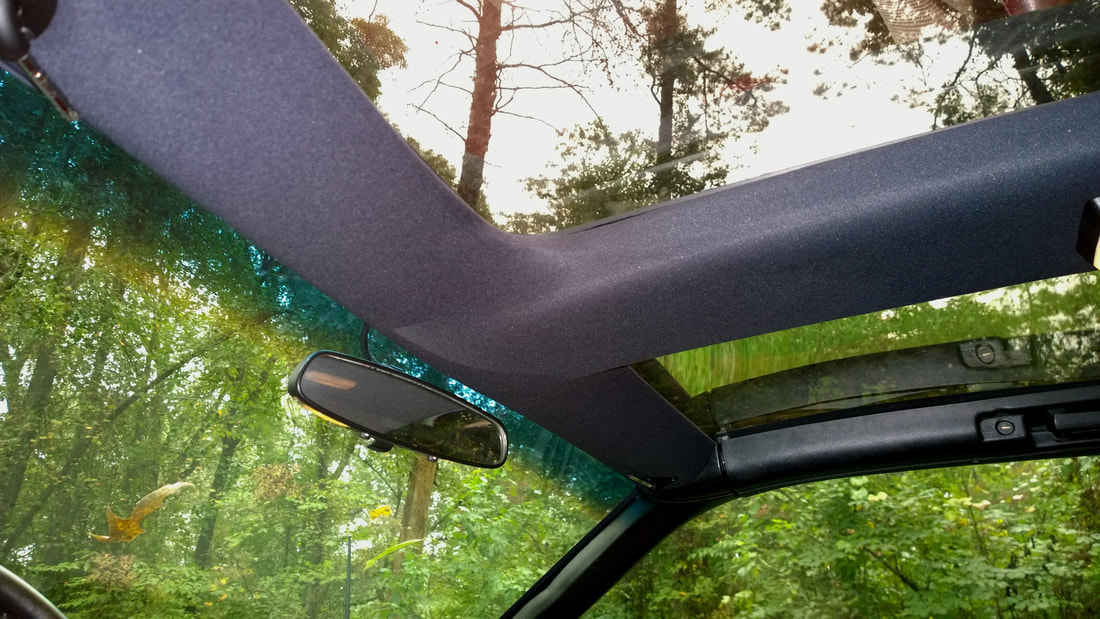
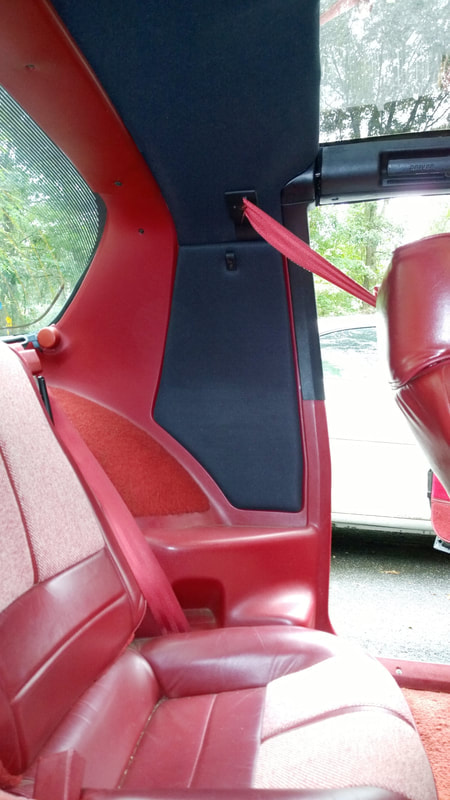
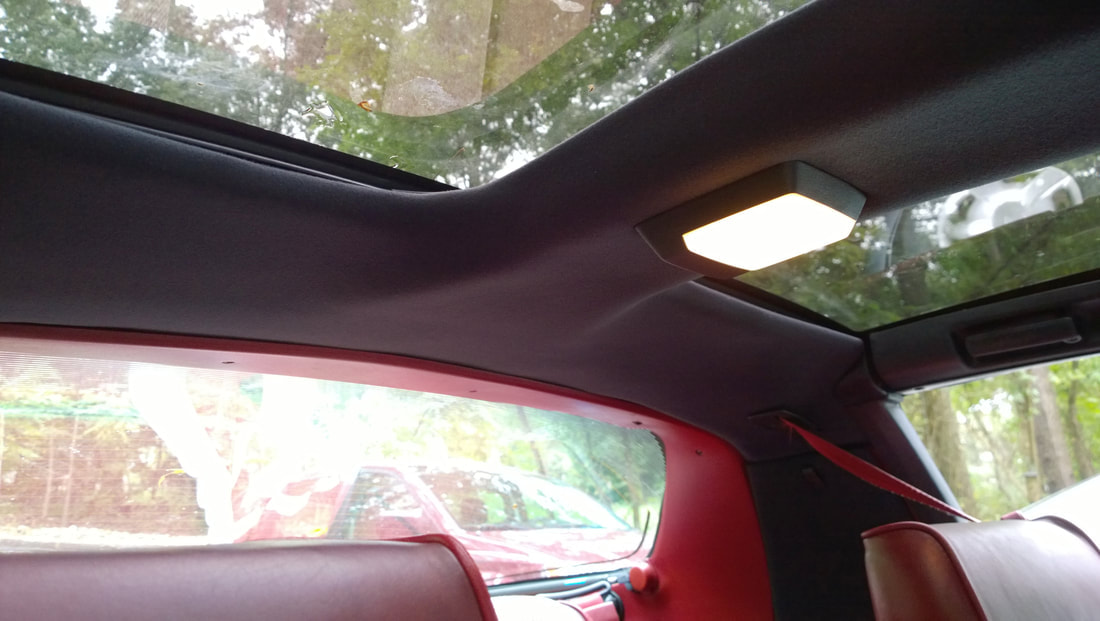
When you buy a Generation 3 Camaro (or a Corvette) with a T-Top, it's almost a given that the original headliner will be either missing or a mess. The reason is that T-Tops often leak, and even if they don't, people get surprised by sudden cloudbursts out on the highway with the tops off - you've probably seen either motorcyclists, or 'Vette's with their tops out, parked under a highway overpass to get out of the rain. The OEM headliner was formed from hard cardboard. It was designed to channel any leaks from the T-top seals down behind the rear seat speaker covers ("sail" panels) and out of the car through weep holes. This eventually laid waste to the cardboard headliner.
STEERING WHEEL PROJECT
Matt wanted to install a cool aftermarket steering wheel, but first we had another problem to address - over time, his tilt steering wheel mechanism got "loose" - it flopped around. This is a very common issue with that mechanism, known as the Saginaw mechanism. Some say it's caused by using the steering wheel as a grip when climbing into a high ground clearance vehicle like a GM truck, or wriggling your way out of a low-slung car like an Iroc. The problem is caused by four bolts deep inside that have oddball Torx heads. Those bolts connect to a plate, on the other side of a nylon ball, which is then wrapped around a steel ball that forms the bottom part of the steering shaft. When you use the wheel as a handle, it produces stress on that plate which works the screws loose. Don't feel guilty, everyone does it. It's the reason steering columns these days have that flat lever underneath that you have to move to lock the steering wheel into position.
The heads are "inside-out", hence they are known as "external" Torx or e-Torx. If you have a 12-point universal socket set, you can use those. 1/4" drive sockets work best here.
I'll put a button below with lots of photos with captions on how we fixed this problem. The column is nice and tight now, and everything works great. But there were times at each phase where we thought the situation was hopeless (LOL).
TEST EQUIPMENT
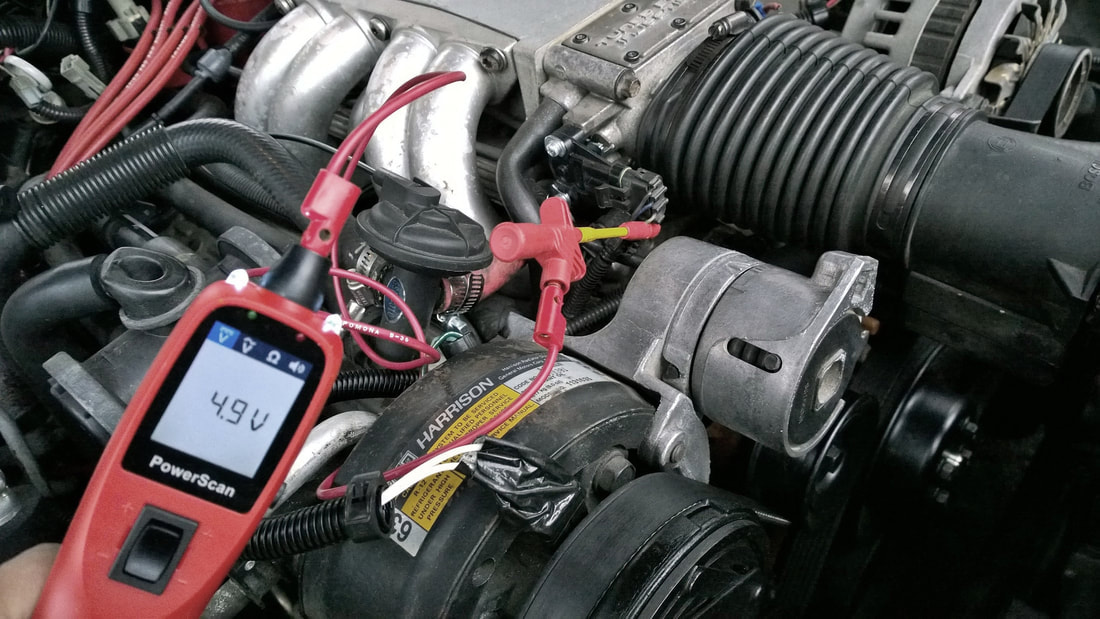
The car gave me an excuse to buy one of those automotive power probes that can verify power sources and grounds, provide battery voltage or grounds for testing relays, fans, sensors and other devices, measure resistance (though not accurately under 10 ohms), and also measure and display signals with a little built-in "oscillogram". You can test sensors, injectors, motors and other electrical parts either on the car or literally in your hand. The one I bought is the Autel Powerscan PS100. Check out Amazon's price here.
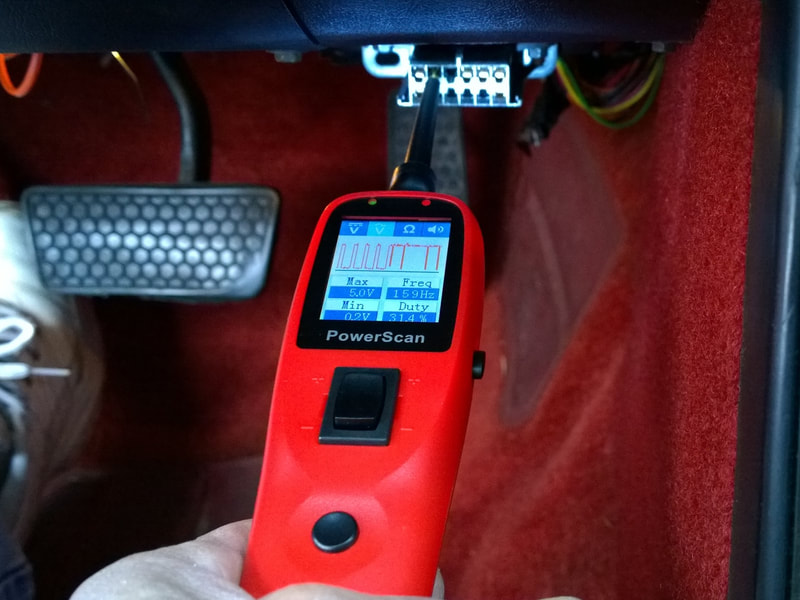
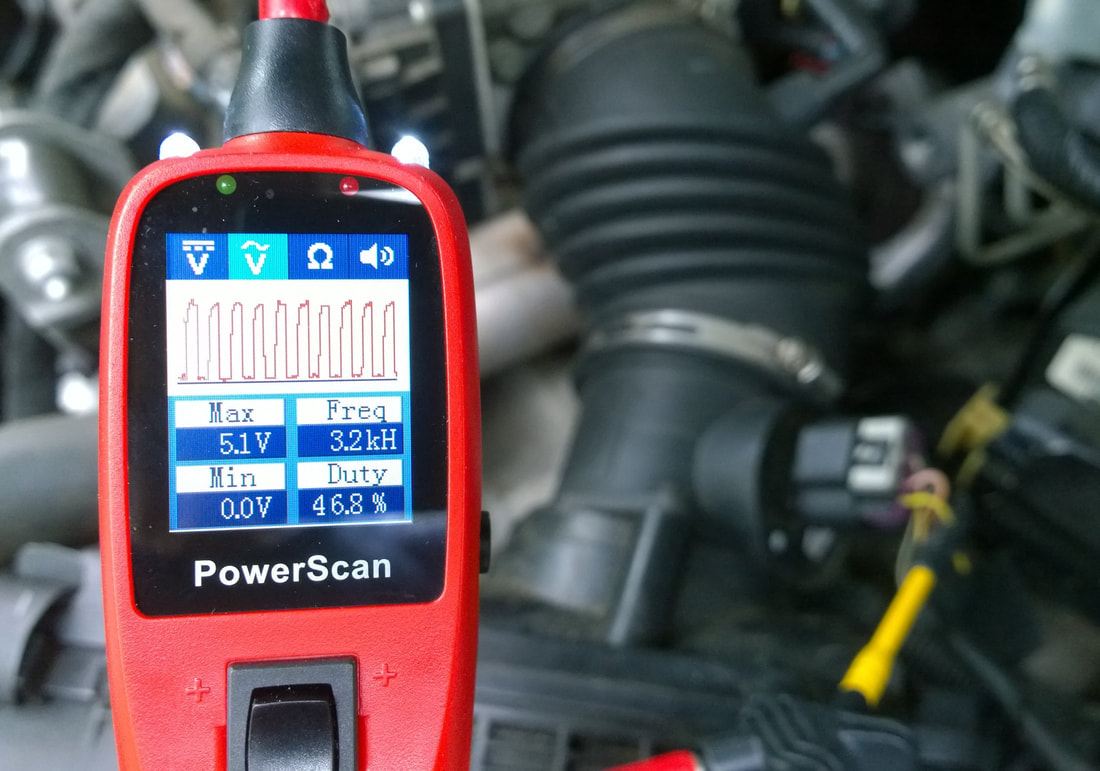
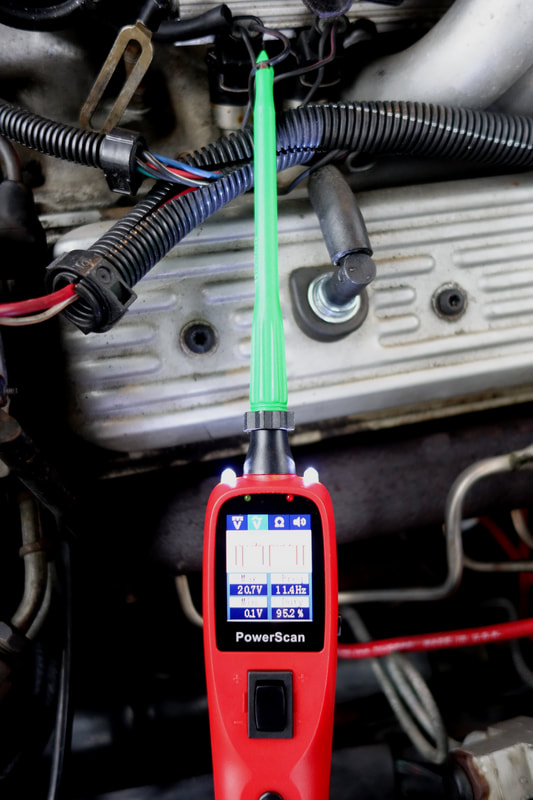
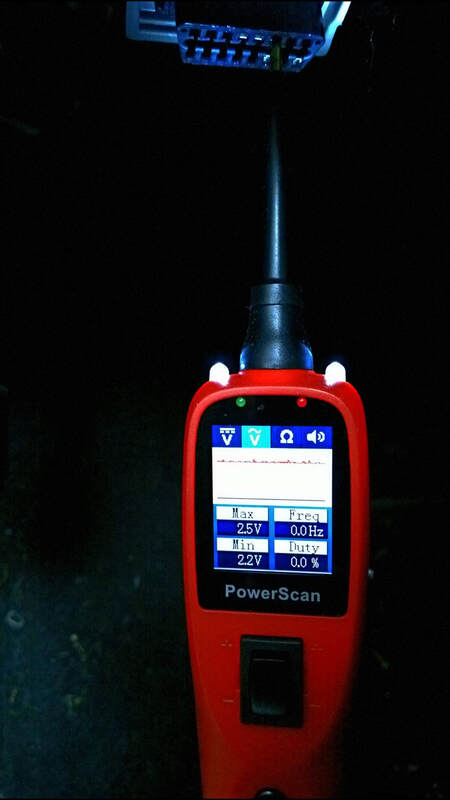
The "scope" is a very important feature - it simultaneously shows the waveform, the min-max peak signal voltage, the Duty Cycle, and the frequency. In the case of my son's Iroc, it shows an ALDL/OBD1 data signal frequency of 159 Hz, rather than 160 baud. It's more than sensitive enough to detect and display ECM, MAF sensor and other data signals, crank sensor and fuel injector pulses, and audio signals from the sound system. It also produces the signal's audio tone, albeit a little raspy. It has its own needle probe but it also works with any 4mm probe set, including my Fluke insulation-piercing probes. If you work on your own cars, it's a need not a want. It can cut your diagnosis time by a factor of 10. Best of all, it was under $100. Click on the pictures below for a larger view. The far right one is an adapter that lets the probe supply 5V for testing certain sensors instead of 12.
The "scope" is a very important feature - it simultaneously shows the waveform, the min-max peak signal voltage, the Duty Cycle, and the frequency. In the case of my son's Iroc, it shows an ALDL/OBD1 data signal frequency of 159 Hz, rather than 160 baud. It's more than sensitive enough to detect and display ECM, MAF sensor and other data signals, crank sensor and fuel injector pulses, and audio signals from the sound system. It also produces the signal's audio tone, albeit a little raspy. It has its own needle probe but it also works with any 4mm probe set, including my Fluke insulation-piercing probes. If you work on your own cars, it's a need not a want. It can cut your diagnosis time by a factor of 10. Best of all, it was under $100. Click on the pictures below for a larger view. The far right one is an adapter that lets the probe supply 5V for testing certain sensors instead of 12.
This little device can even see the CAN Bus signals in newer OBD 2 vehicles. It can't show the frequency, but it DOES show the signal (barely), and the voltage range. If it shows the signal AND a voltage of 12V, it's probably Ethernet (CAN) over power. Even though it can't compare to even a cheap handheld scope for this, it can still help identify data lines in cars that use the CAN system.
THE WORLD OF AFTERMARKET!
When you buy a hotrod, you can either spend all your time poking around in junkyards, or you can go with aftermarket sources. The truth is, some parts are no longer available in junkyards or even online, so you will HAVE to buy aftermarket for some items. There's even a company called "OER" - Original Equipment Reproductions.
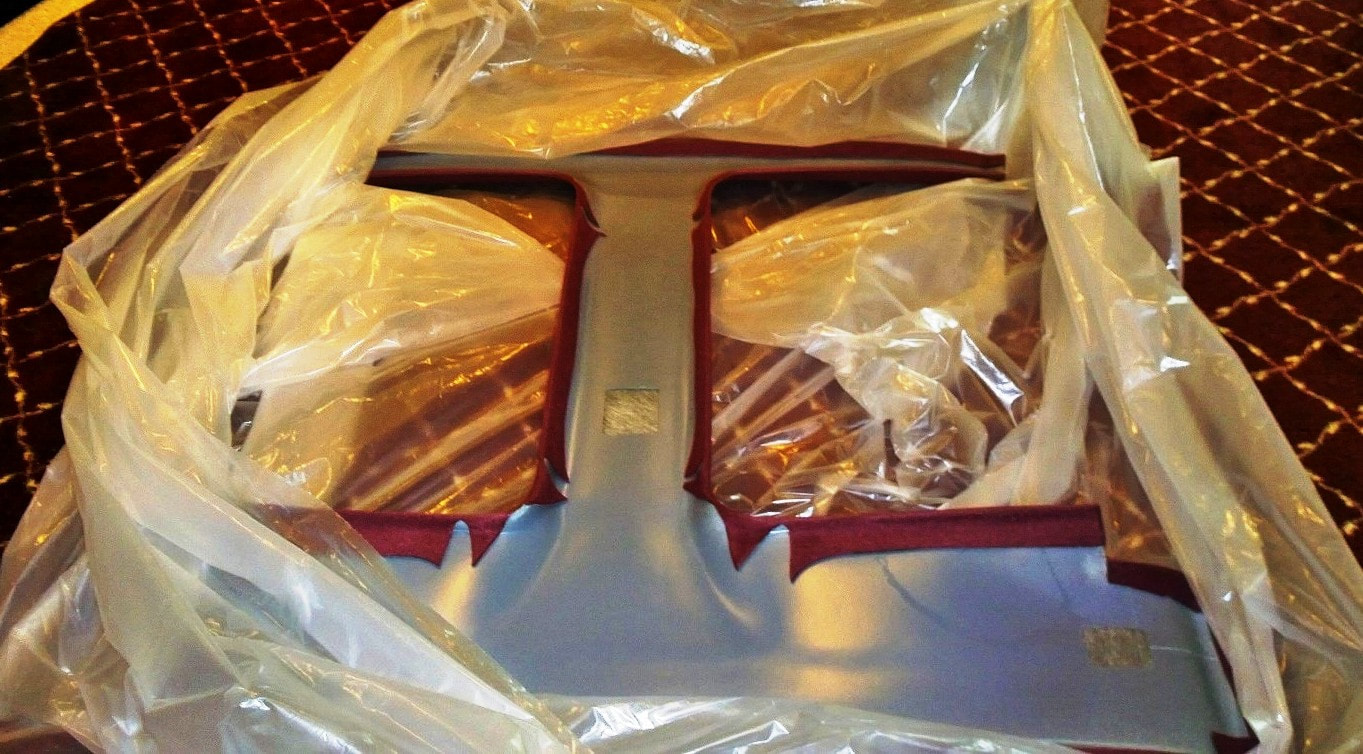
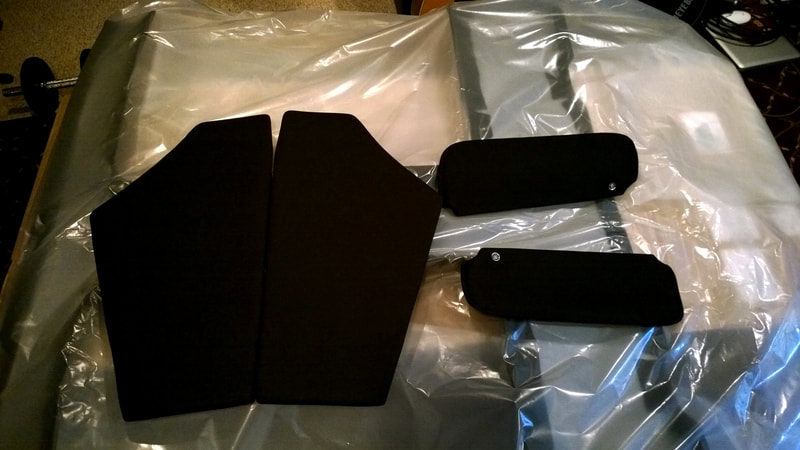
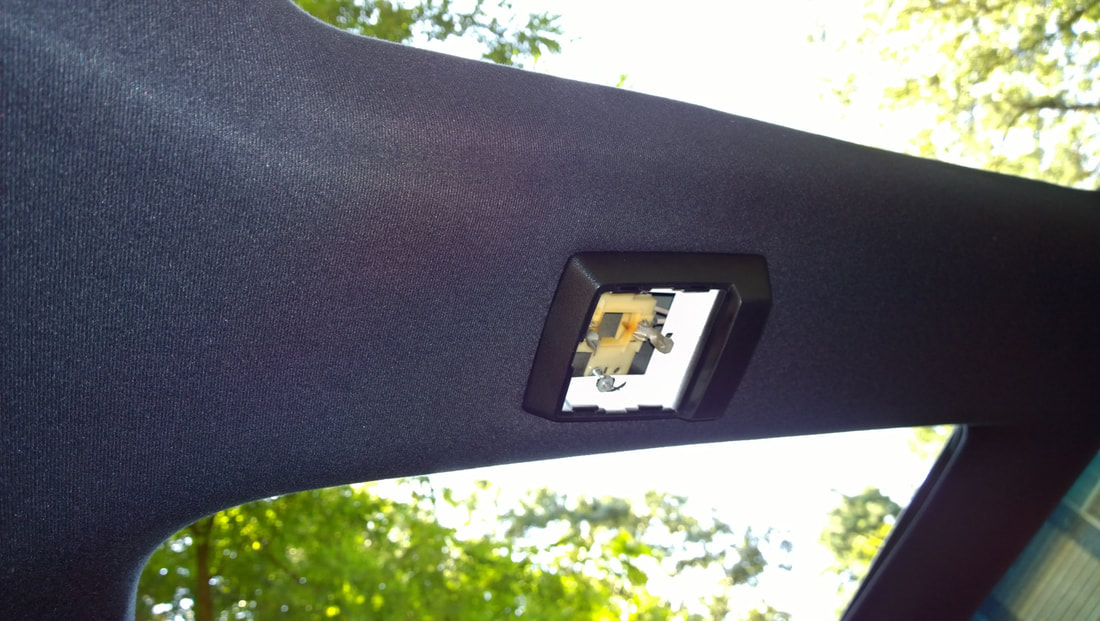
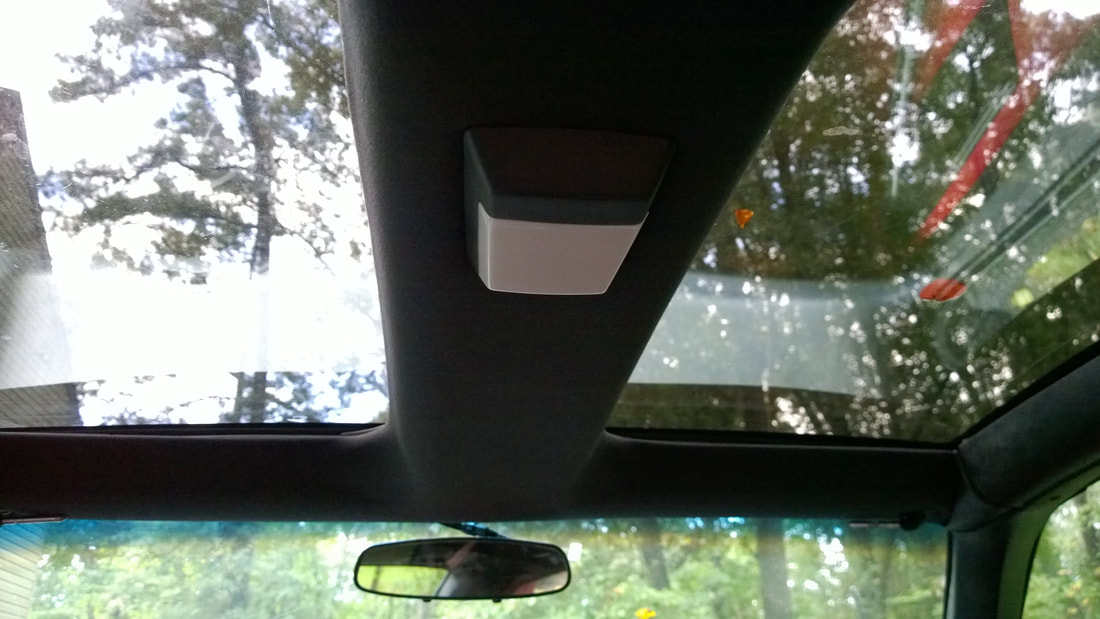
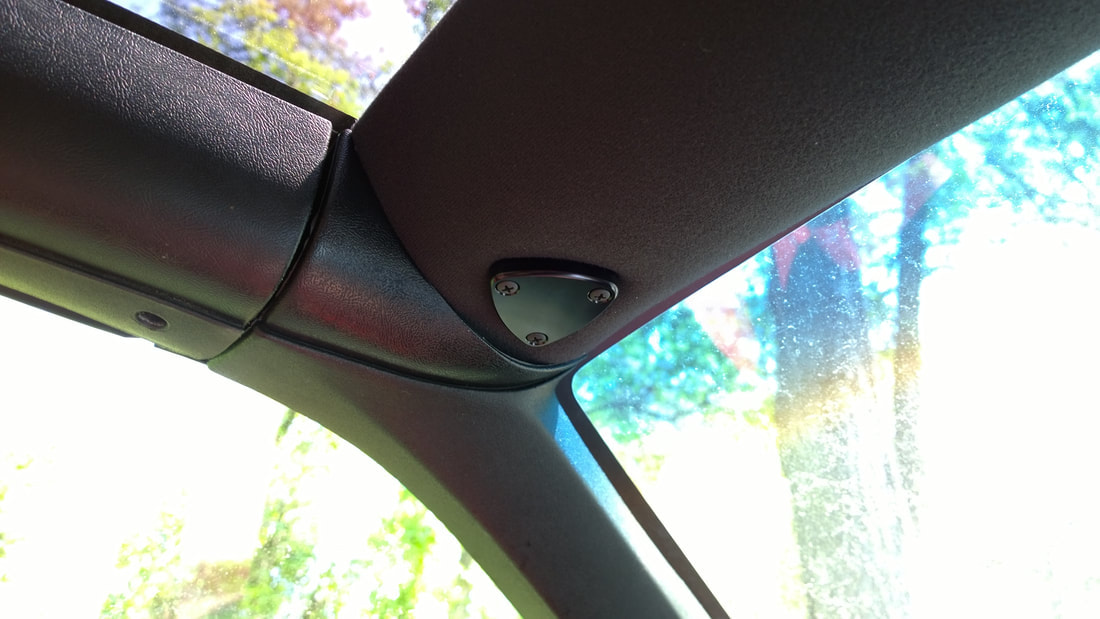
ACME Auto Headlining seems to be the top player in the headliner and door panel field. There are a couple others, but ACME has the best reviews overall. The existing interior was a mix of red and black pieces, so we decided to go with a black ACME kit that contained the headliner, the sail panels that cover the speakers, and the sun visors. I'm going to tell you this right now - the sun visors are more of an afterthought. They wouldn't stay up, regardless of how much we tightened the setscrews. We ended up removing them. We'll keep an eye out for some REAL headliners, maybe with CHEVY or CAMARO on them. In the meantime, we replaced the sunvisor mounts with plain black "eliminator" plates.
We bought everything from Rock Auto. Their price plus shipping was the best, and their delivery was fast too.
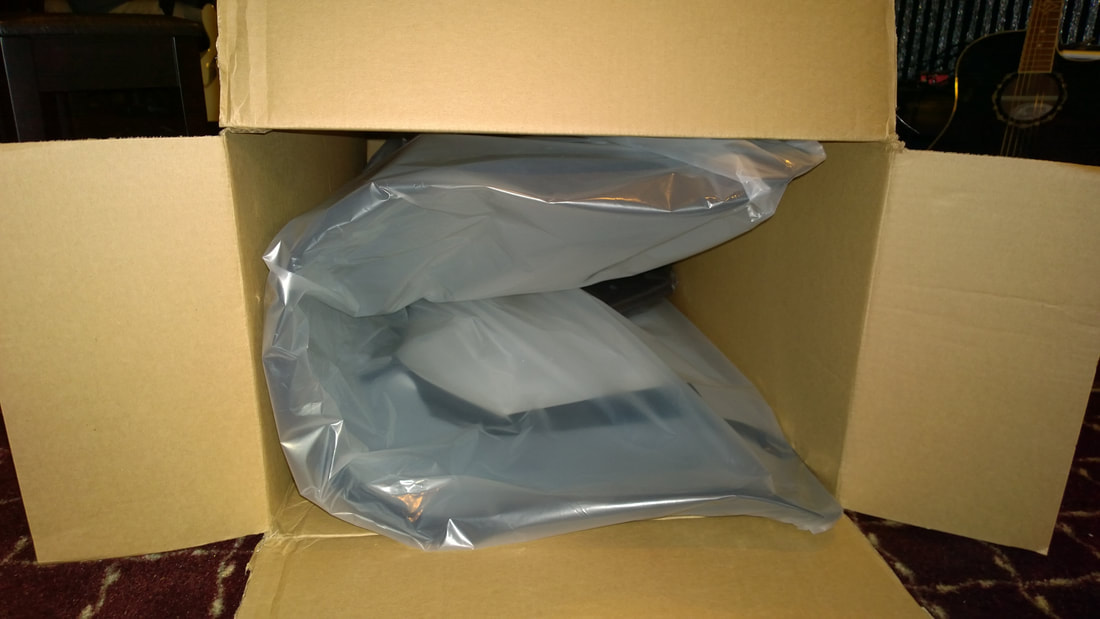
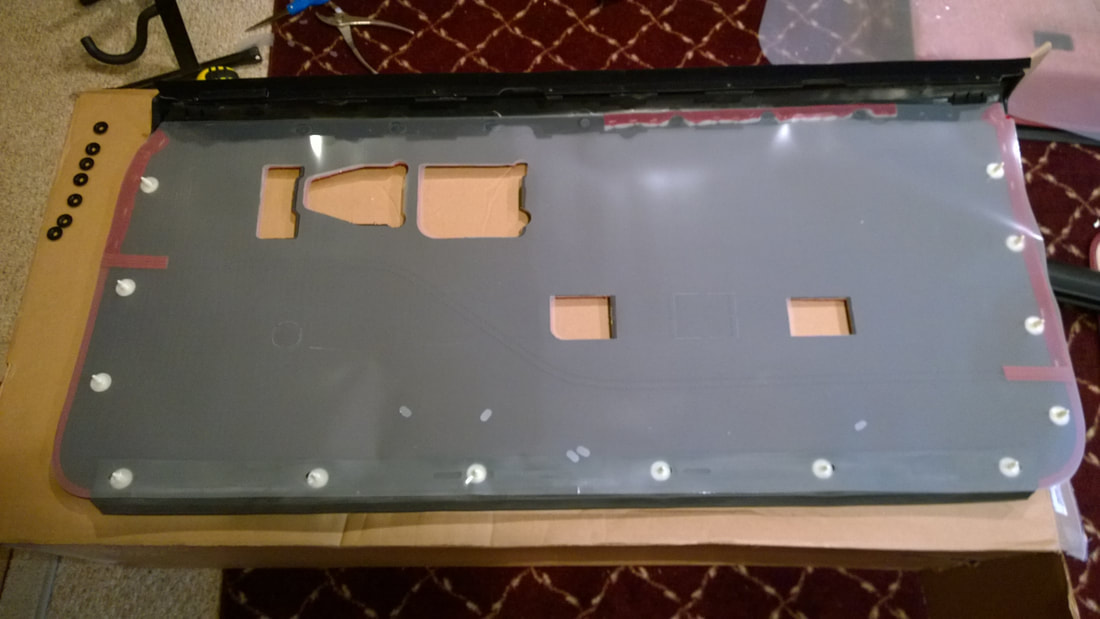
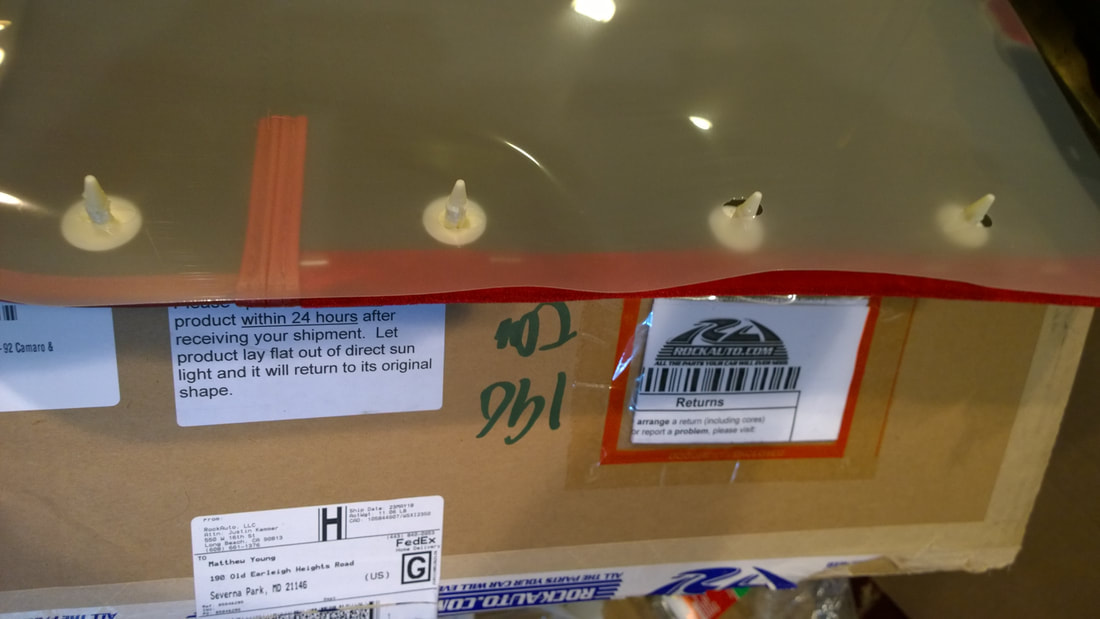
NOW HEAR THIS: Headliners get shipped folded over in the box like tacos. It doesn't hurt them, but if a supplier tells you that they ship them flat, they're probably lying. We bought our first headliner kit from a company who made that claim, and they lied. We should have known better - the box would be over 4-feet square, and 10-12 inches thick.
The first company also shipped the wrong color, so we were able to ship everything back at their expense. That's when we decided to buy from "The Rock".
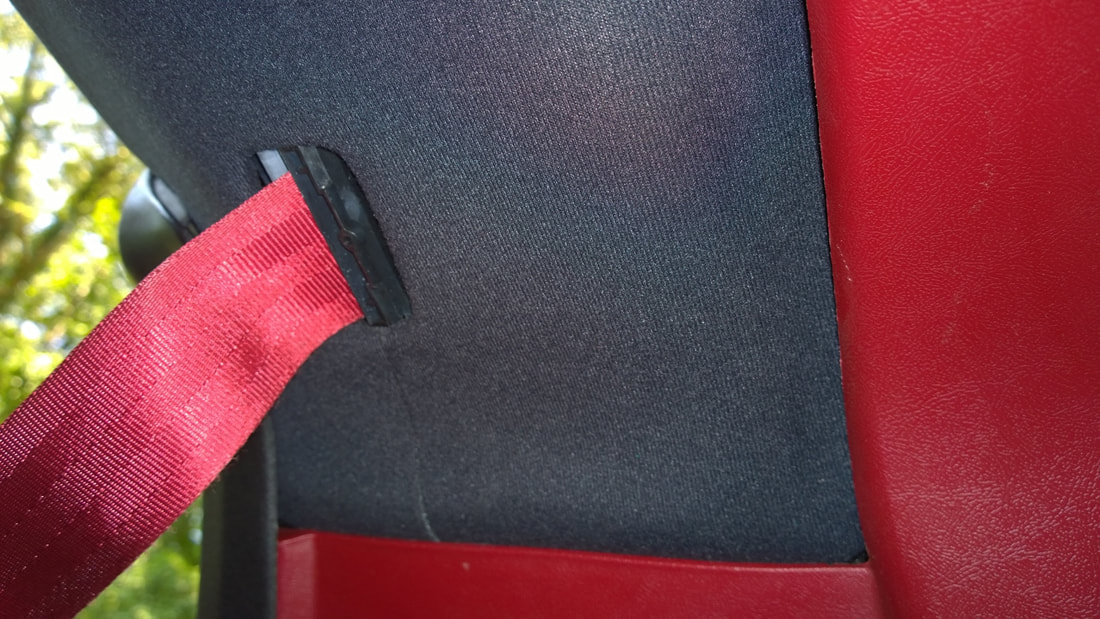
Pictures say 1000 words, so here's a gallery of pictures taken during our headliner installation. The door panels follow.
THE HEADLINER
The first thing we did was replace the stock distributor, and then the headlights. But I decided to show the headliner section first.
THE DOOR PANELS
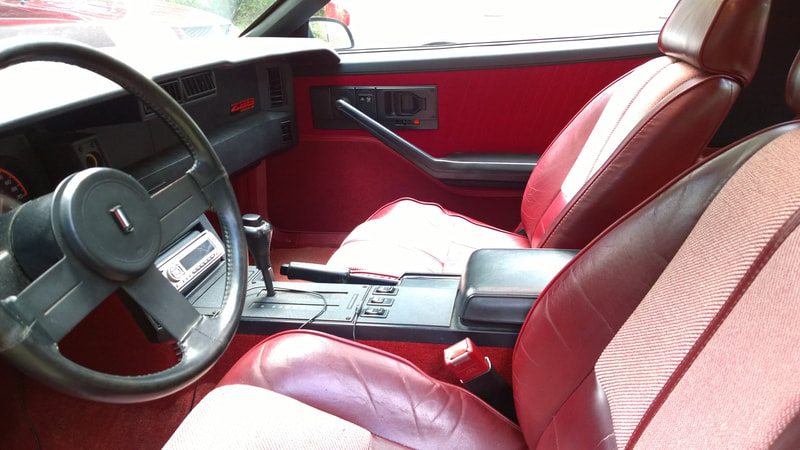
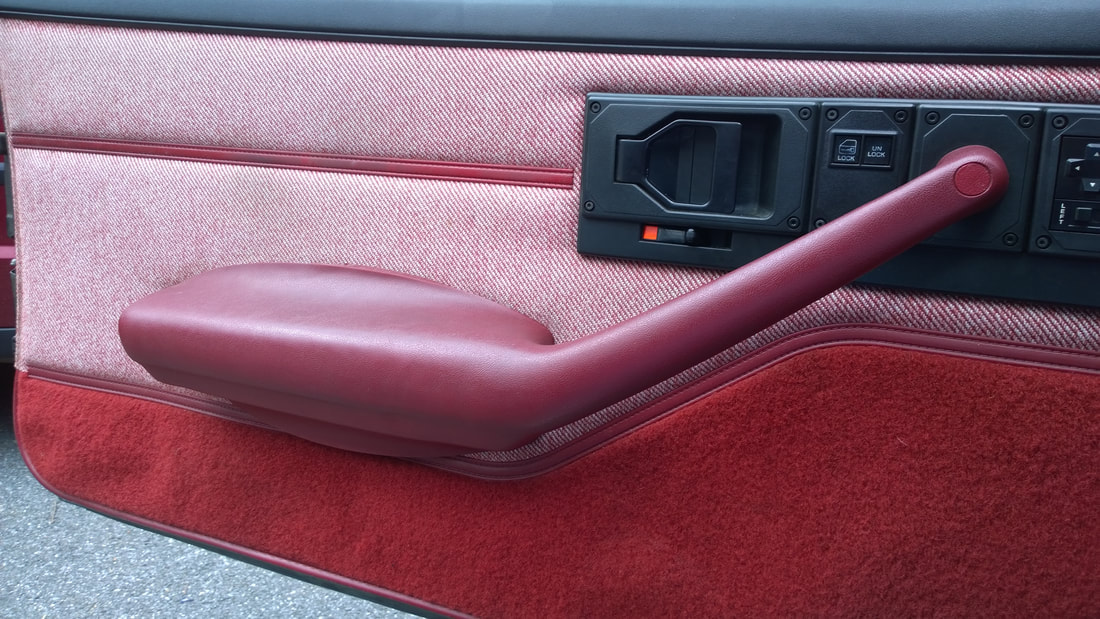
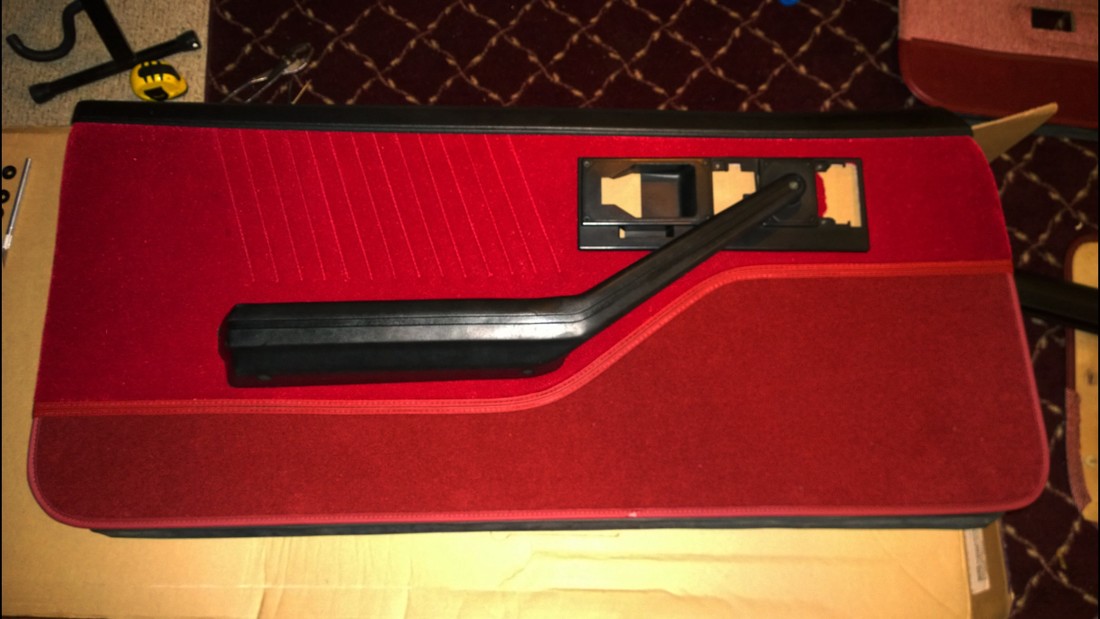
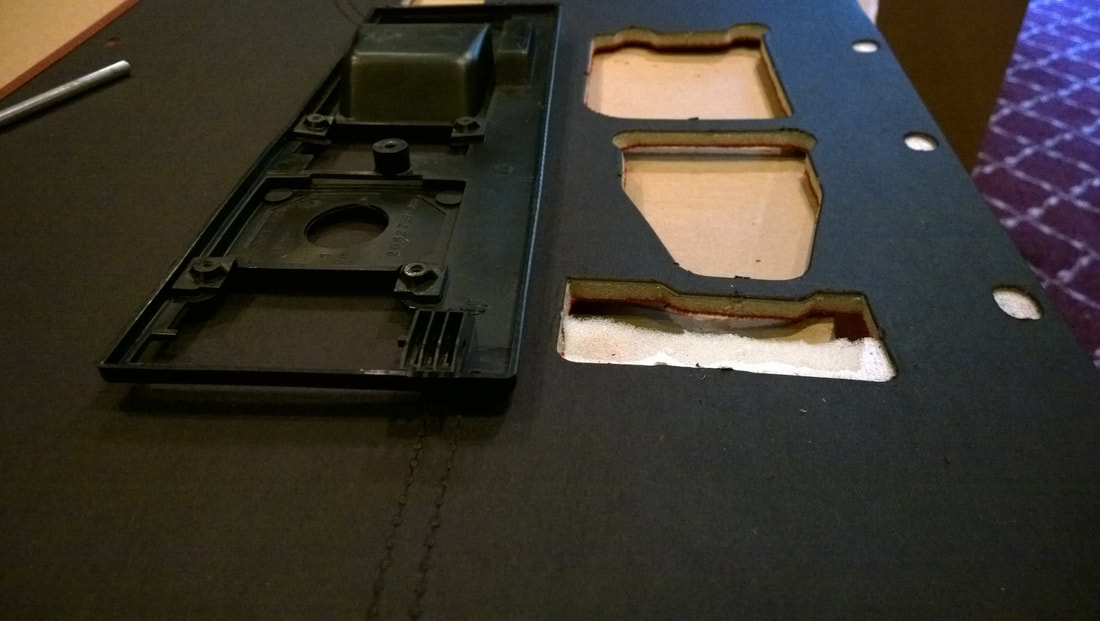
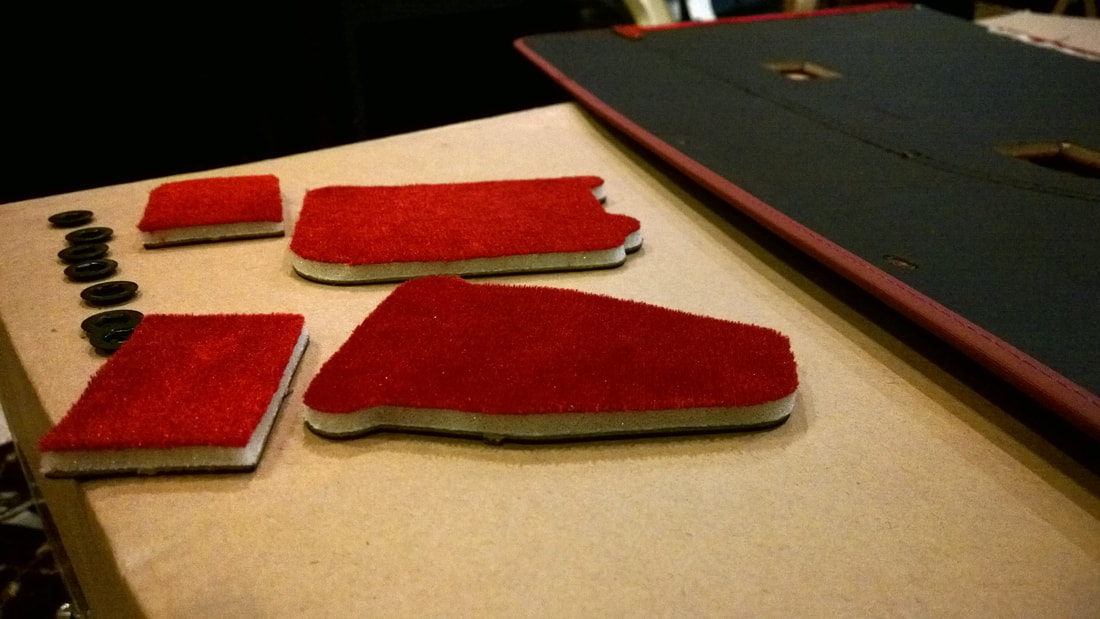
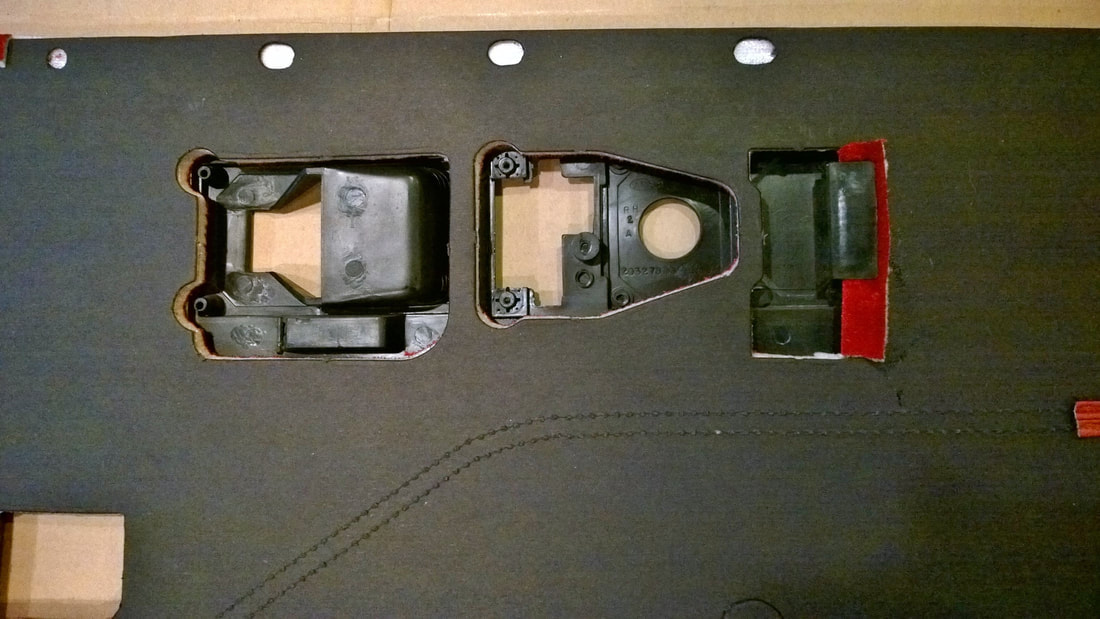
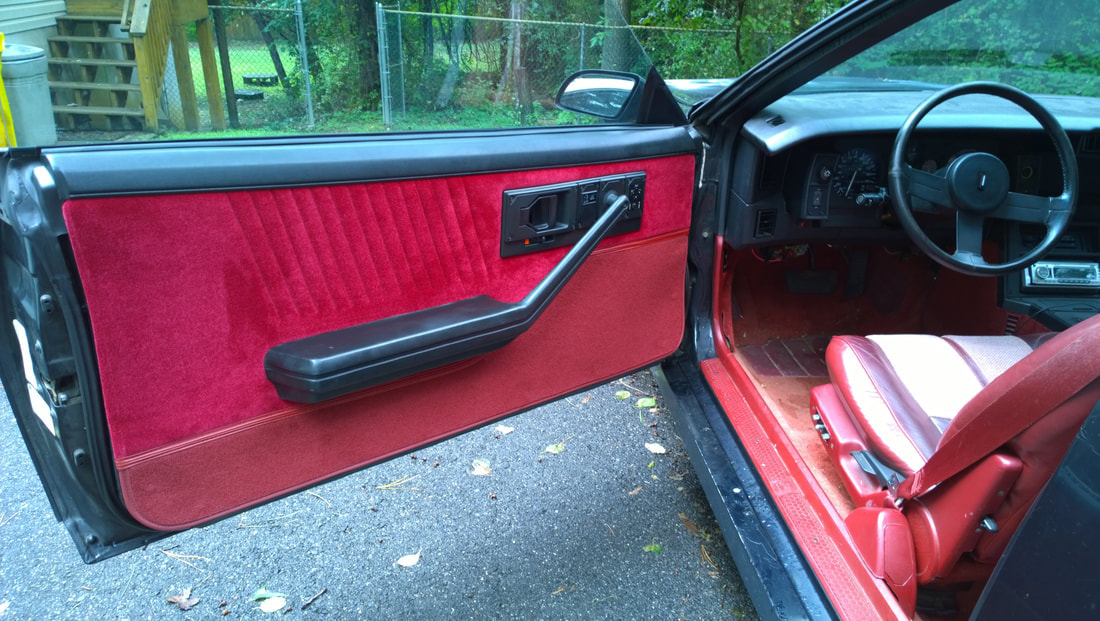
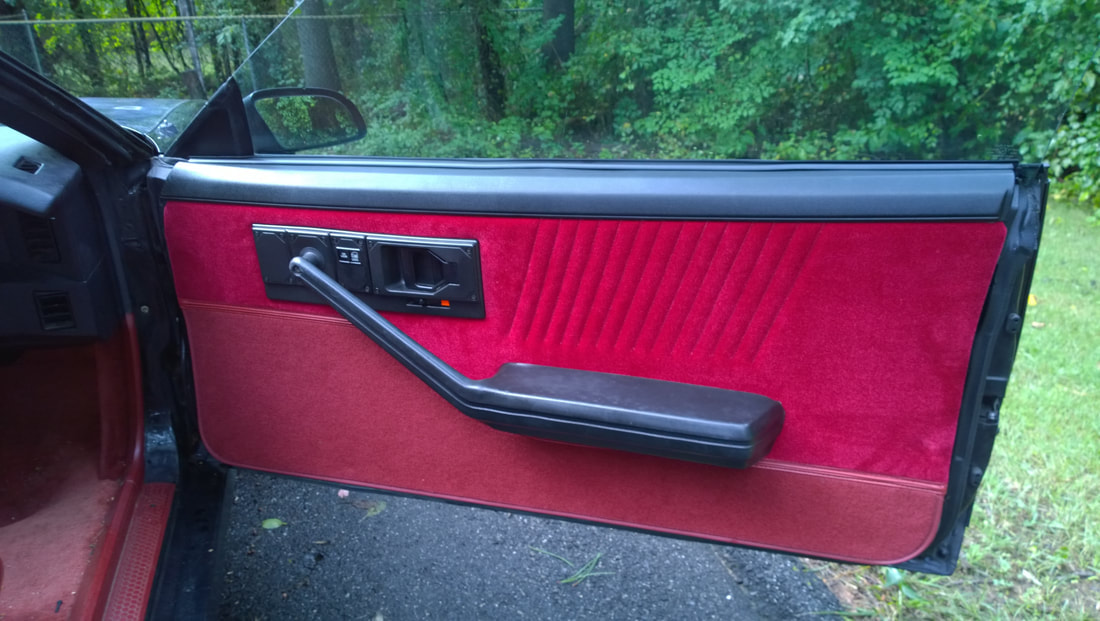
At a glance, the original door panels looked decent. But the driver's side was warped and degraded because the window seals were bad, and water got past the inner door liner. The OEM panel pattern (Innsbruck) is no longer available, so the only option was to replace both panels. Once again, ACME to the rescue. I'm beginning to sound like Wile E. Coyote!
THE HEADLIGHTS (Under Construction)
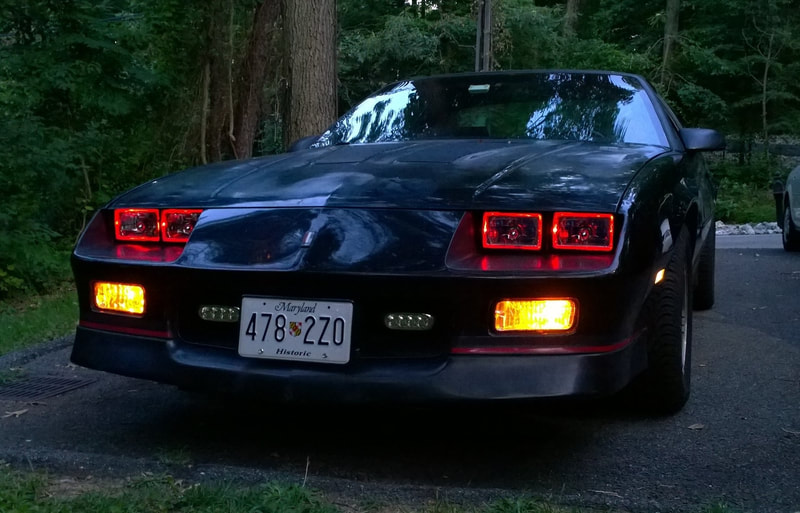
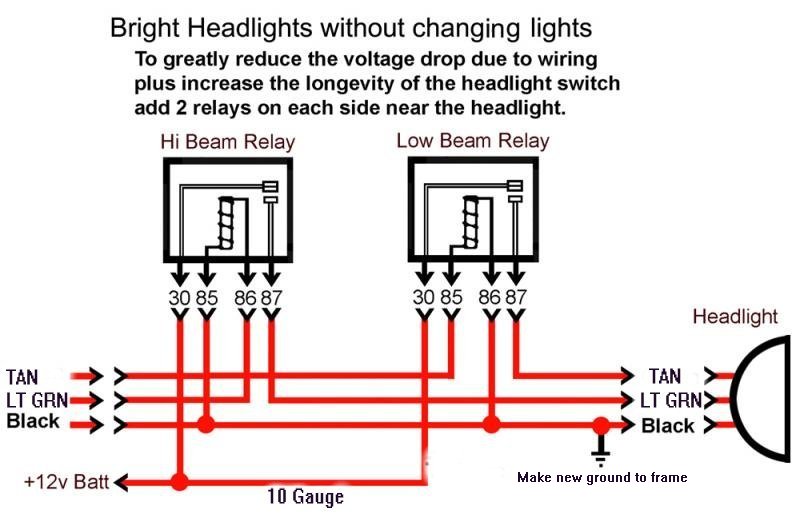
The headlights were critical because they were old-school incandescent sealed beams, and the voltage at each lamp was only 10.7 volts. It started out as 12.5-14.0 volts (14v with the motor was running) but by the time it got through the 14-gauge wire that Chevy used, and the steering switch assembly, it lost all of its "punch". Driving the car at night was hell.
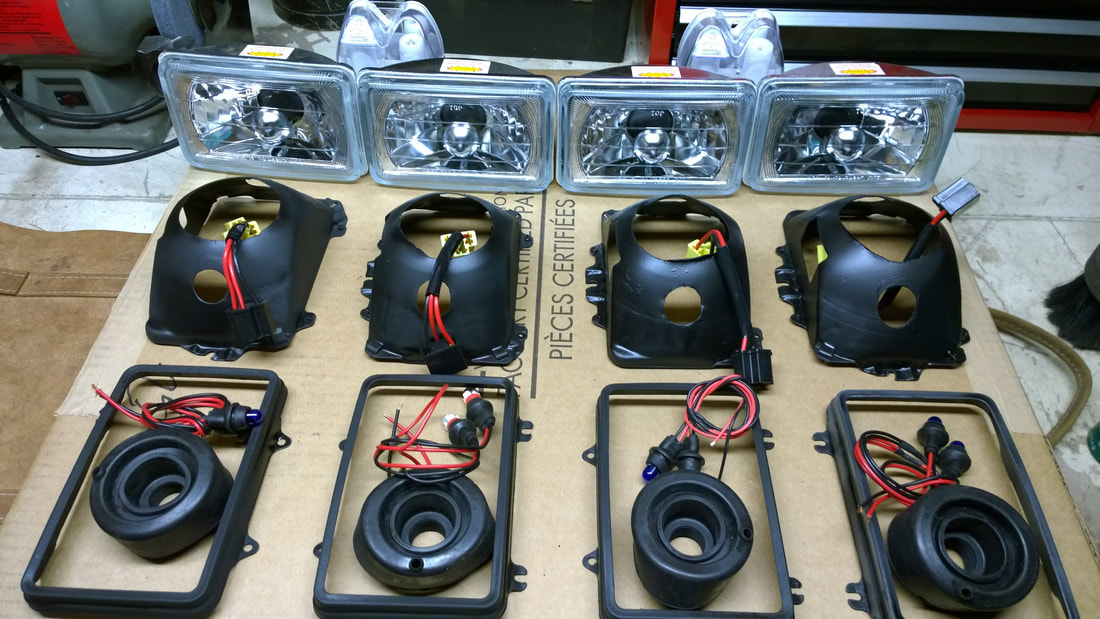
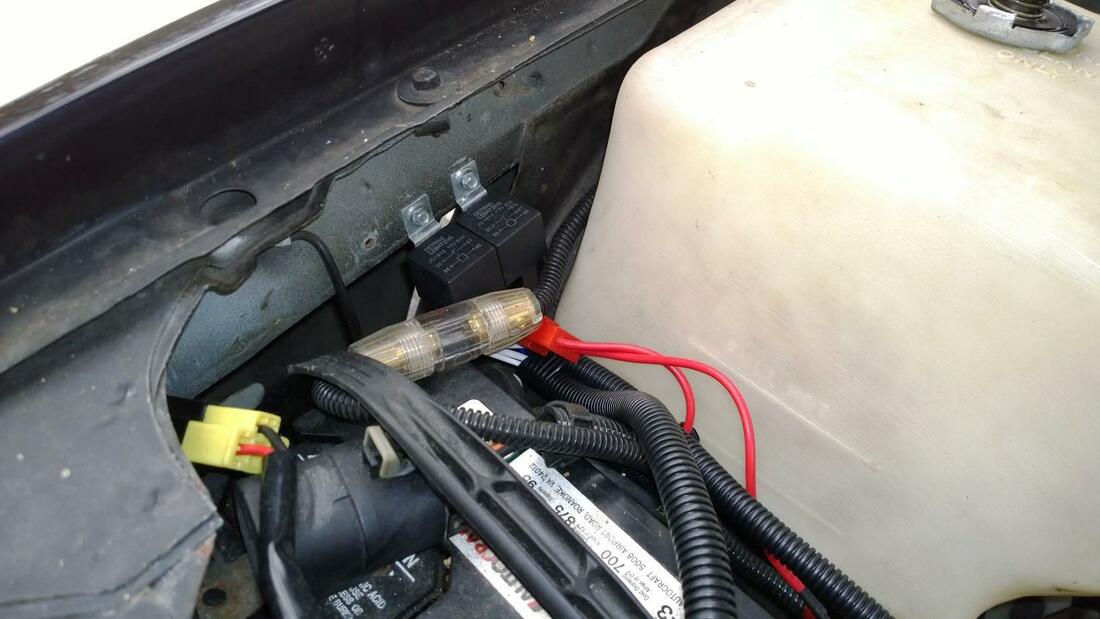
Tragically, I failed to take some "before" pictures, so all I have here are the "after" ones. When you order new headlights, you might as well order a relay kit as well. I figure that statement holds true even if you plan to use LED headlamps because to achieve a decently-strong beam, a manufacturer would have to use enough LEDS that the current draw would be close to that of the H4 Halogens we installed.
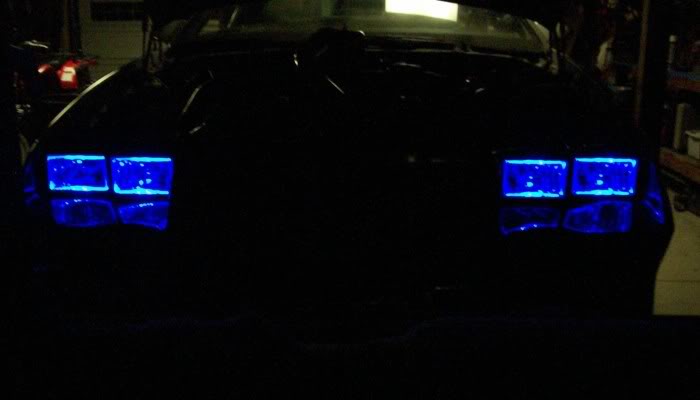
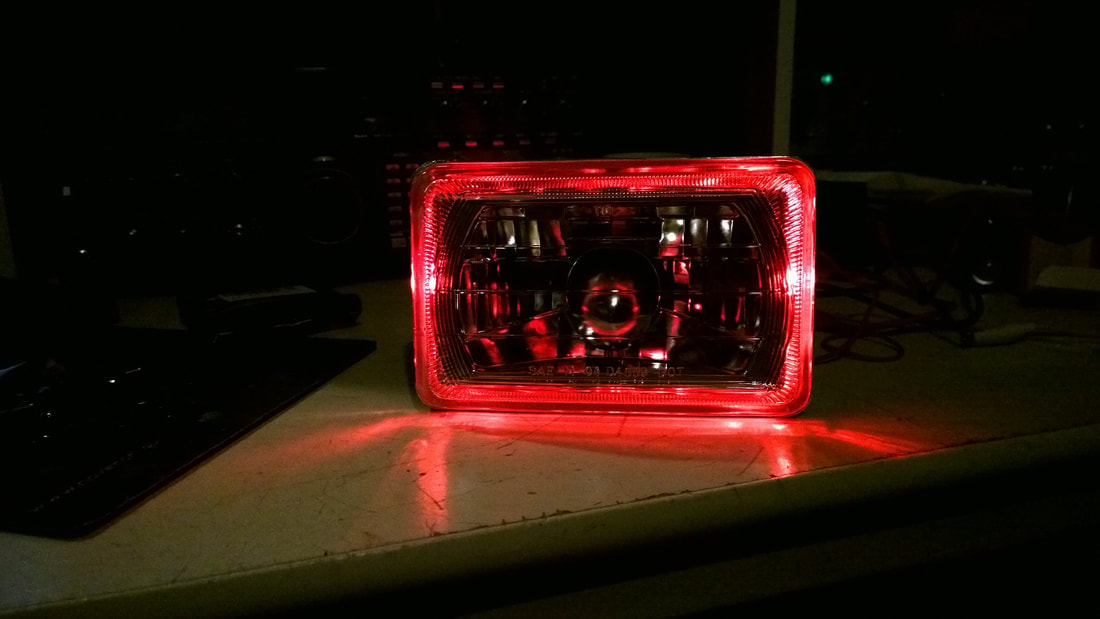
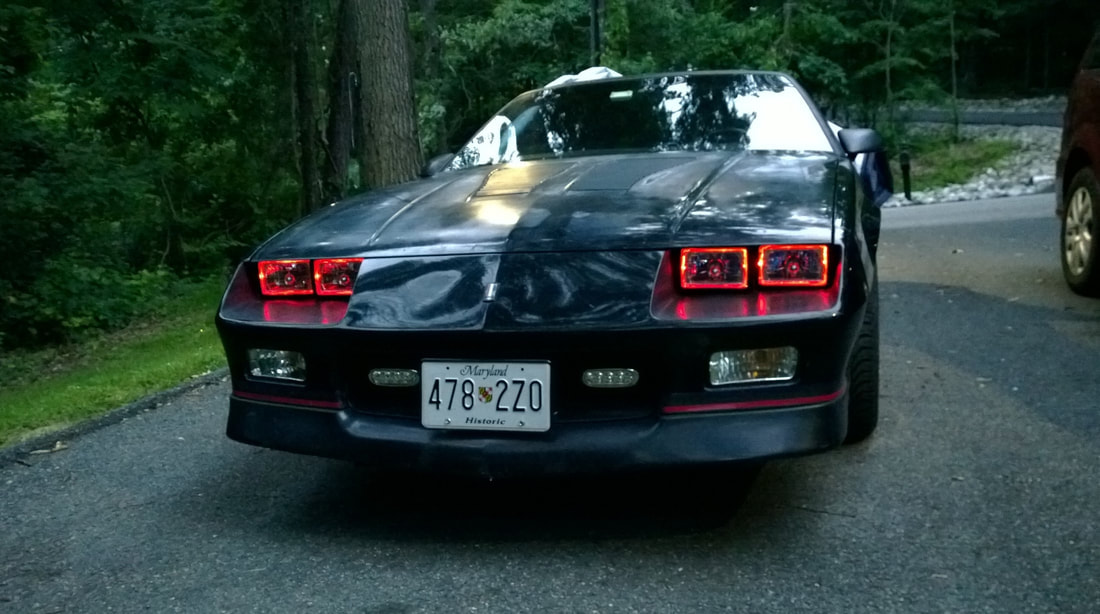
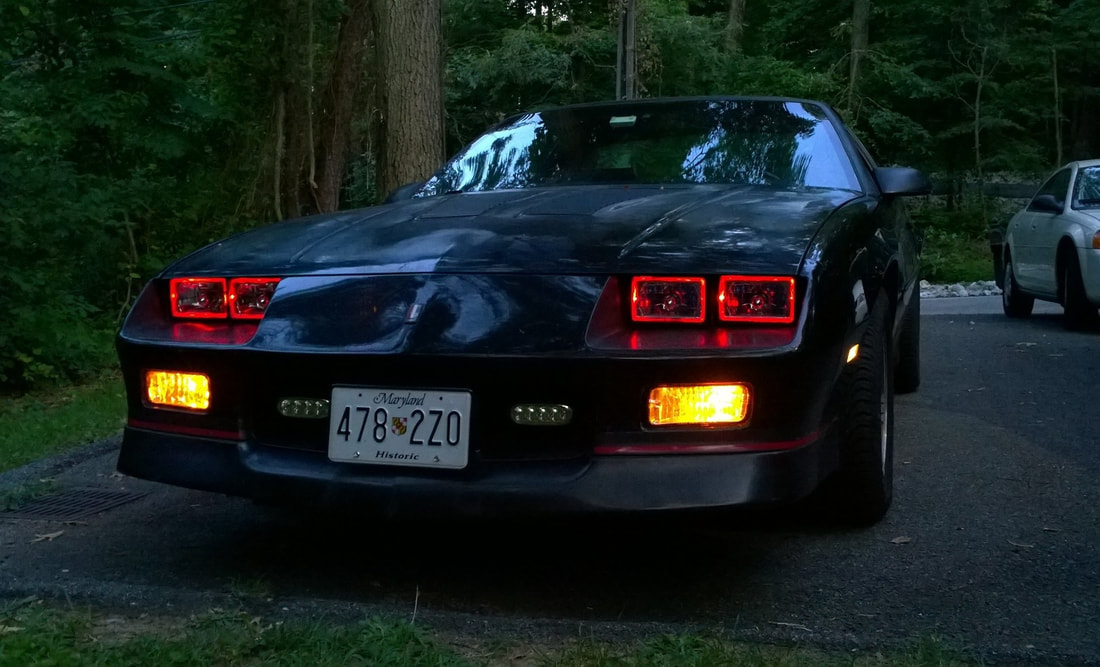
We liked the look of the various lamps with "halos", but some of them either had non-replaceable LEDs for the halo lamps, or the housing was plastic, or it was a non-projector style. Be careful if you buy those. Some local jurisdictions have laws that require a projector housing, and you may find yourself getting hassled or paying fines. The ones we found are glass, DOT-approved projectors with replaceable LED bulbs for the halos. I'll add pictures of the LED lamps we used. The eBay seller from whom we bought the headlamps goes by bid4speedster. We were very happy with his product and communications.
I have more pictures to add here.
THE GARAGE/SHELTER
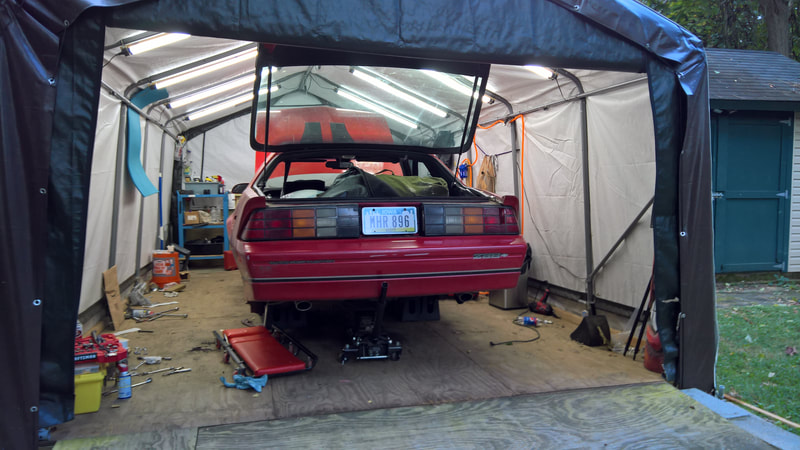
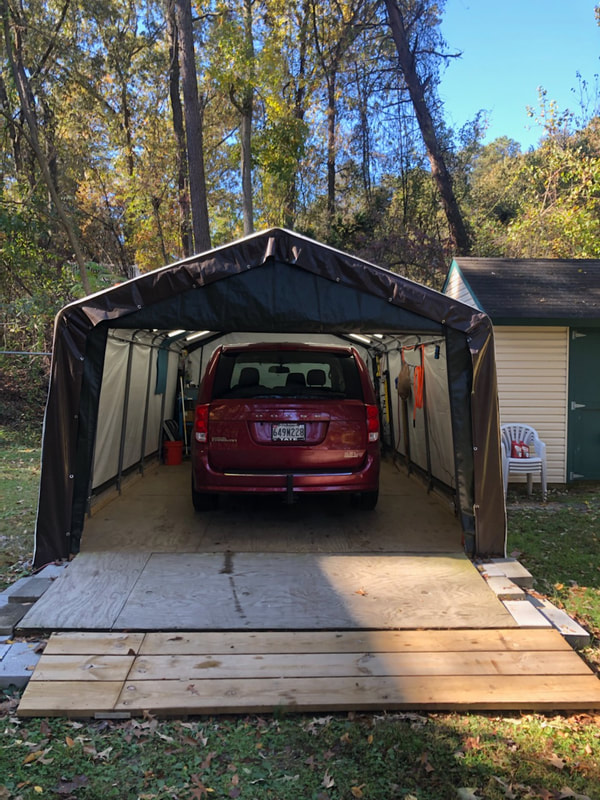
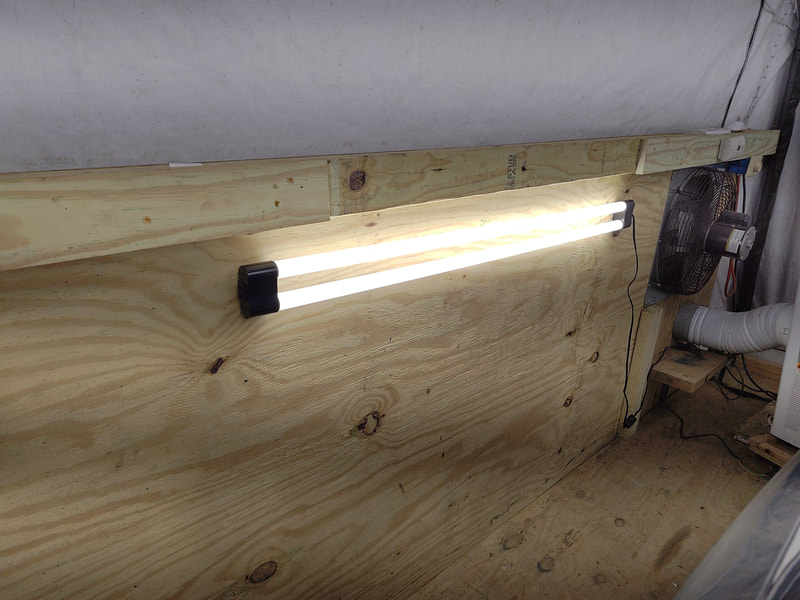
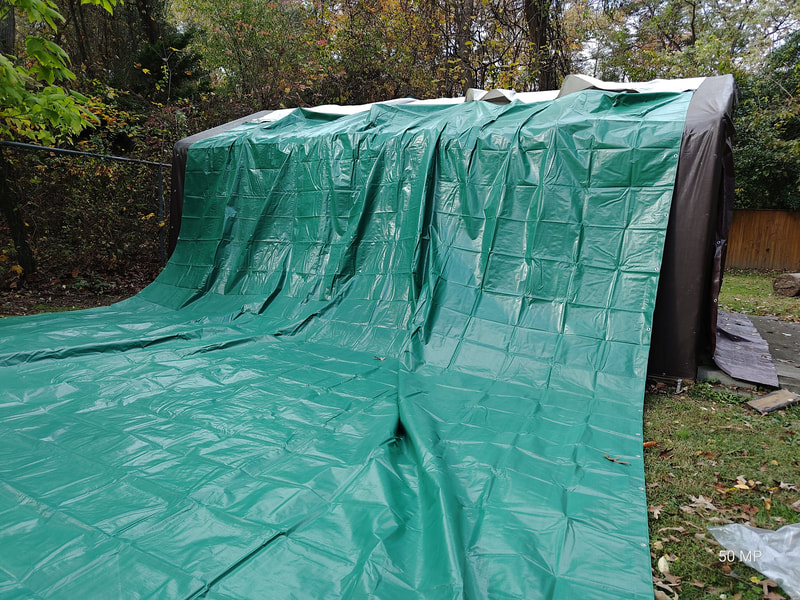
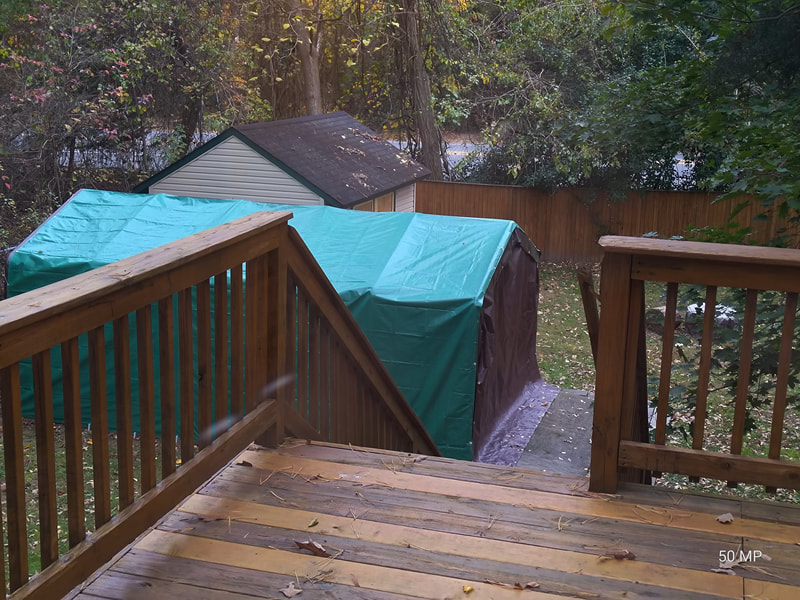
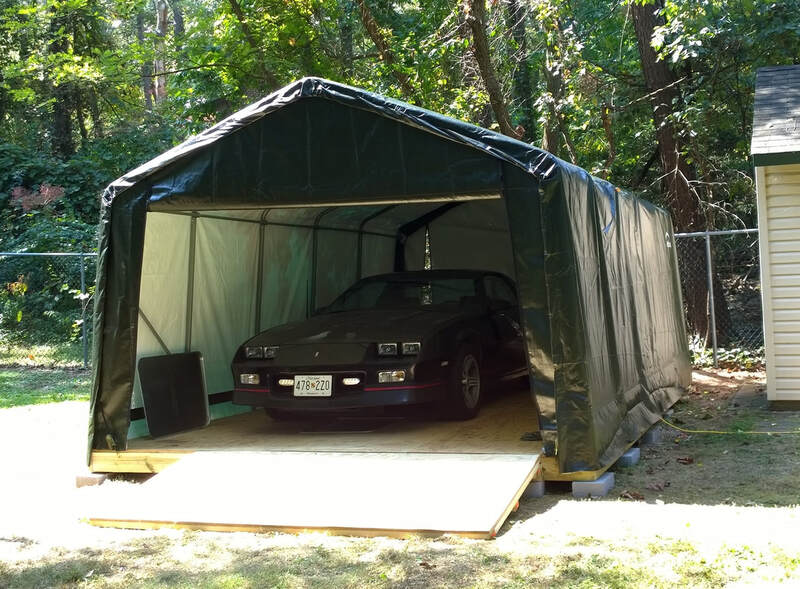
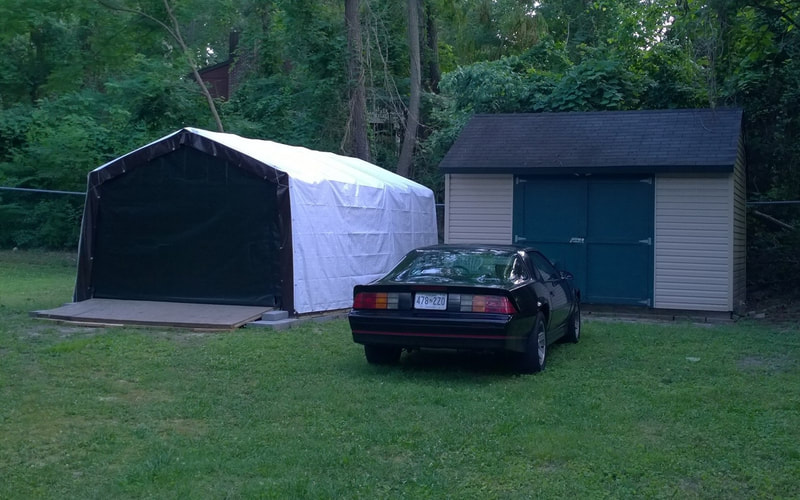
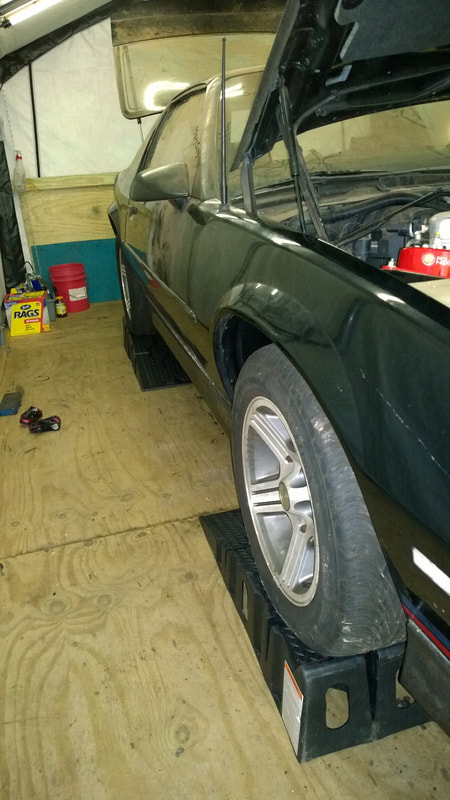
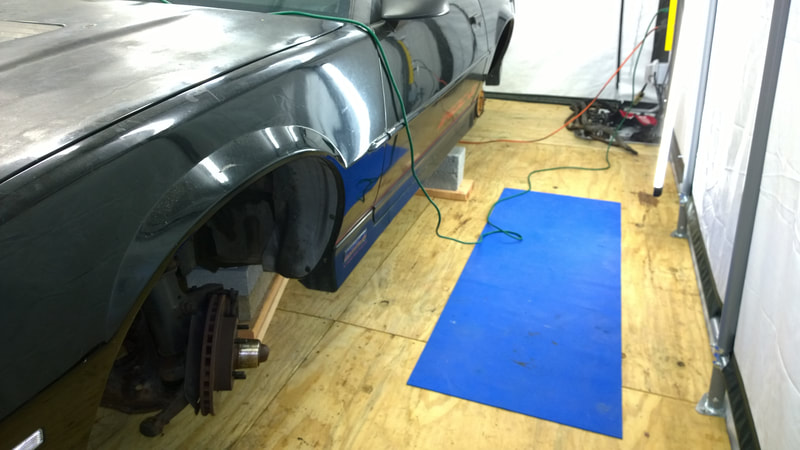
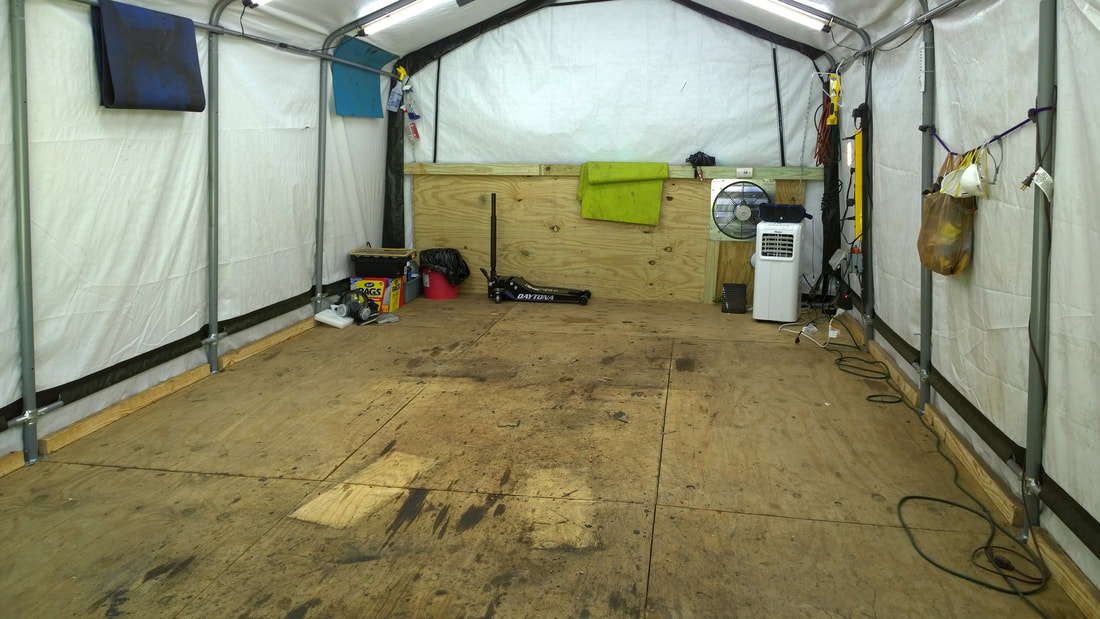
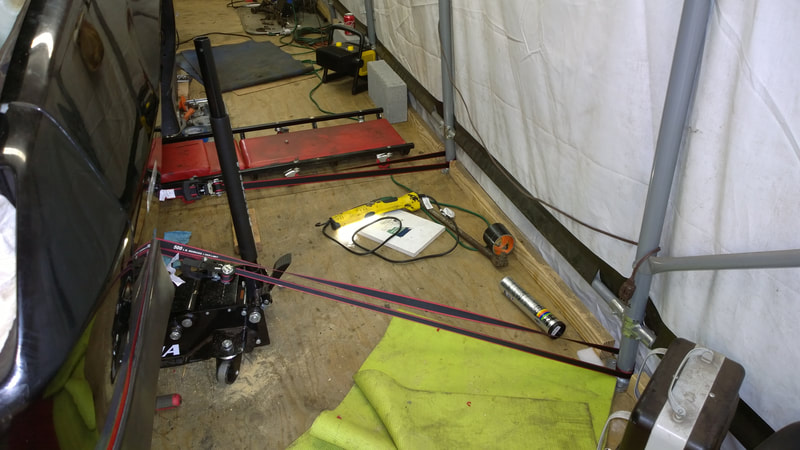
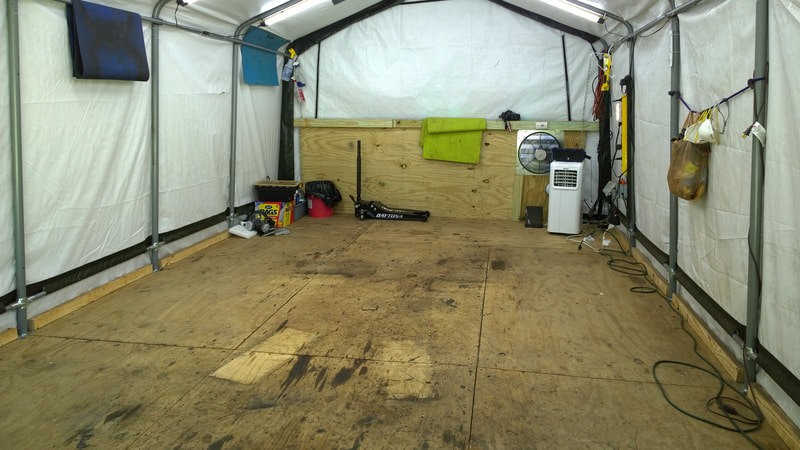
We needed a place to work where we could tear the car down, remove the suspension and gas tank, and spray paint. We needed to build a shelter away from the house, in case we blew something up. We decided to put a 12' x 20' "portable" garage in the backyard. To save space here, I've created a write-up on building a work shelter in PDF format with lots of photos.
THE FUEL TANK
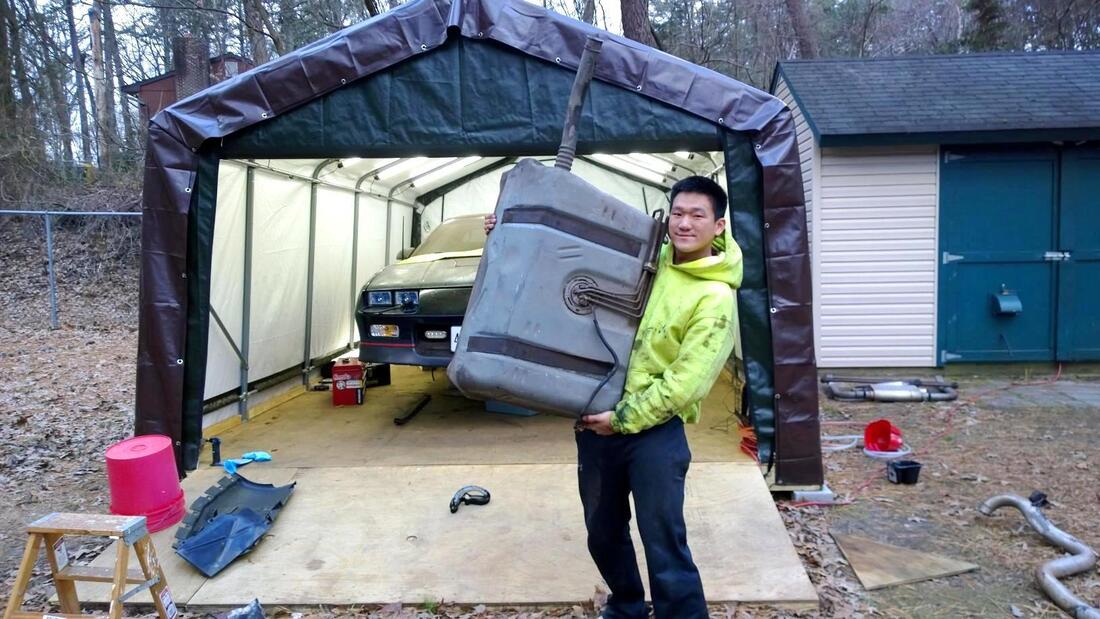
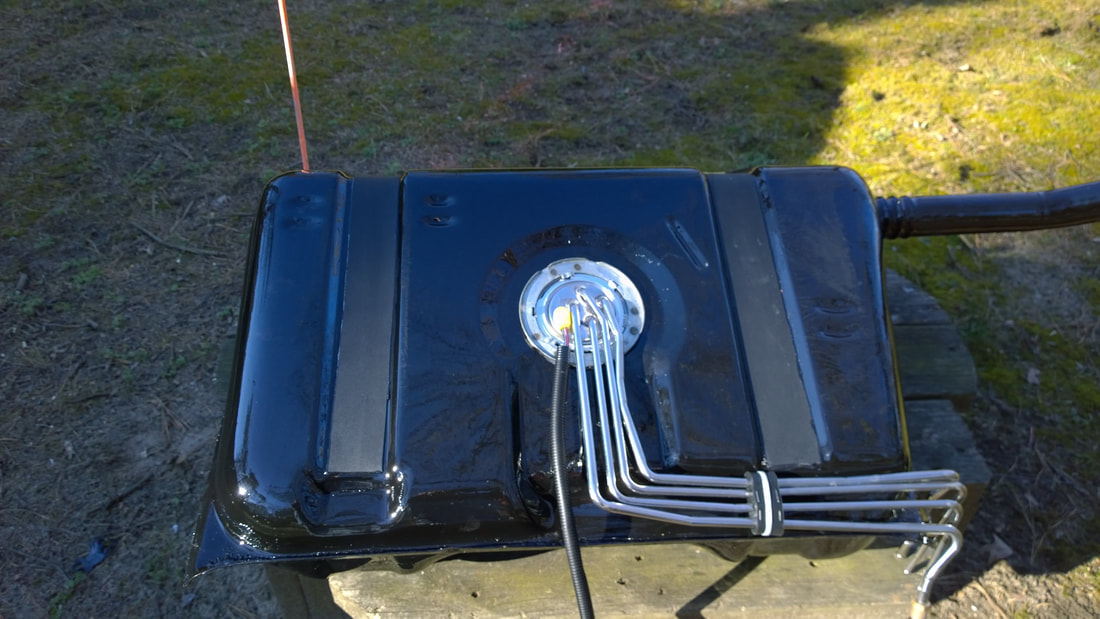
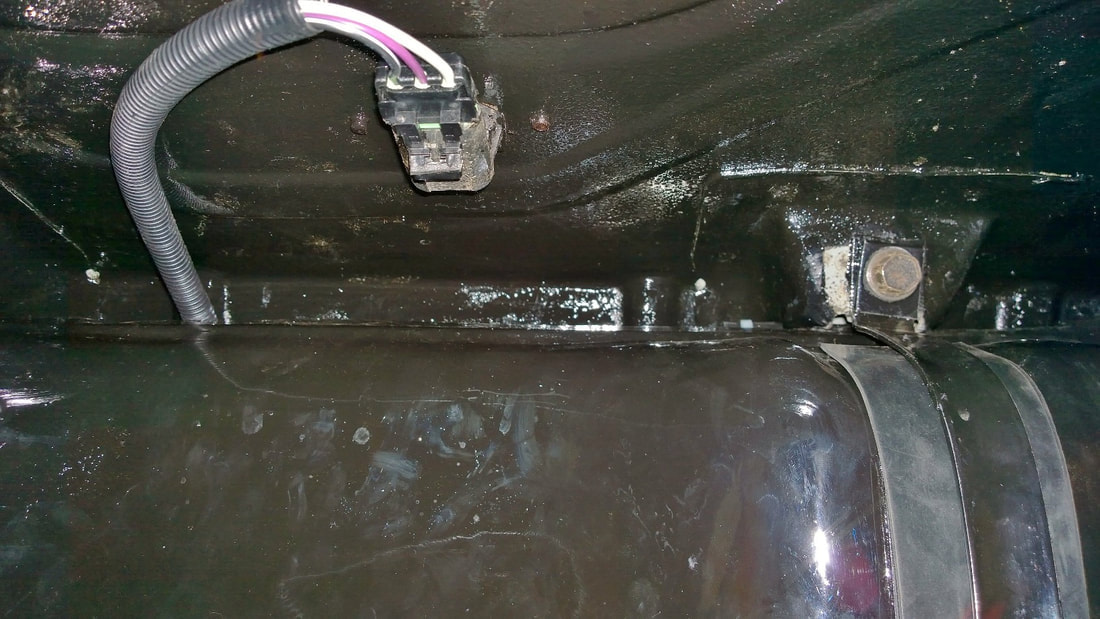
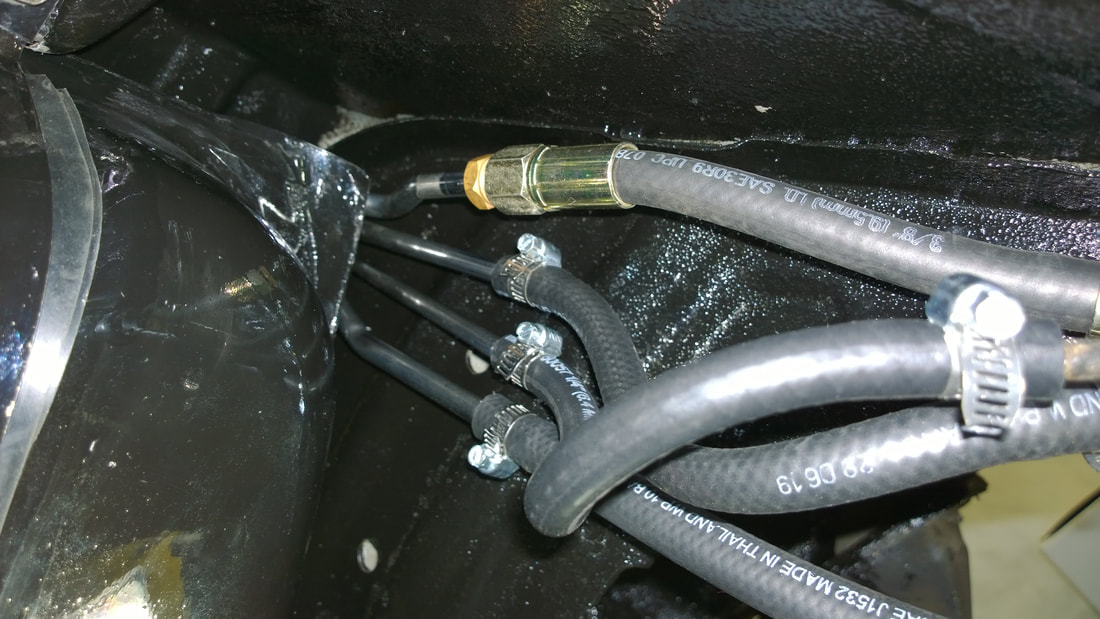
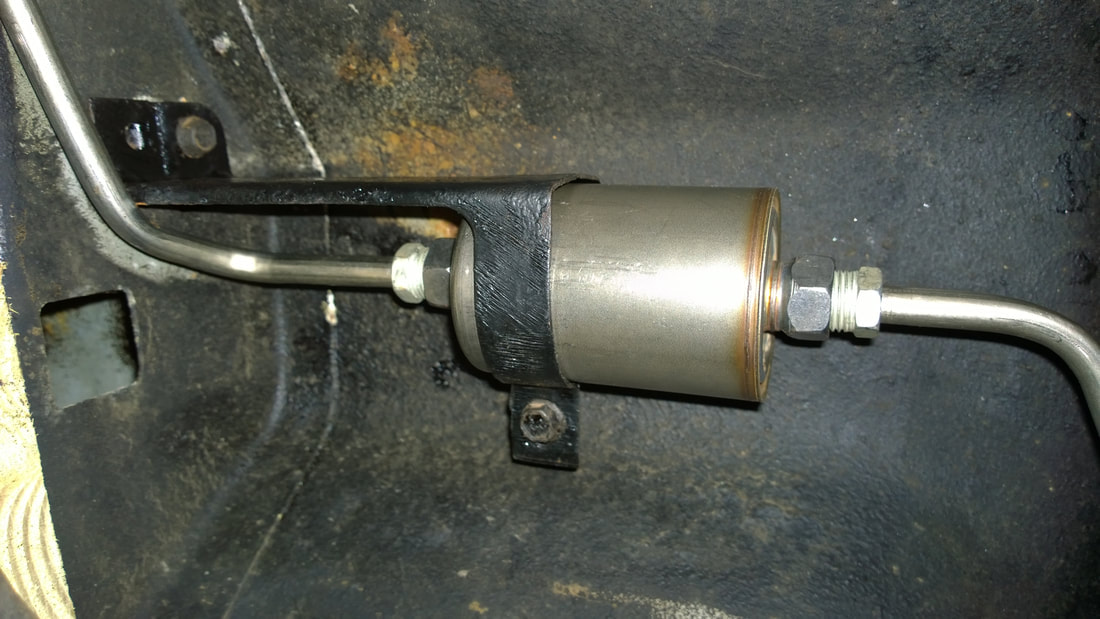
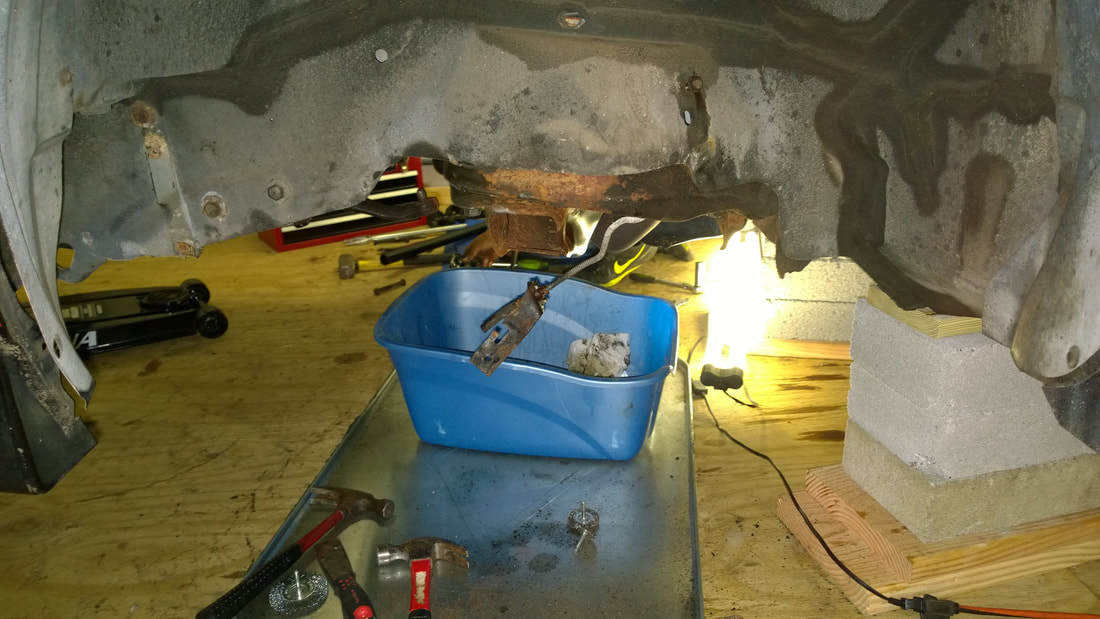
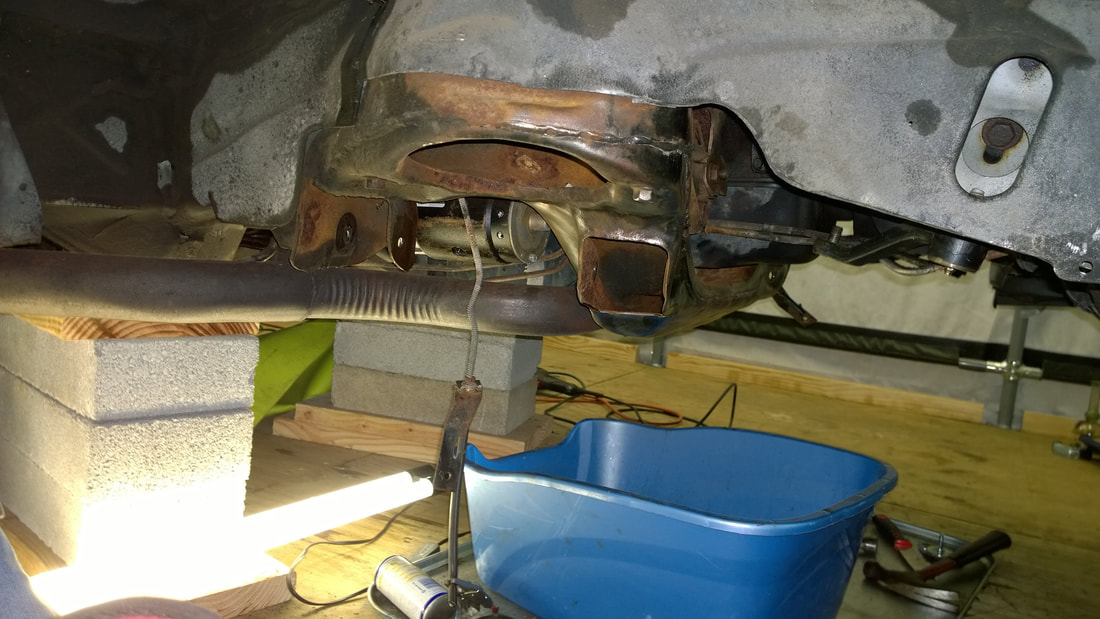
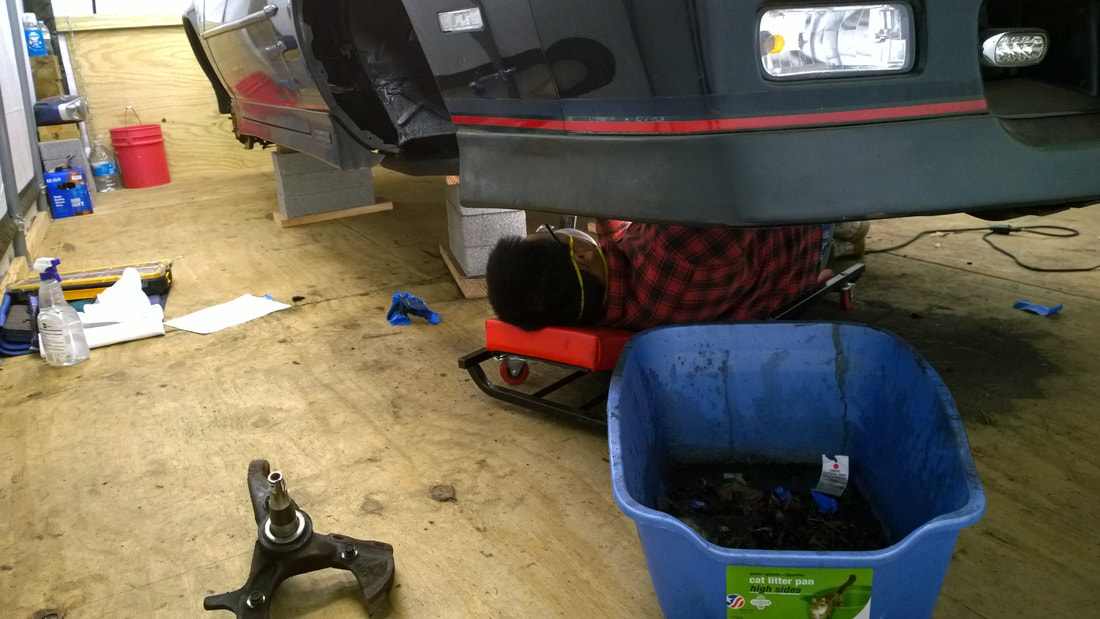
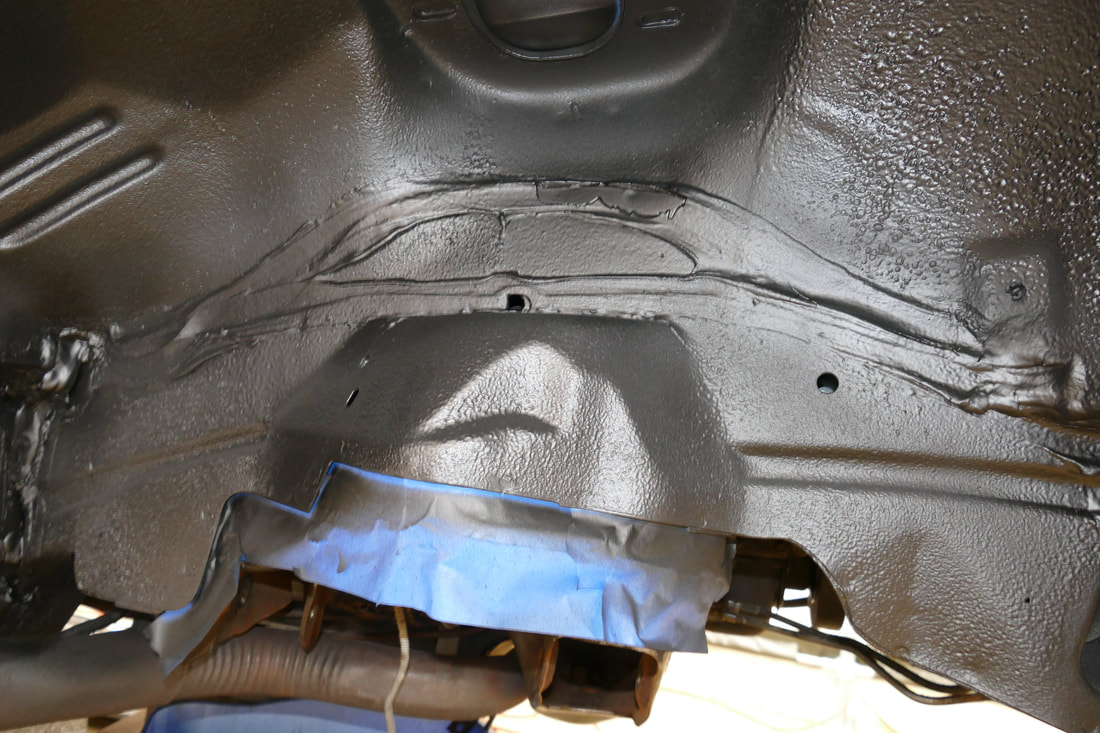
The time we dreaded was at hand. With the differential down and all the suspension parts out, there was no excuse for not replacing the fuel tank, whose filler neck was damaged by a previous owner. The pictures below have caption to explain what's going on.....
WARNING! AVOID SPECTRA PREMIUM FUEL TANKS FOR YOUR IROC. The filler necks are way off. This problem has been reported on the Gen 3 Camaro forums but we failed to see the posts before we bought and installed the tank. We had already removed the shipping grease from the tank and painted it with POR-15, so it was too late anyway. BUY SOMETHING ELSE, LIKE DORMAN. If the filler neck was slightly off to the RIGHT, it wouldn't be a big problem. But to the left is disastrous. You have to bend the neck (carefully) into alignment or forget about having a gas access door on your Camaro, which is unacceptable.
I wrote to Spectra about this, but they didn't answer. I've had great results with Spectra parts in the past, but this incident has ended my relationship with them.
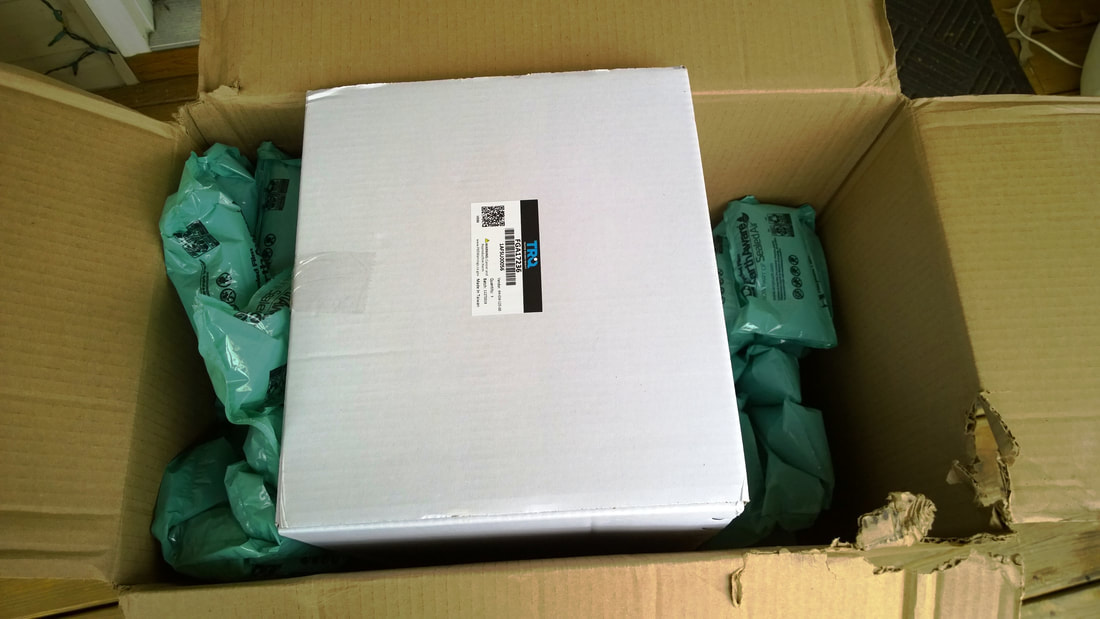
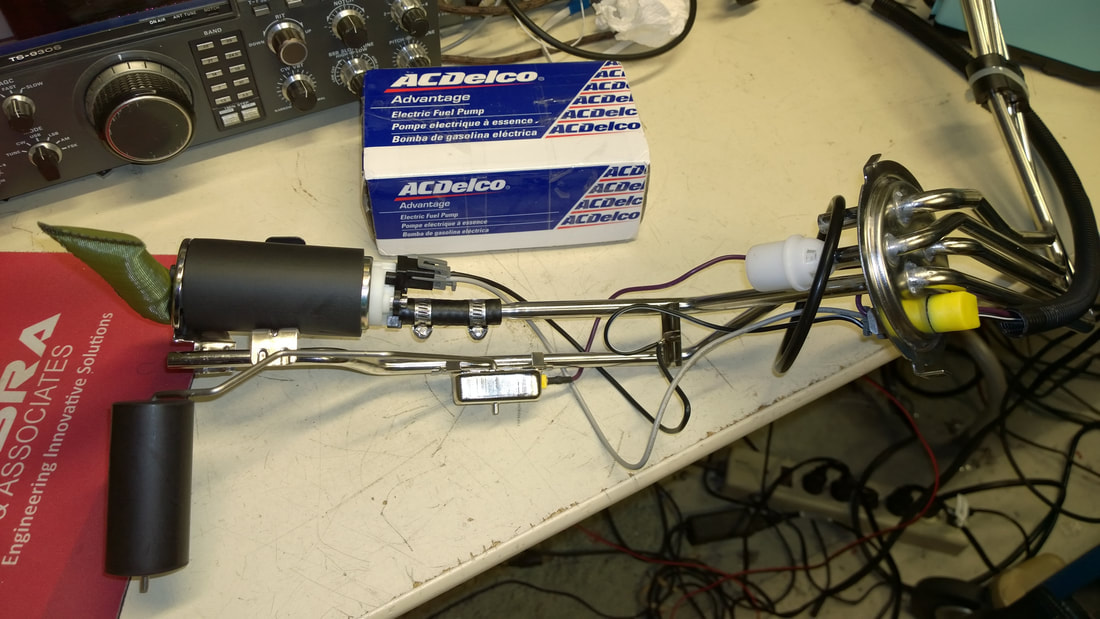
Also, AVOID TQR parts. We couldn't find a GM fuel hanger, so we searched for a good aftermarket source. We thought 1A Auto would carry something good, but they shipped TQR (Total Quality & Reliability). Their stuff is cheaply made and the fuel gauge is way off. Fortunately, if we add 5-6 ohms in series with their lead out cable we can bring the gauge up to "F" when the tank is freshly filled. The TQR part shows 3/4 full. We thought the gauge might settle out after many fill-us but it hasn't.
THE SUSPENSION
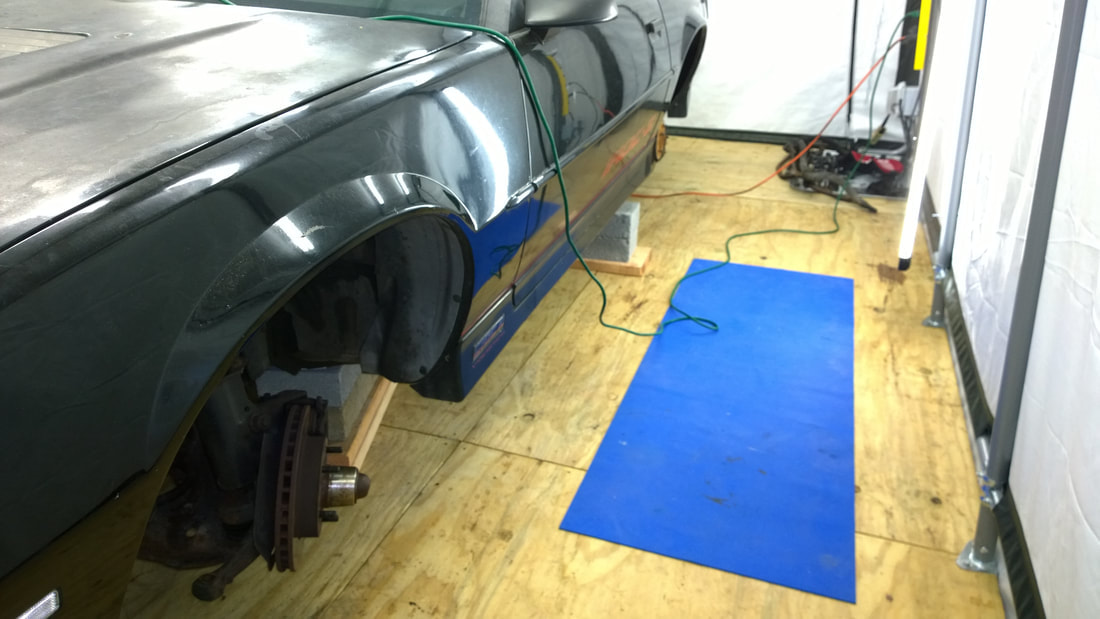
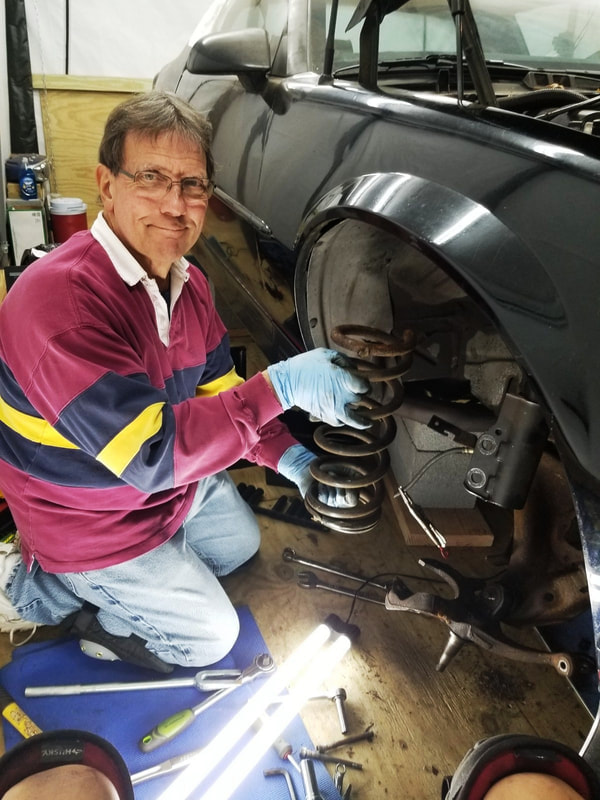
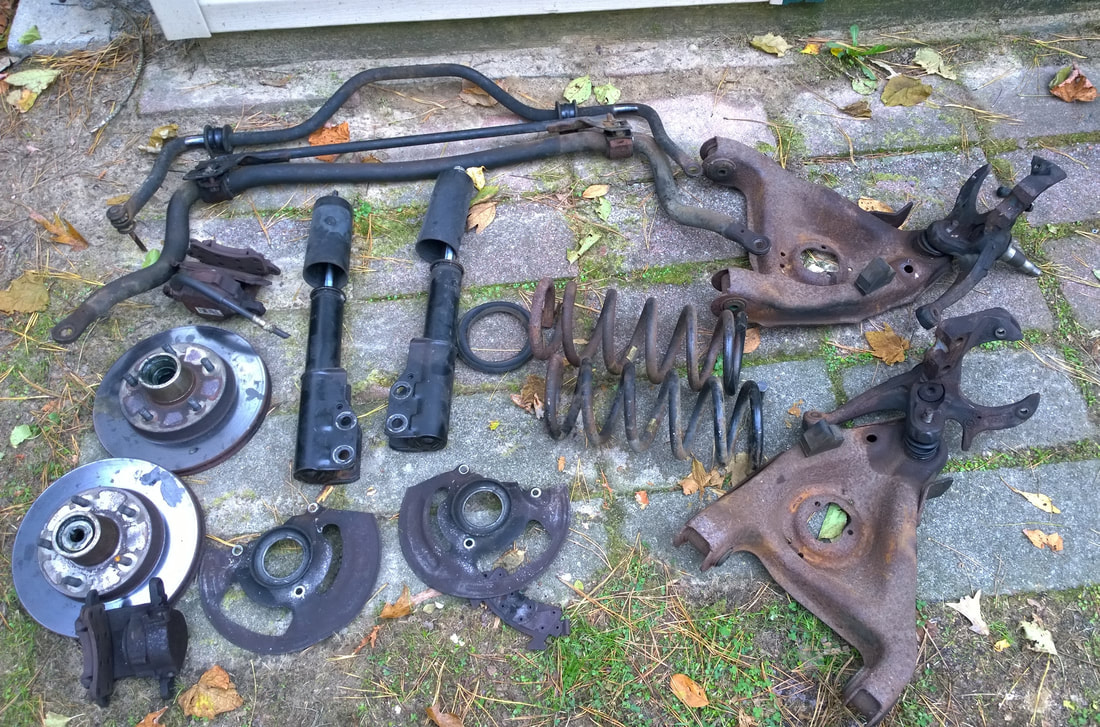
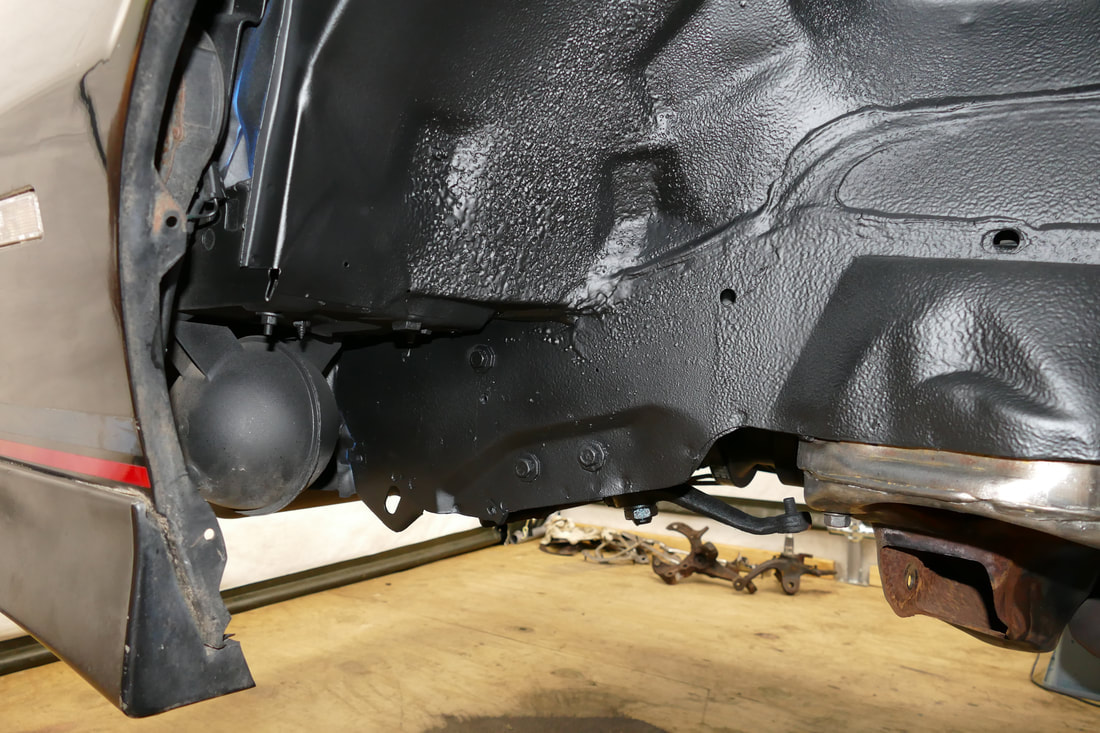
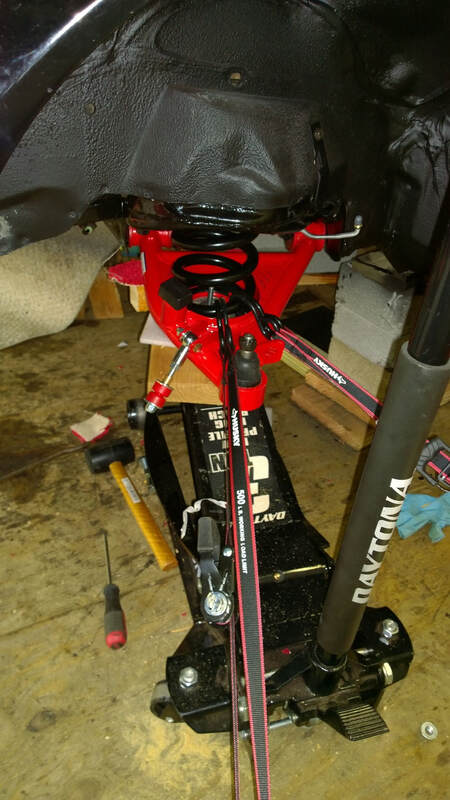
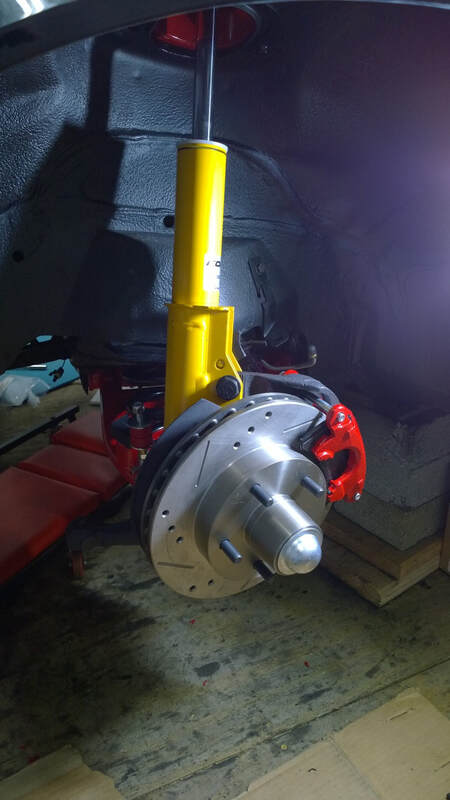
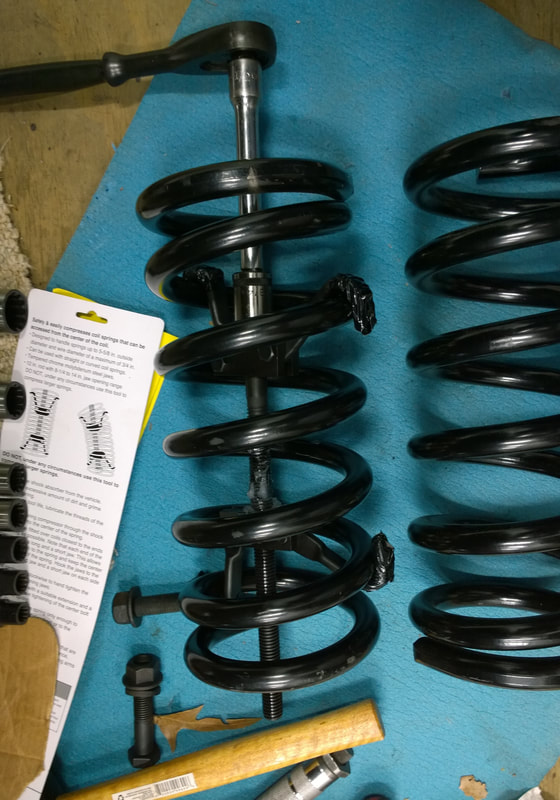
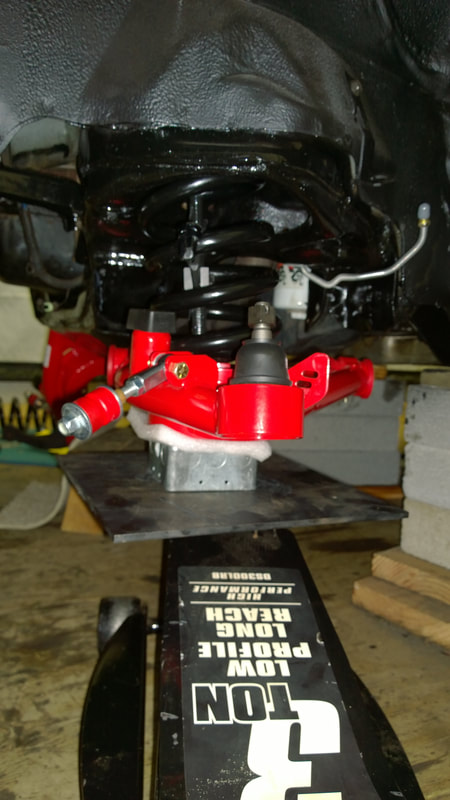
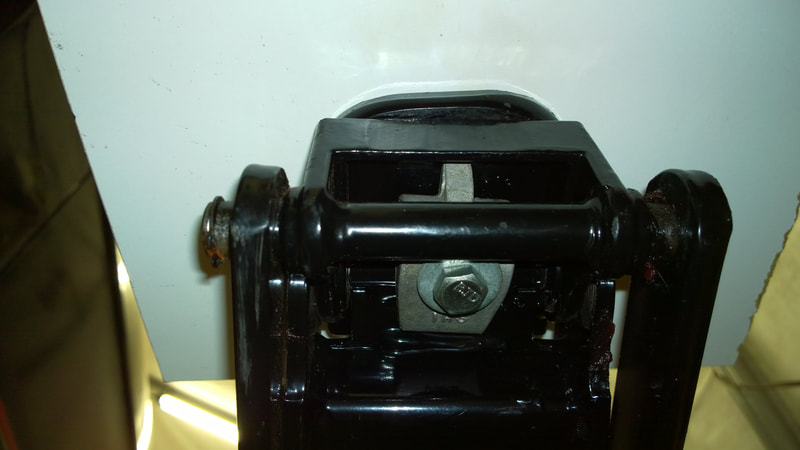
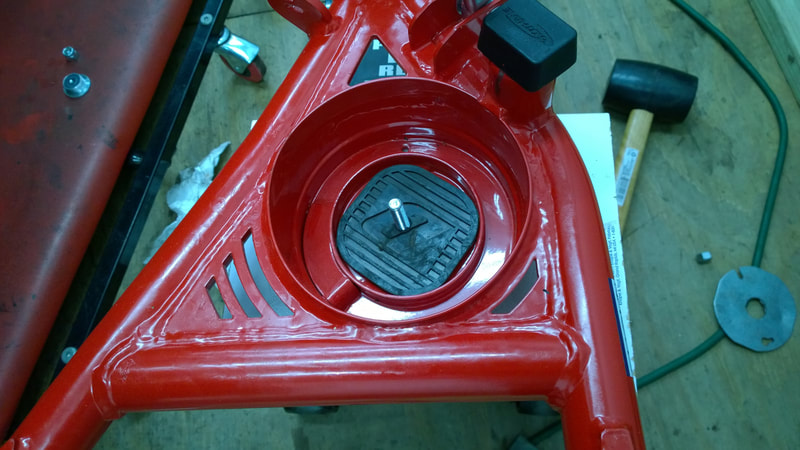
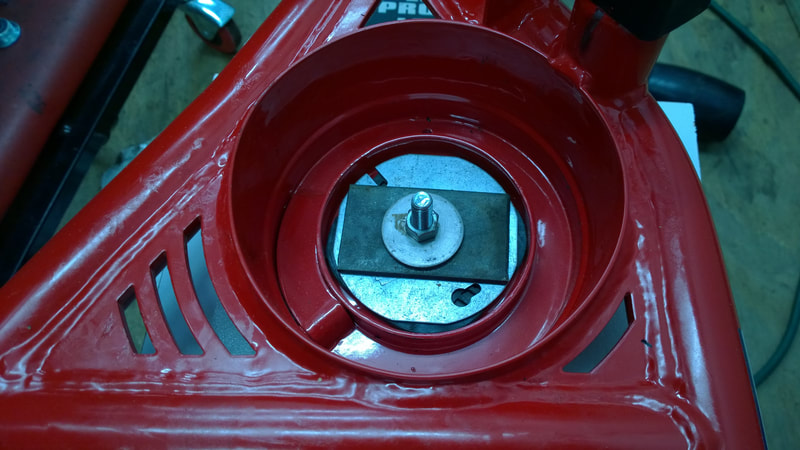
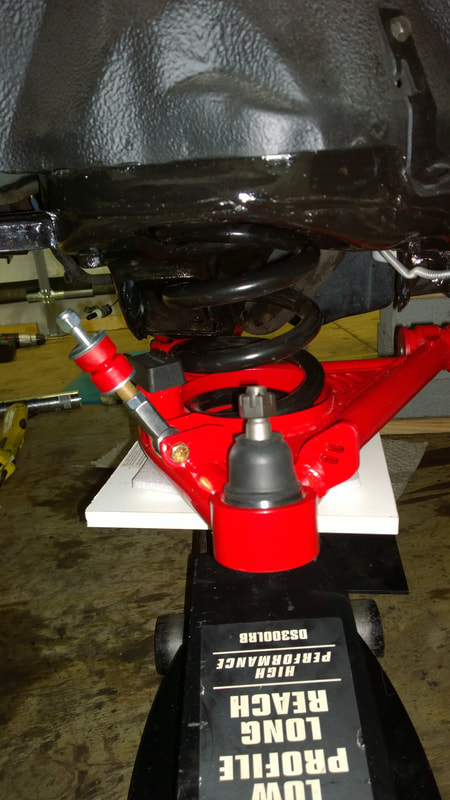
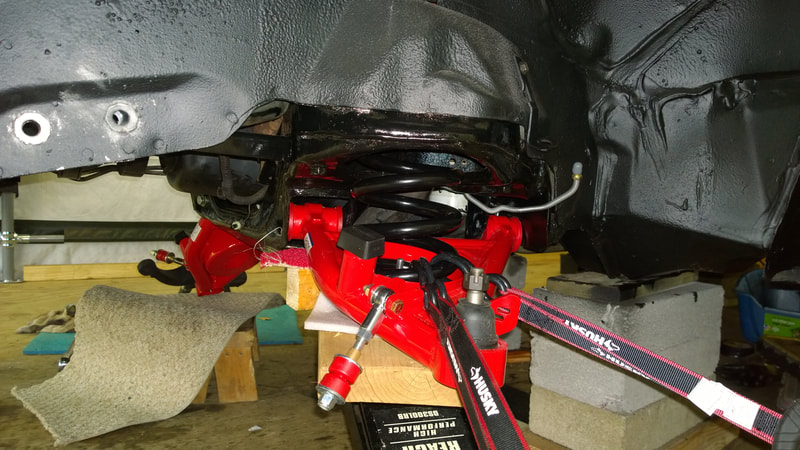
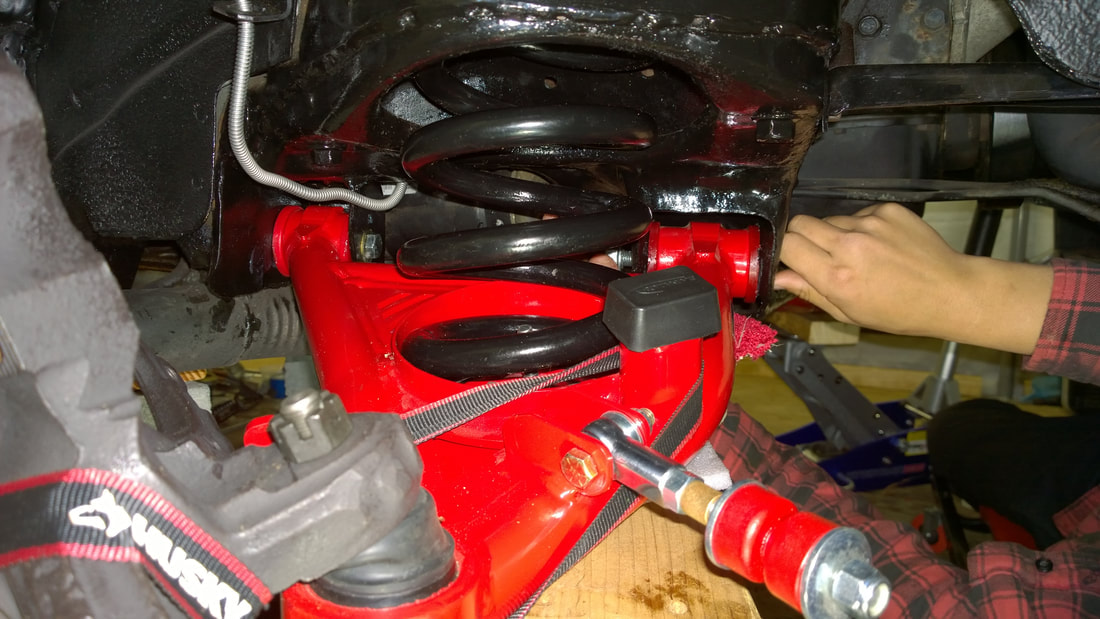
Step one is to remove all of the front and rear suspension parts. We're replacing everything including the springs, which should have made this easy. But the front has been a bit of a headache.
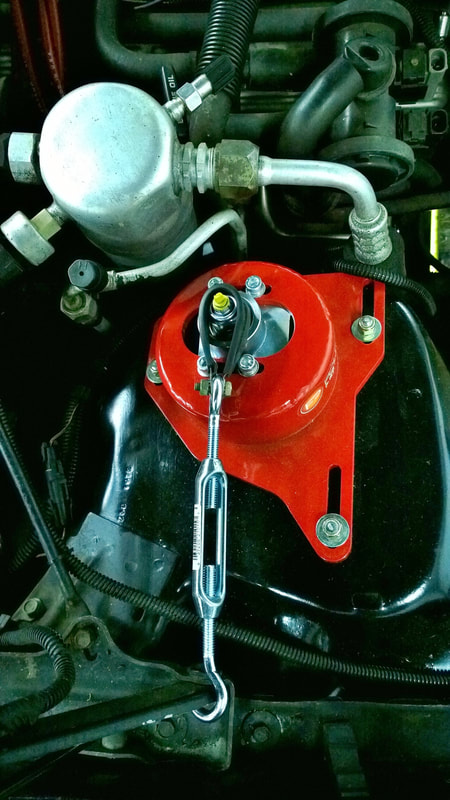
FRONT COIL SPRINGS
STEERING
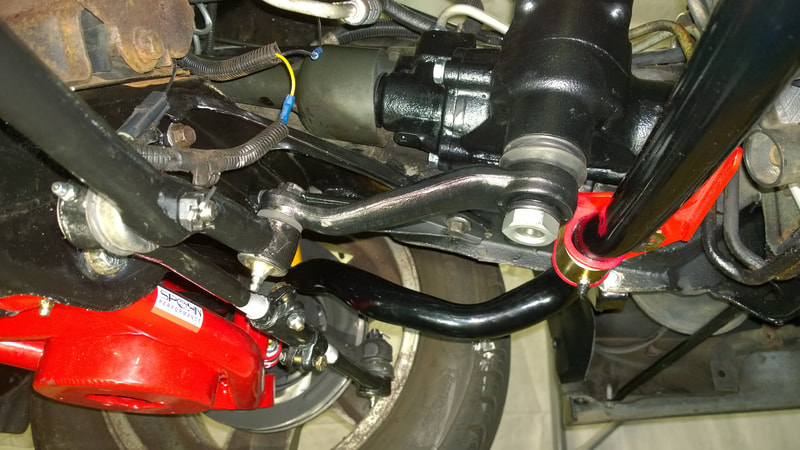
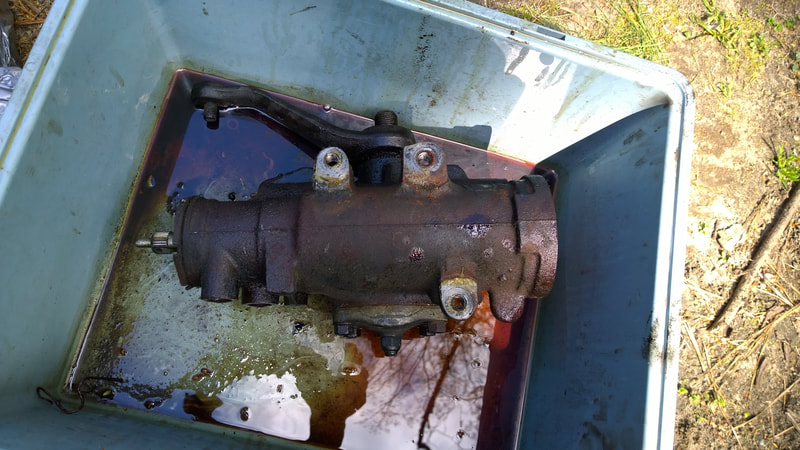
We stripped everything from the steering including the steering gearbox. The gearbox was stiff, despite the fact that we installed a new power steering pump. And really, it's almost cheaper to buy all the parts from someone like Moog than to change all those ball joints, clean off the rust, etc.
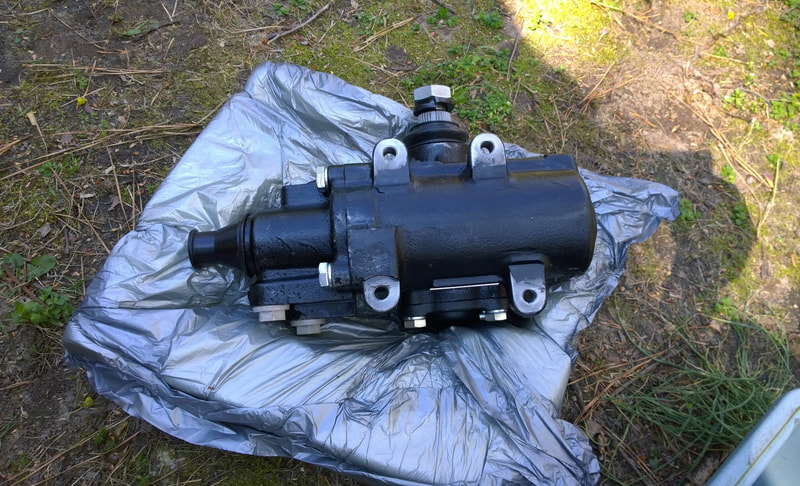
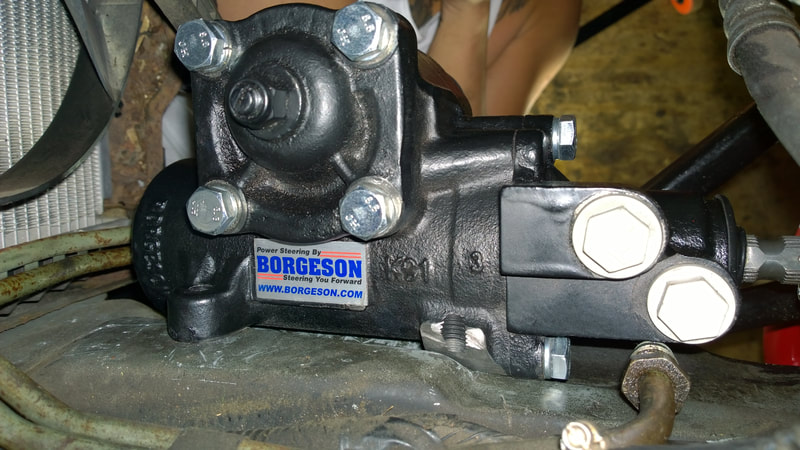
We decided early on to get a steering gear with a little tighter feel. The Borgeson 800130 model has great reviews, and it was reasonable ($445) so we bought it. All of the parts distributors say "This fits your 1989 Iroc Z Camaro 5.7 L." What they DON'T tell you is that the box has 4 mounting tabs instead of 3, so it won't fit unless you:
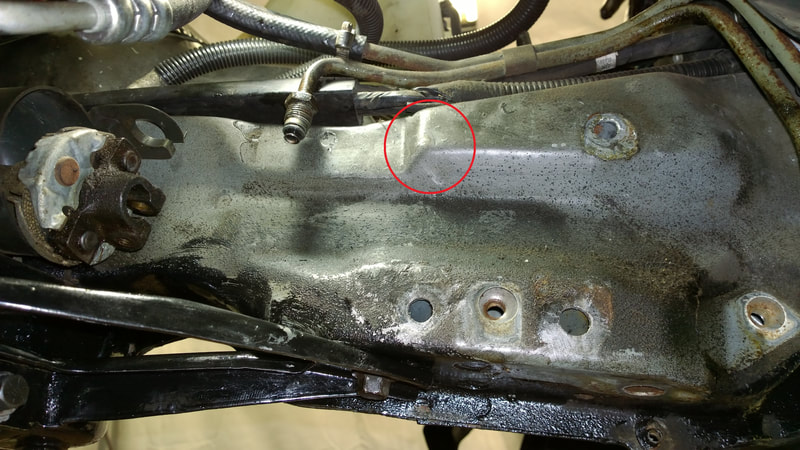
1. Modify your frame where the tab hits. This is unwise, since the Gen 3 has a reputation for developing frame crack, right at
the steering gear location. Our frame is pristine in that area, so this was out.
2. Modify the Borgeson box by cutting off the interfering tab.
UPDATE: This does NOT kill the warranty. It's posted on the Gen 3 Camaro forum. If there's a problem, you can't get an exchange,
but Borgeson will rebuild your cut box if it's in the warranty period.
3. Installing a sub-plate or spacers to shift the steering box location 5/8" from the frame. THAT requires shifting the steering
column, and it also introduces what engineers refer to as a "bending moment", which might cause a frame crack. In the end, we
cut the tab off with an air-grinder cutoff saw. We cut as little as possible, pulling the box each time (along with some bad language)
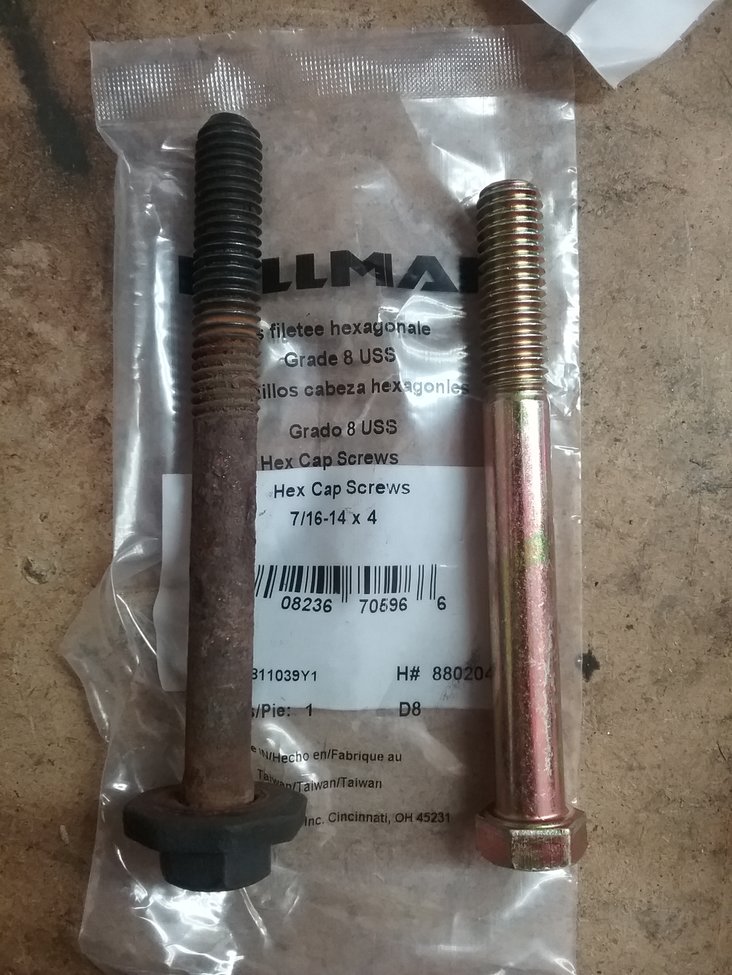
and shaving some more until it fit perfectly, and we were sure there were no stresses. The bolts fit so precisely that if the box is
the least bit off-angle, they won't go in. When the box is perfectly aligned, they will go in with finger-pressure.
TEST DRIVE!
We finally put the IROC on the road to look for issues and things that need corrected. It handles and rides like a new IROC, and the Borgeson steering box makes the handling tight and responsive. Here's a rundown of the good and bad.
THE GOOD:
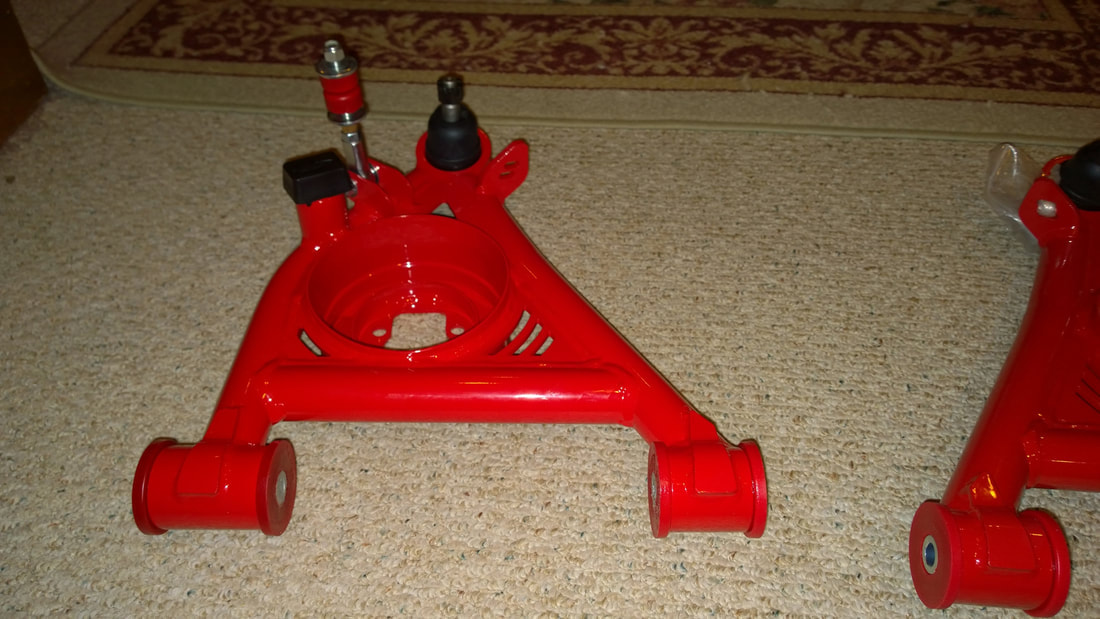
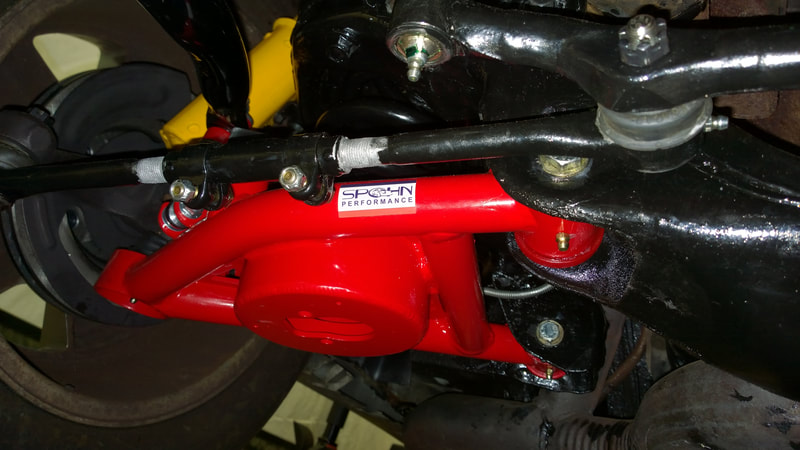
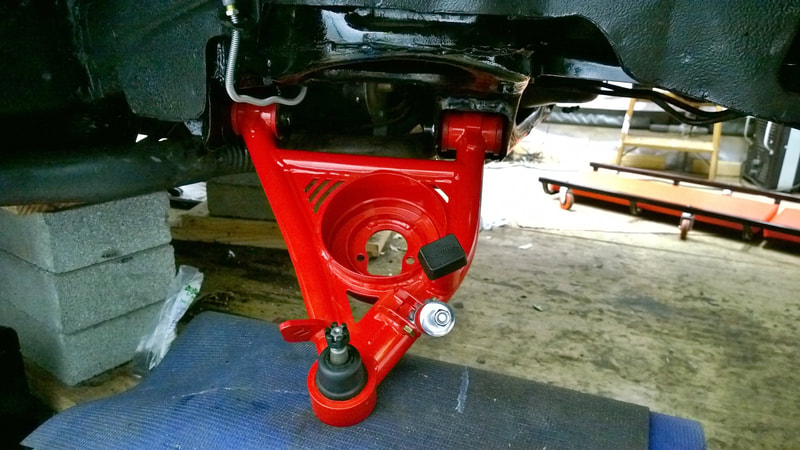
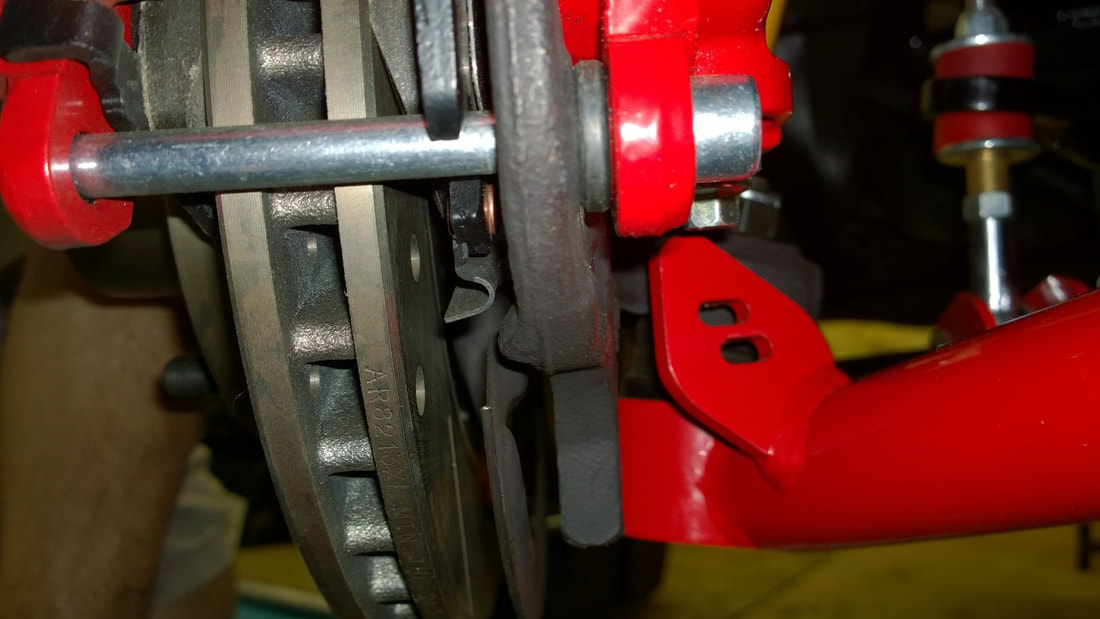
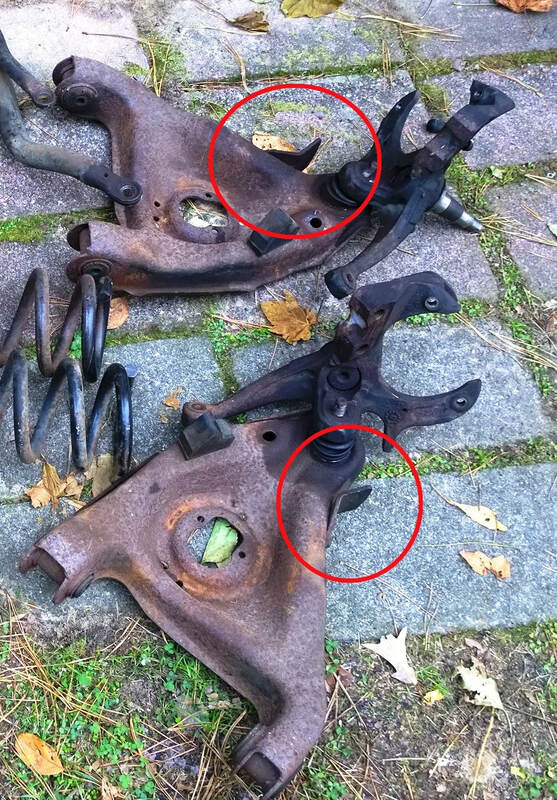
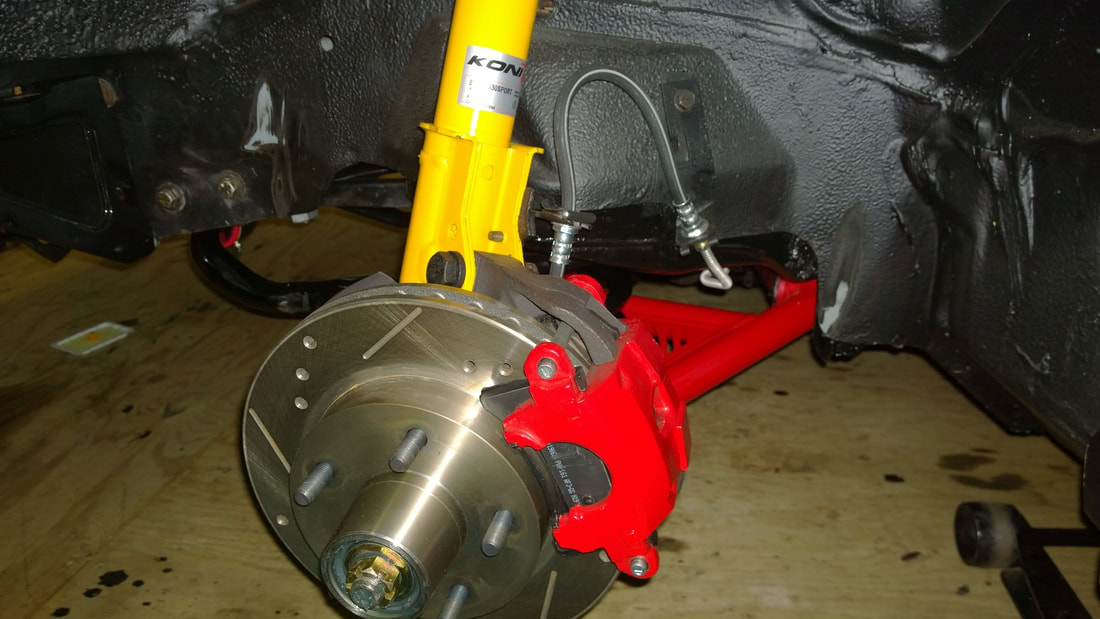
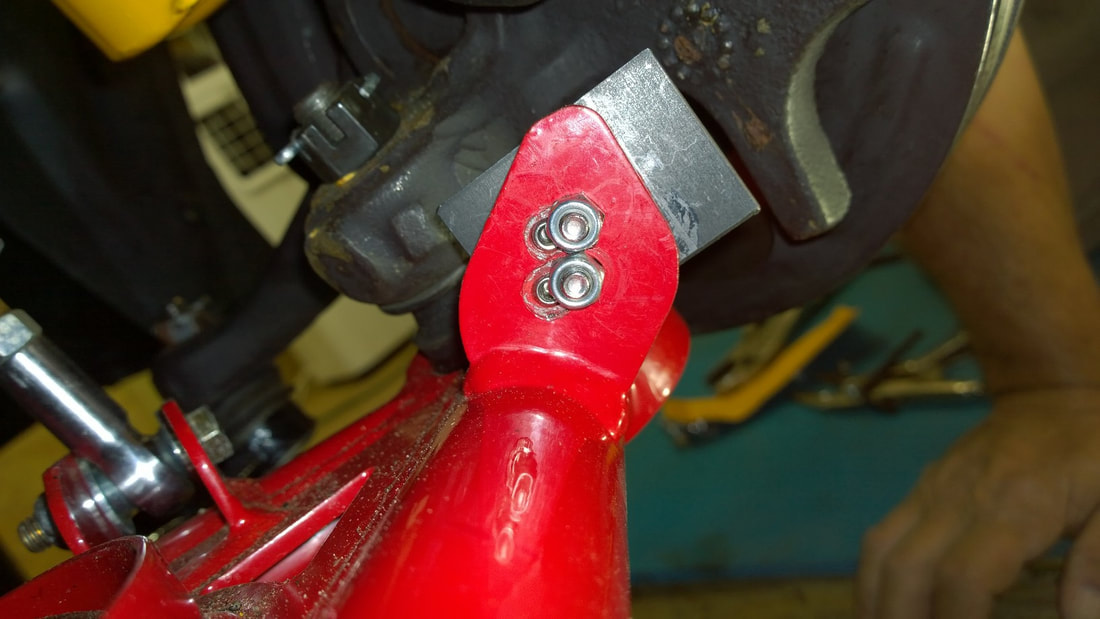
With the engine off, the range is perfect - the wheels stop moving about an inch before they make contact with the wheel well or the front sway bar. The tires and rims are stock issue, so that's not the problem. The problem is that the welded-on steering stops on the Spohn tubular lower control arms fall short of contacting the stock spindles. They are supposed to make contact with the spindle to prevent oversteer. Were they adjustable, the rest would be easy. UMI LCA's have adjustable stops. I wrote to Spohn and sent a couple pictures, but I haven't heard back from them yet. I've added some pictures below, and more are coming. I have a pair of 1/4" x 2" x 3" A36 steel blocks coming by mail, with which I plan to make wheel stop extensions.
THE GOOD:
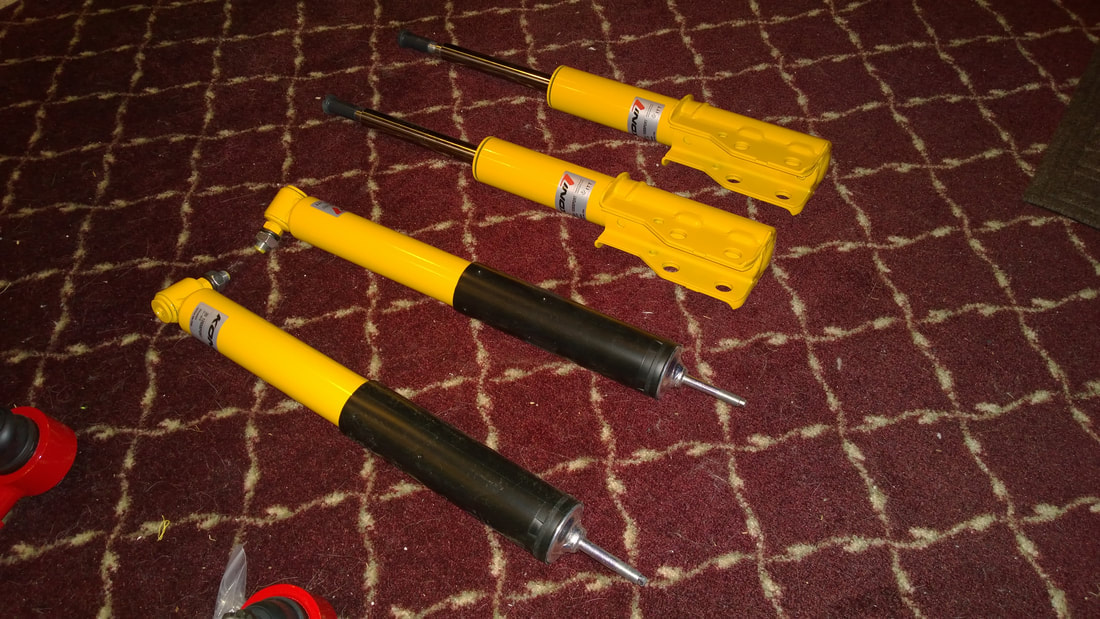
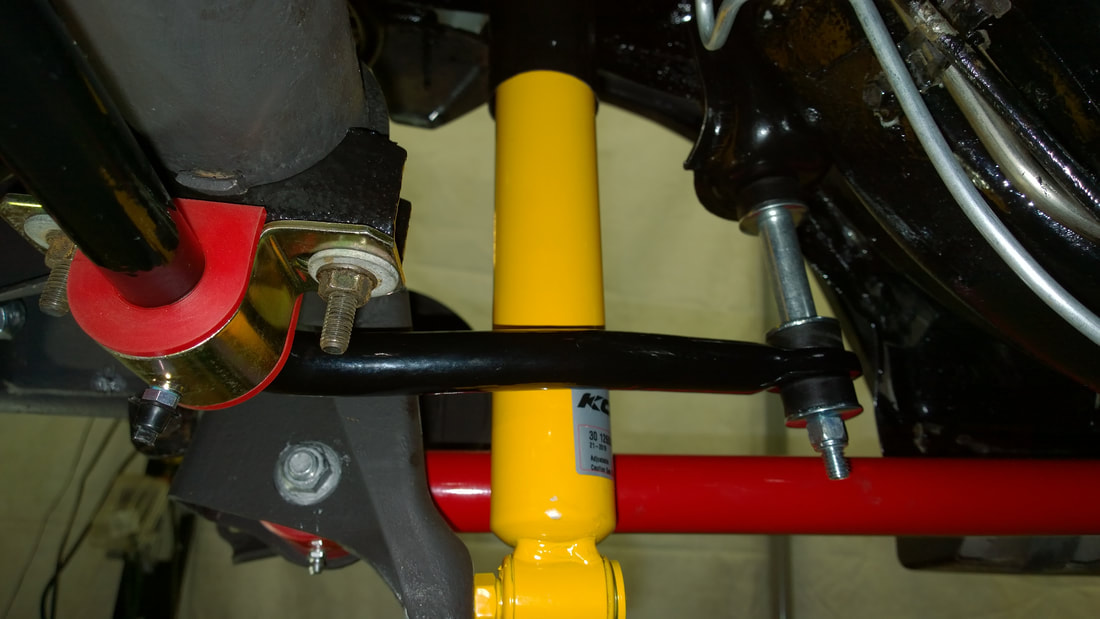
- The car handles like it's glued to the road. Everything is tight despite the fact that our roads in this area have become very "third world". The Koni struts are set to "soft" right now. We took it up well over 100 MPH yesterday on the Interstate (1/7/2021)
- The Urethane bushings don't squeak. We had heard that this might be an issue. Matt bought special Lithium grease to prevent this.
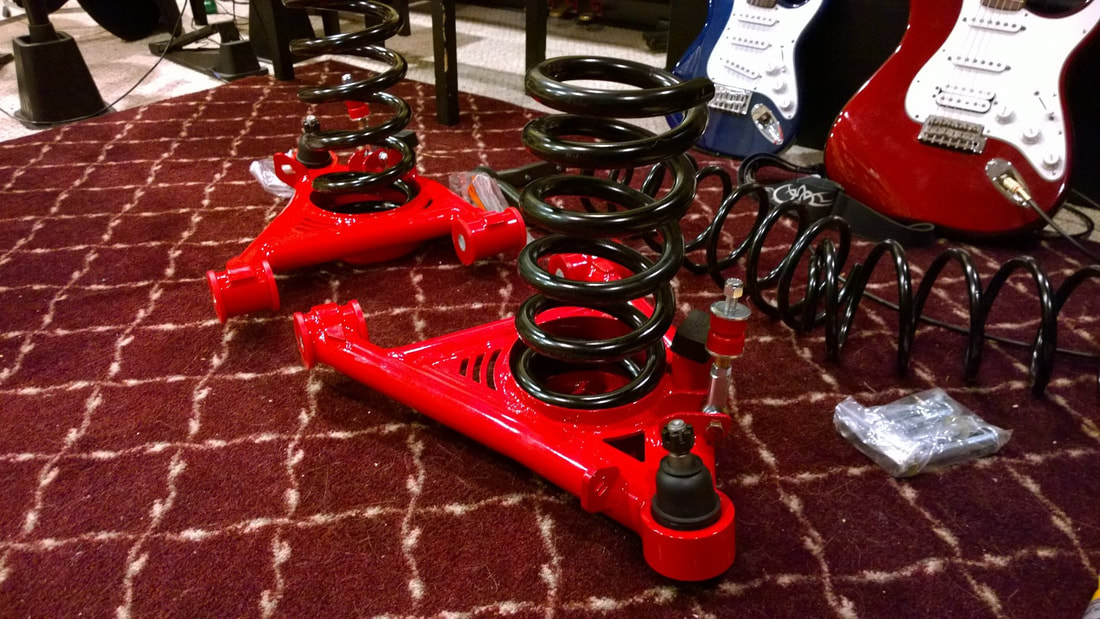
- The car's ride height is excellent. When we first installed the Moog springs, it seemed to be a little "high".
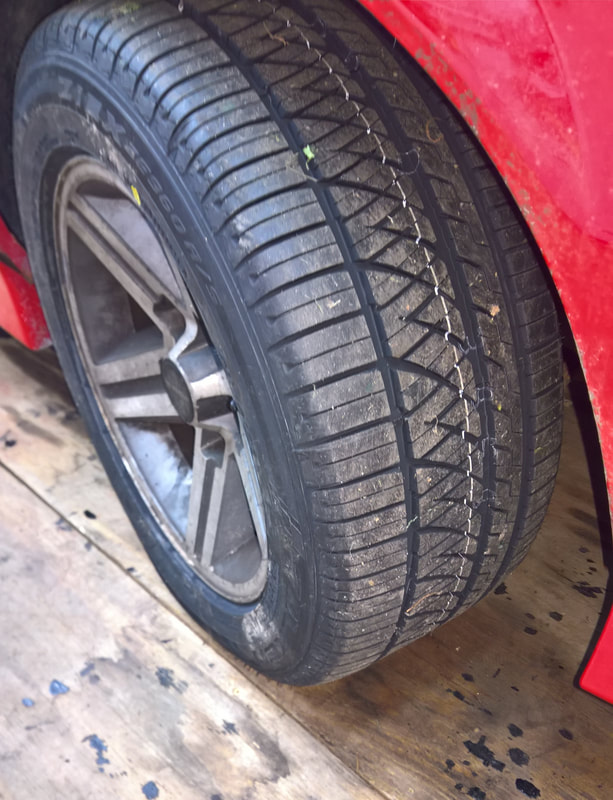
With the engine off, the range is perfect - the wheels stop moving about an inch before they make contact with the wheel well or the front sway bar. The tires and rims are stock issue, so that's not the problem. The problem is that the welded-on steering stops on the Spohn tubular lower control arms fall short of contacting the stock spindles. They are supposed to make contact with the spindle to prevent oversteer. Were they adjustable, the rest would be easy. UMI LCA's have adjustable stops. I wrote to Spohn and sent a couple pictures, but I haven't heard back from them yet. I've added some pictures below, and more are coming. I have a pair of 1/4" x 2" x 3" A36 steel blocks coming by mail, with which I plan to make wheel stop extensions.
ALIGNMENT
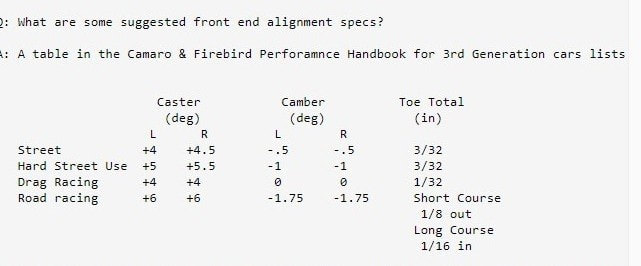
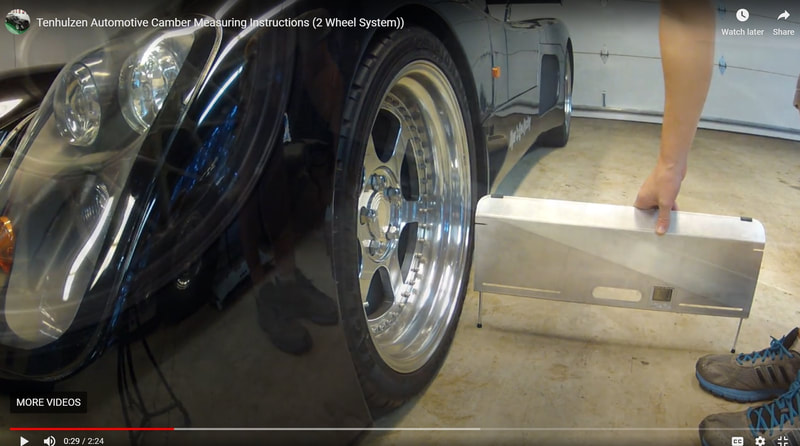
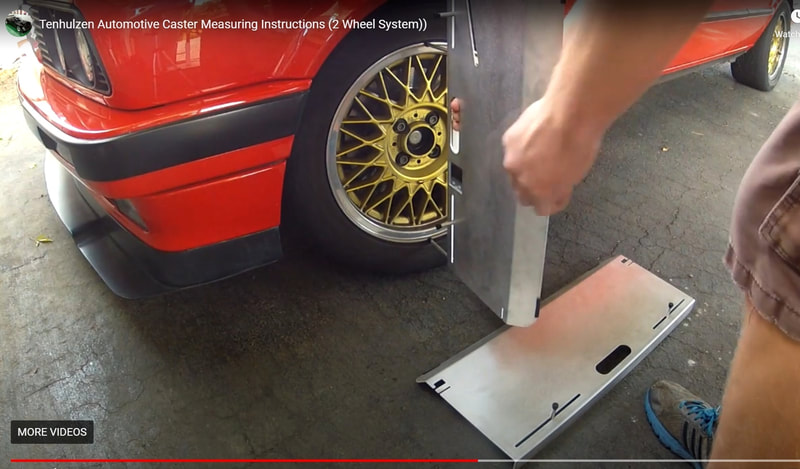
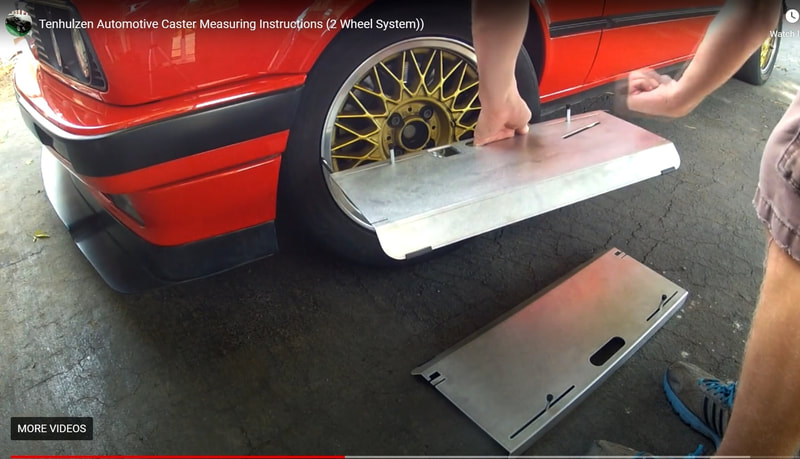
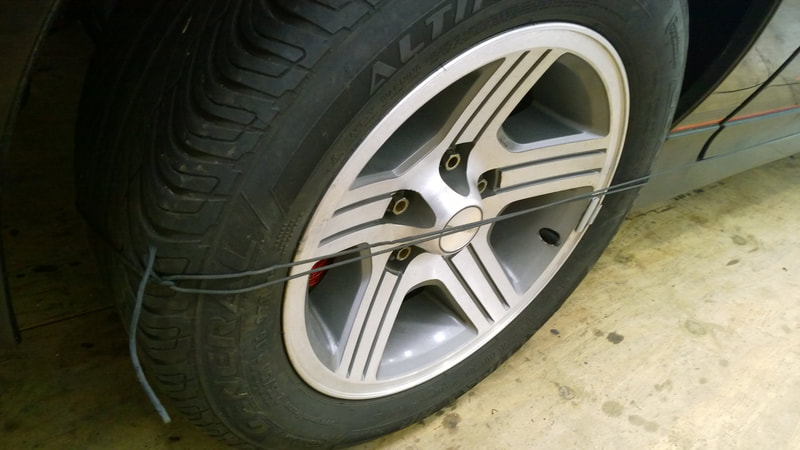
I grew tired of paying a fortune for alignments and pleading with local shops not to screw me on aligning this car, so I decided to invest in a DIY system. After reviewing what's out there and my bank account balance, I chose the Tenhulzen SKU 3300 2-wheel system. Despite the name, you can use this on all 4 wheels, 2 at a time.
The entire package was $209 and change on Amazon. The heart of this system is their electronic digital box which gives nice, easy-to-read outputs. Best of all, it can be calibrated for uneven floors. Step one is to forget the printed instructions and watch the instructional videos, which can be found here.
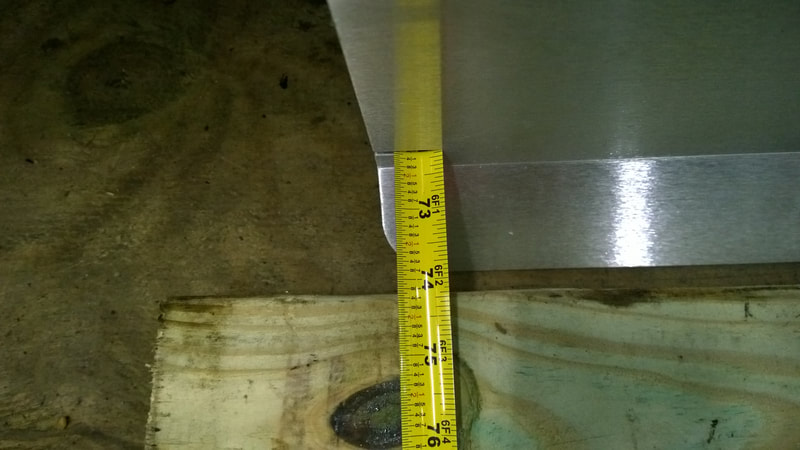
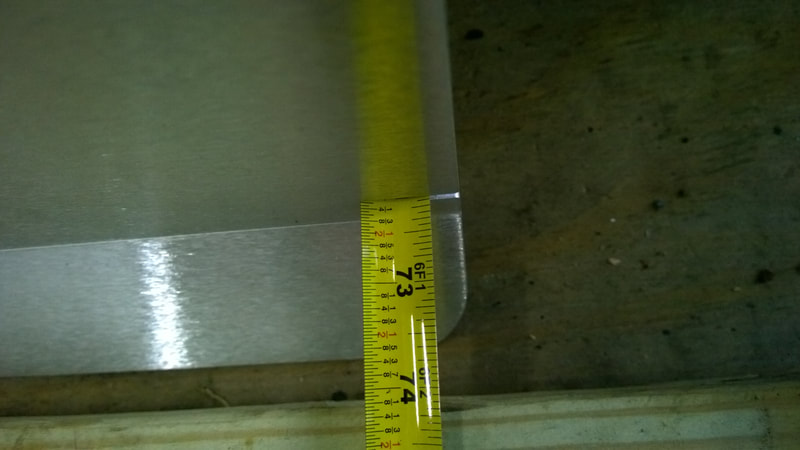
Our first effort was a huge success. The car handled like a new car, tracked perfectly straight, and cornered like a pro slalom car. After a few days, we needed to readjust the camber on one wheel, probably because we readjusted the bearings. That took all of 10 minutes. But otherwise, the Tenhulzen system makes alignment a breeze. Camber is especially easy. The pictures below are random. Three pictures are from the Tenhulzen site. I'll replace them soon with my own, although I doubt that they will care if I show theirs here. I deleted a whole bunch because I wasn't planning to include this section, but I'll recheck the alignment and post more organized ones soon.
RADIATOR AND FANS
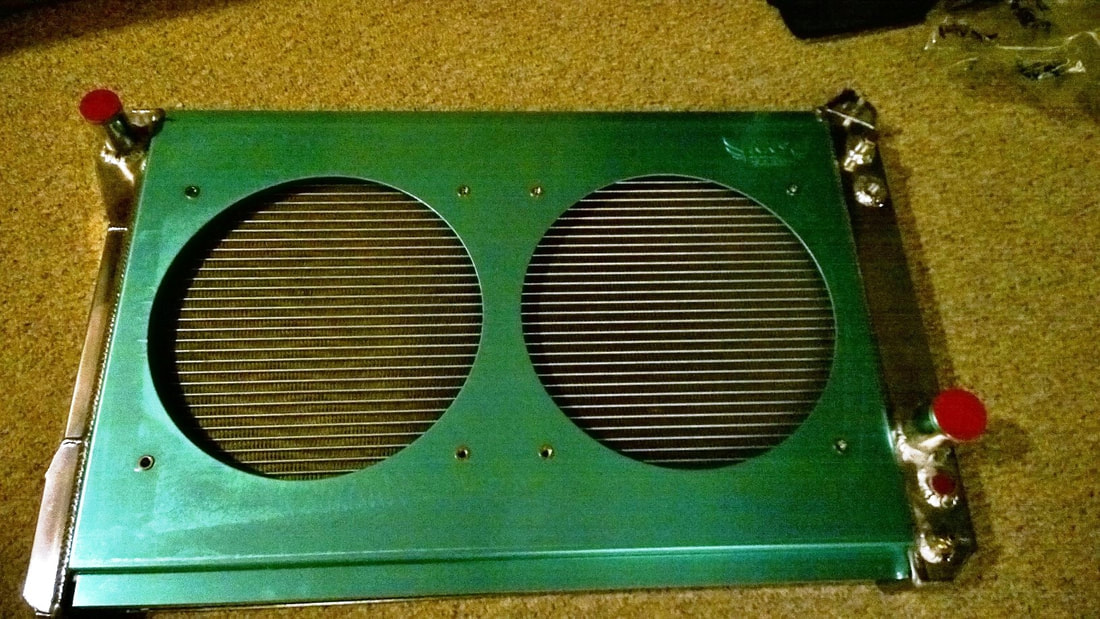
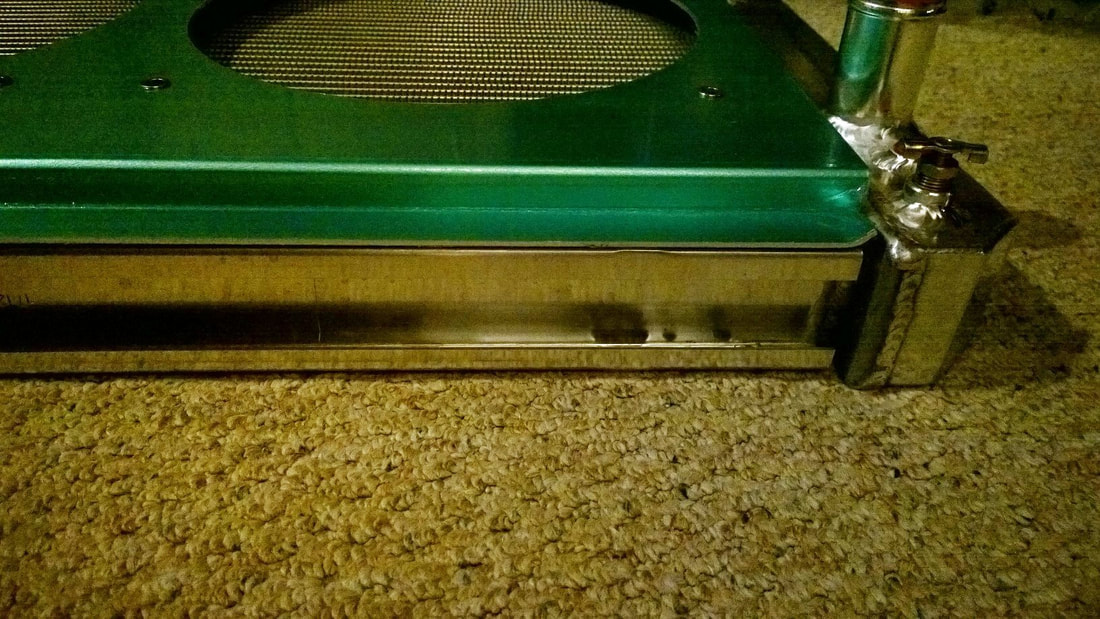
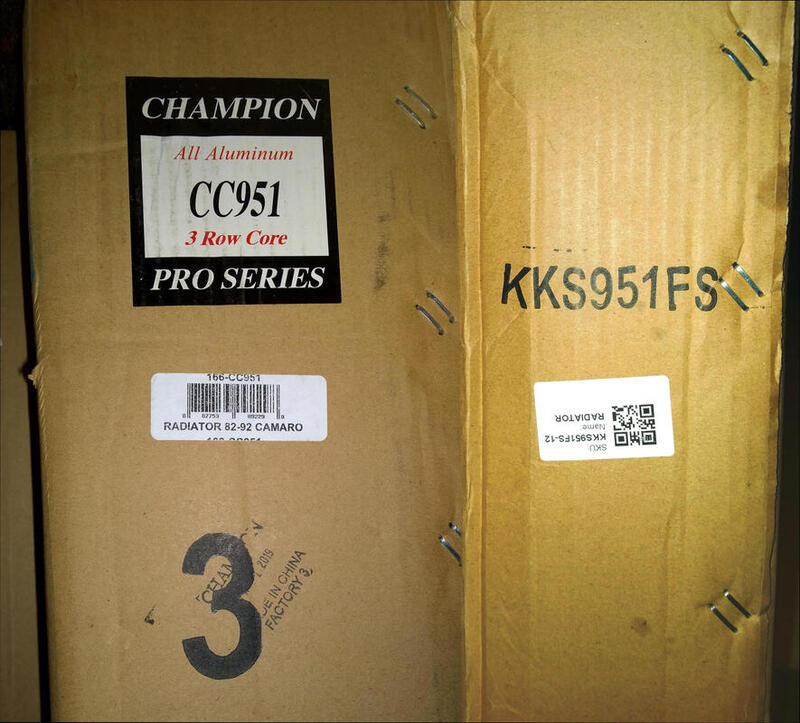
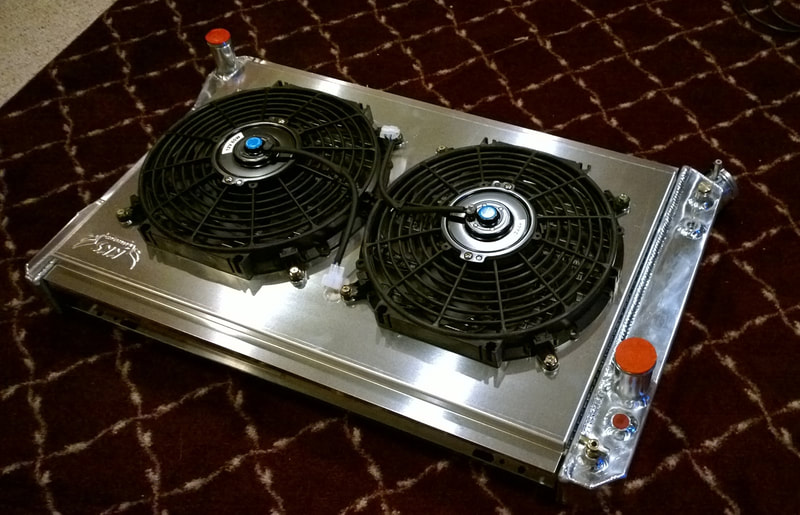
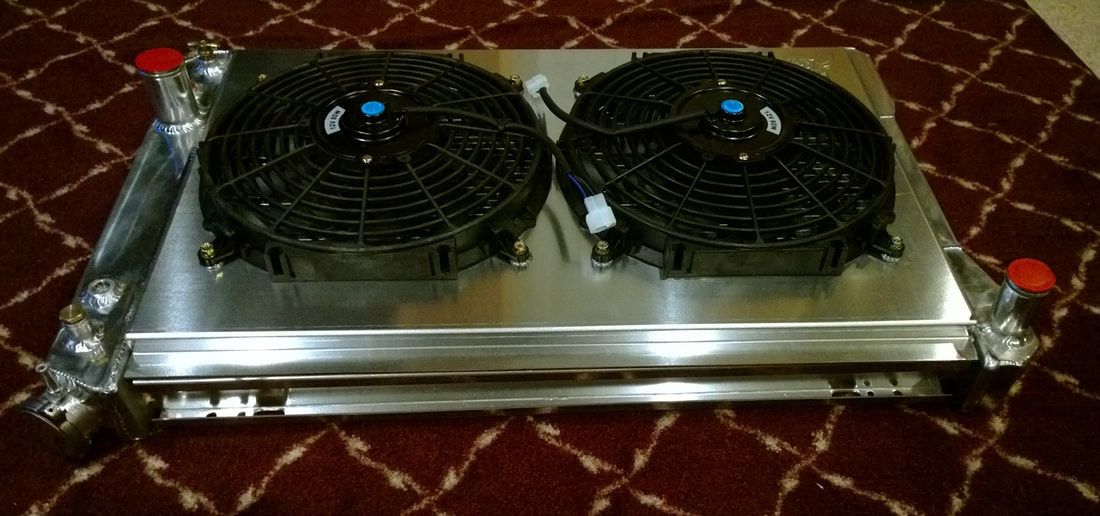
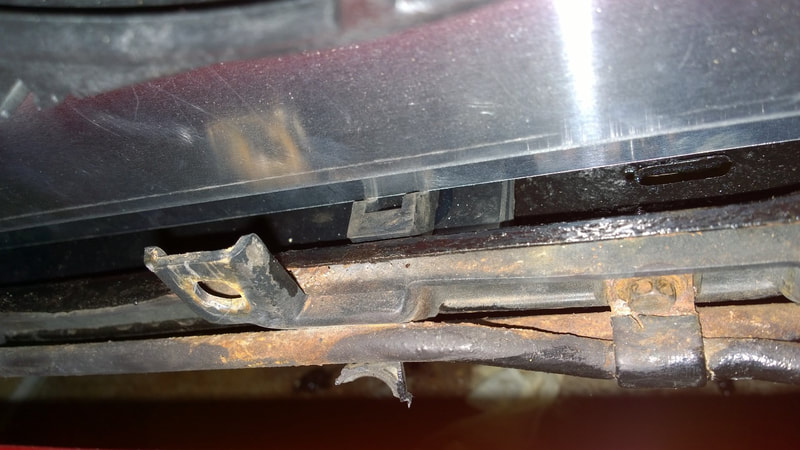
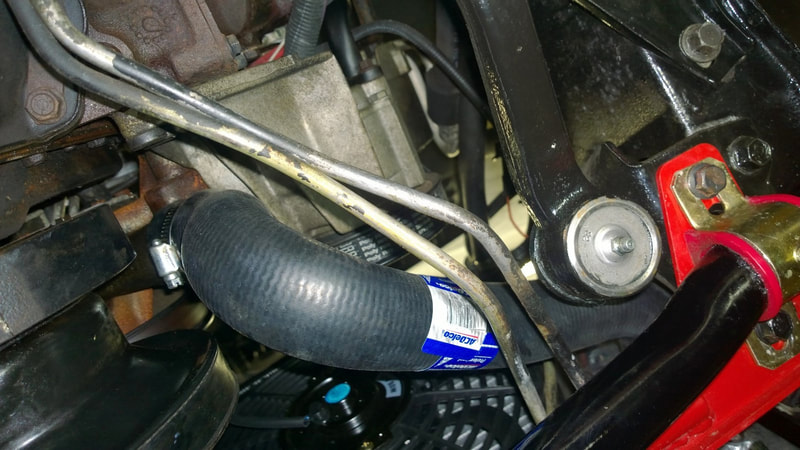
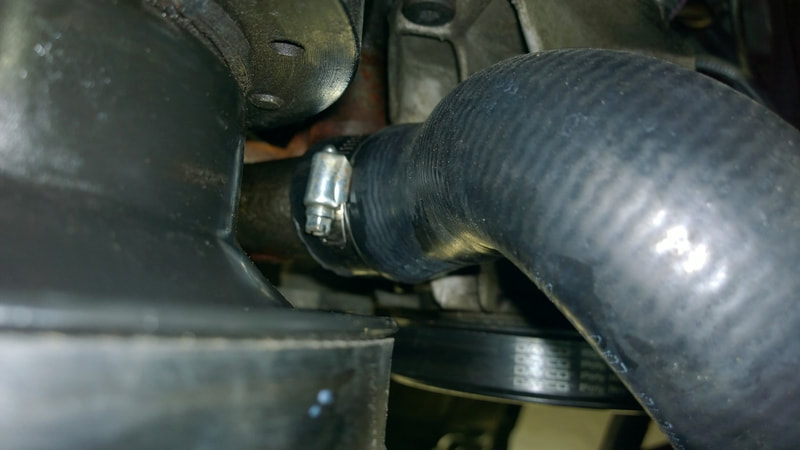
Despite the fact that we run both fans simultaneously, on 90+ degree days, engine temps hit 250-260. A hose blew one day. So we looked into something better. We chose the Champion 3-row from JEGs, and a dual 12-inch fan system with shroud made by KKS. The shroud fits the Champion radiator perfectly.
Since the Champion radiator doesn't just drop in where the old single-core was, we had to create our own mounting system. I found larger rubber bottom isolators for a Chevy Nova on eBay that fit the 3-core well, but we had to raise them up with some Commercial Grade 80 rubber sheet. The bottom frame member on the Iroc narrows towards each end so without the rubber, the radiator would be sitting on metal. Of course, we mounted the radiator solidly at the top, so I'm not sure the rubber makes that much difference.
More information with pictures will be posted here over the next few weeks, including the fan control relay system.
